This project may require a little practice at first but, once you get the feel for it, the rest goes quite smoothly. Many variations of colors can be made from this simple technique. For example, a Cognac leather wrapped in shades of Vegetal green would be gorgeous. I'll be sure to share any successful combinations I may produce in the future. This is an easy way to treat your friends to a pretty little gift or a fun activity for an adult crafting night. Be sure to let me know what's working for you!
* This post contains affiliate links to products I use and trust. This means when you purchase using my link below I may receive a commission at no extra cost to you.
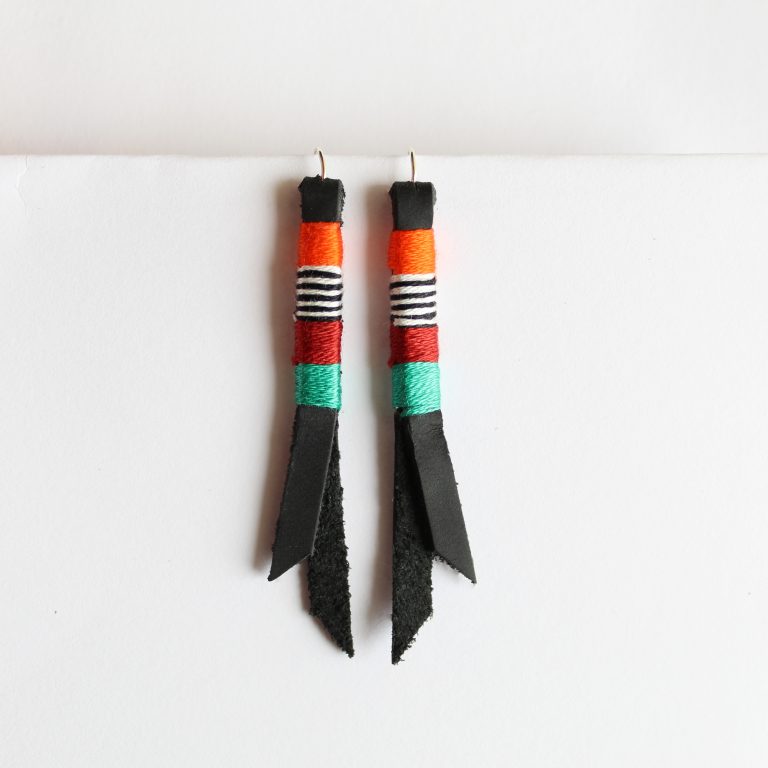
Embroidery Floss - I used DMC brand. You can purchase single colors at any craft store. The 5 DMC colors I used are listed here: 606 Bight Orange Red / 3865 Winter White / 310 Black / 918 Dark Red Copper / 909 Dark Emerald Green
1Iron the piece of leather on a medium setting using a little bit of steam. Score and gently cut out a strip that is 1/4" wide and about 6" long. I prefer a graph ruler that is clear so that you can make sure the leather does not shift underneath the ruler and give you an uneven width.
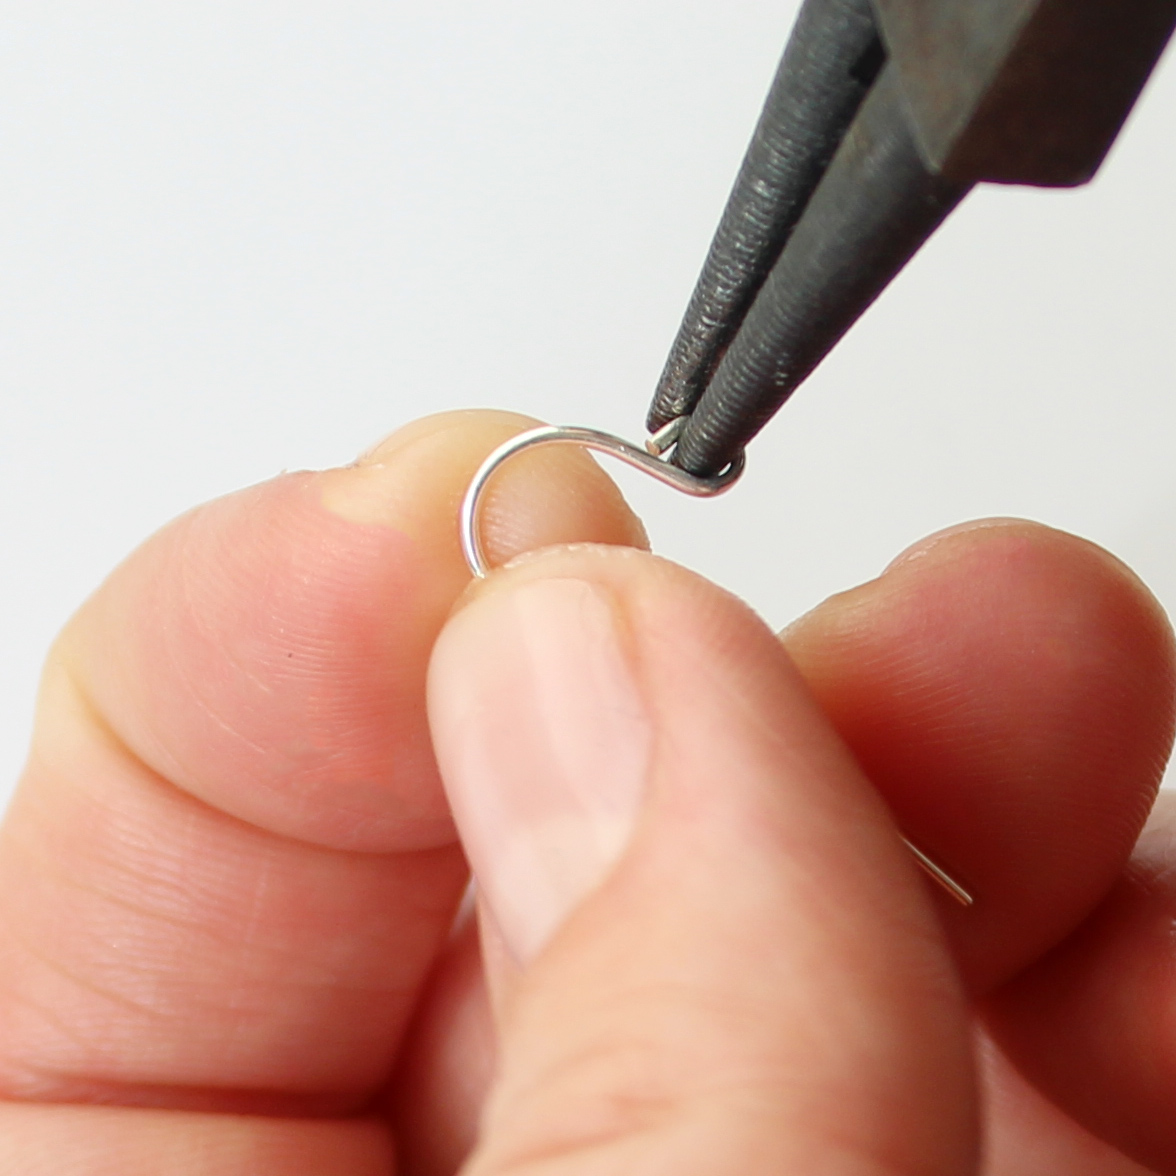
2To prepare the metal earrings, I use a round nose pliers to twist the eye hook into a position so that it lays flat from left to right.
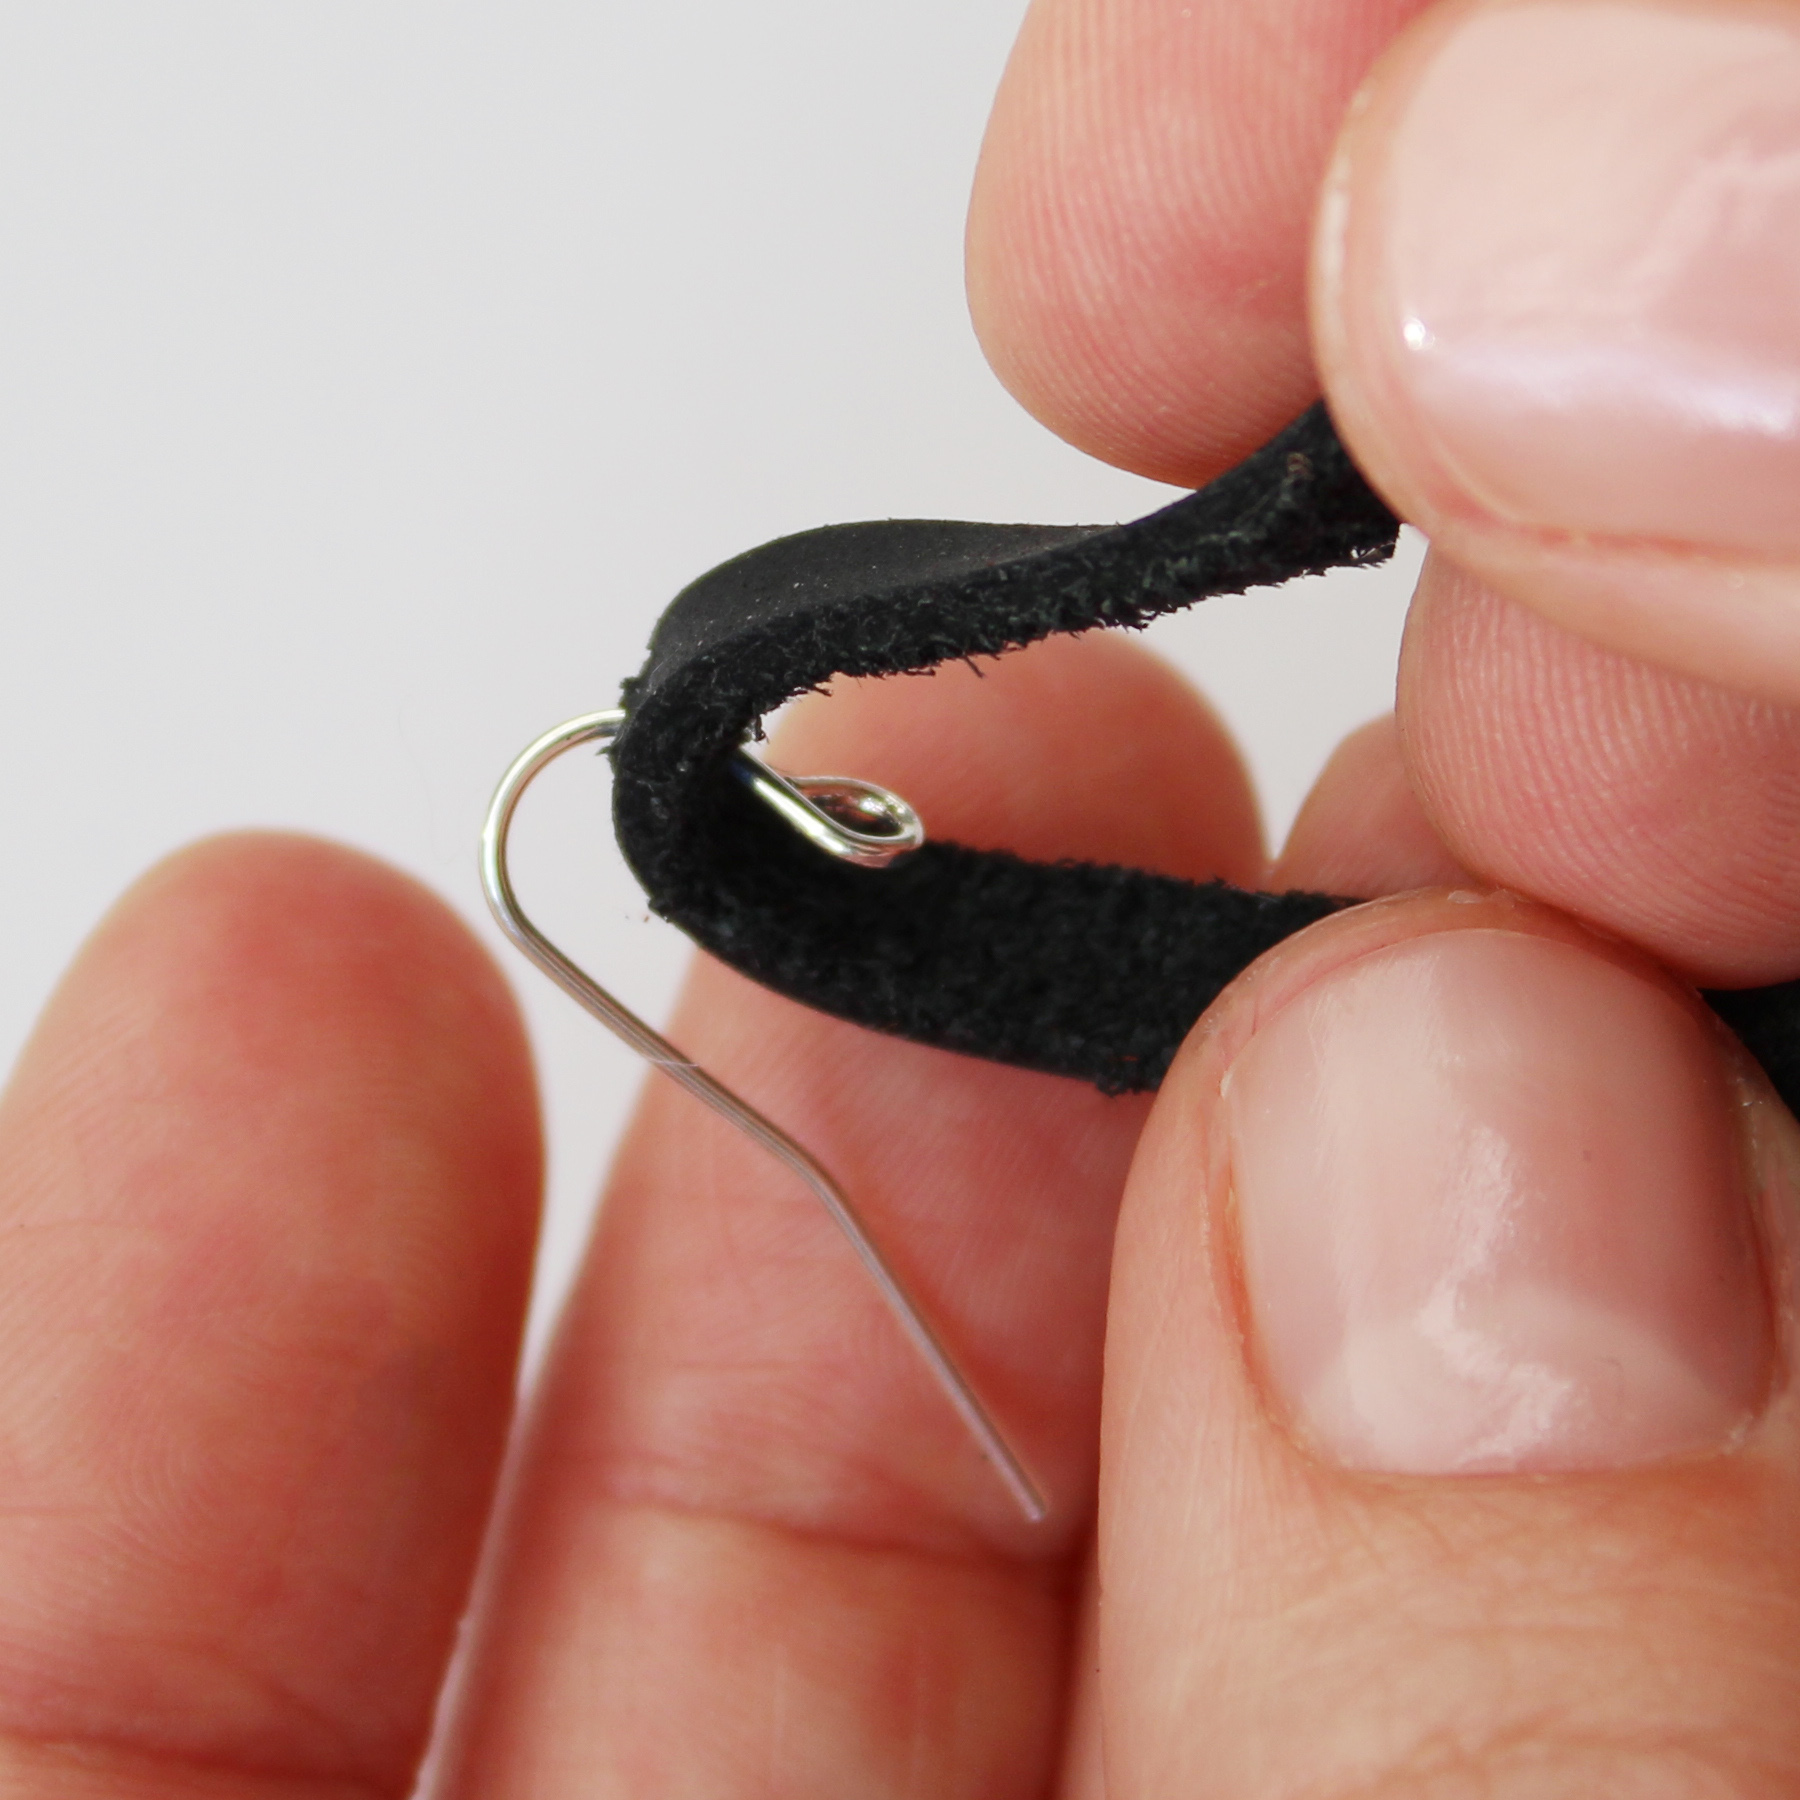
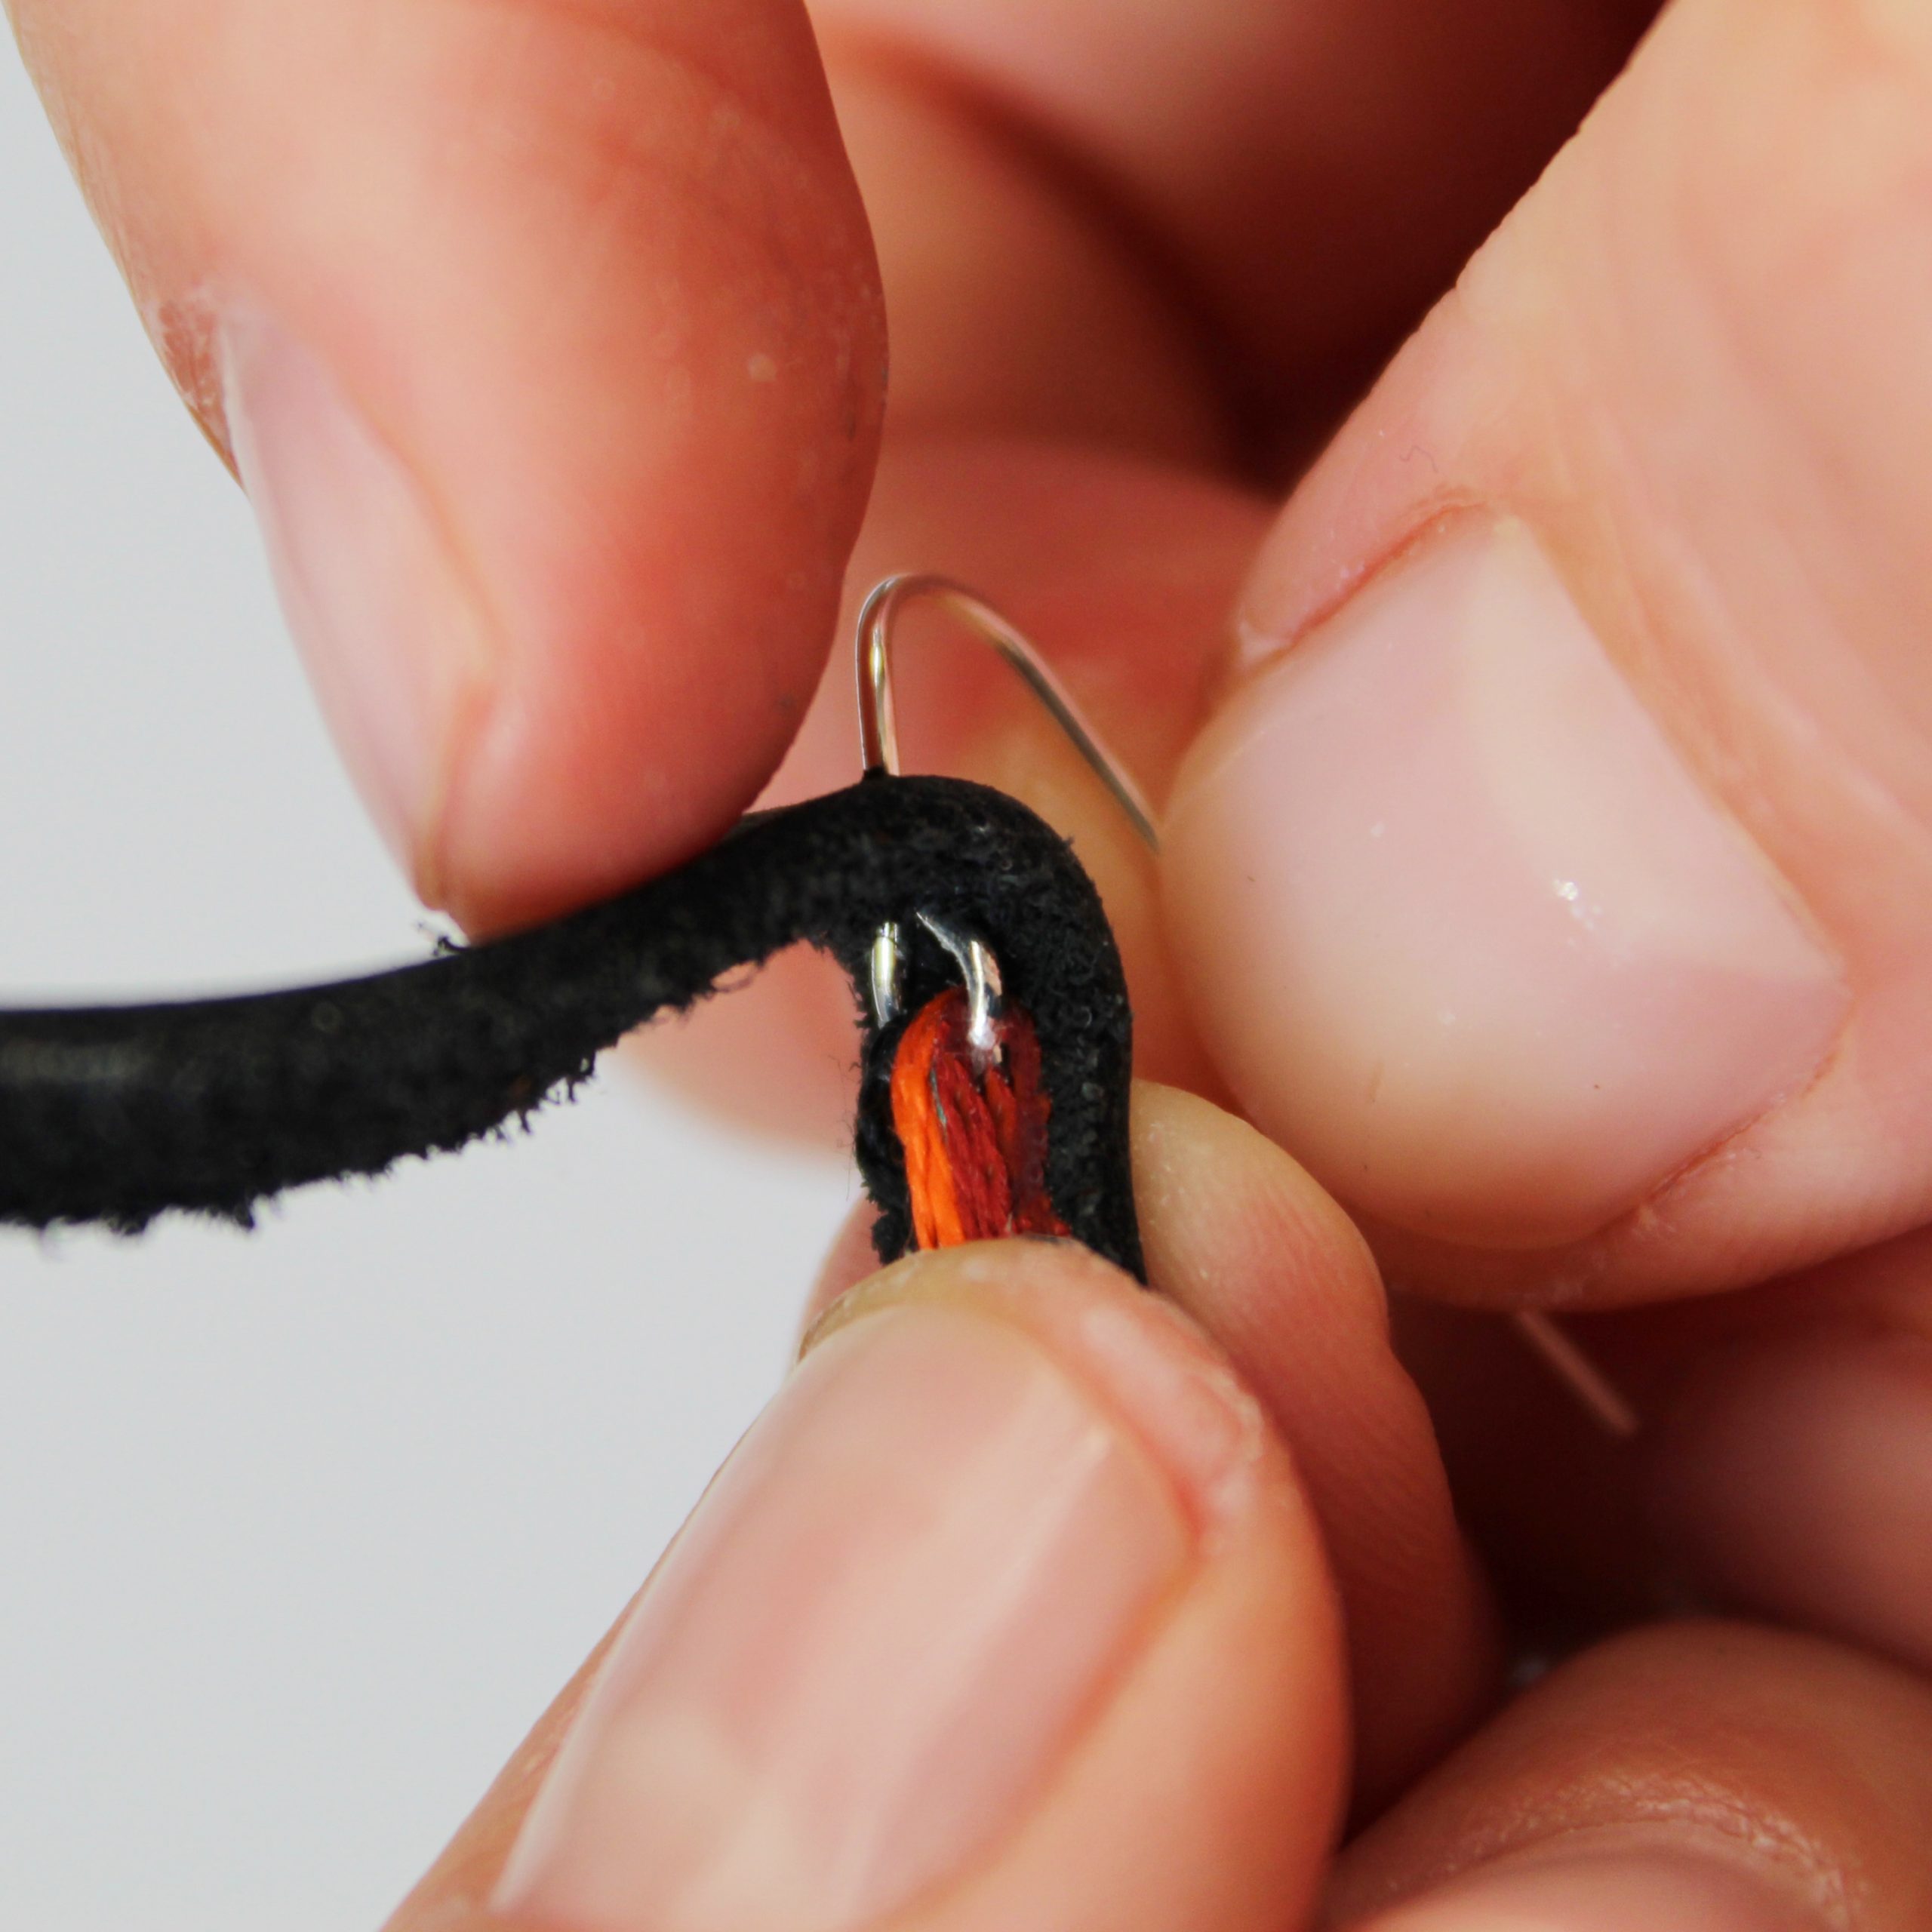
3Fold leather piece in half and squeeze piece together at fold. Using the X-acto knife, cut a small slit on the fold of the leather piece. Insert metal earring into the opening. See images above.
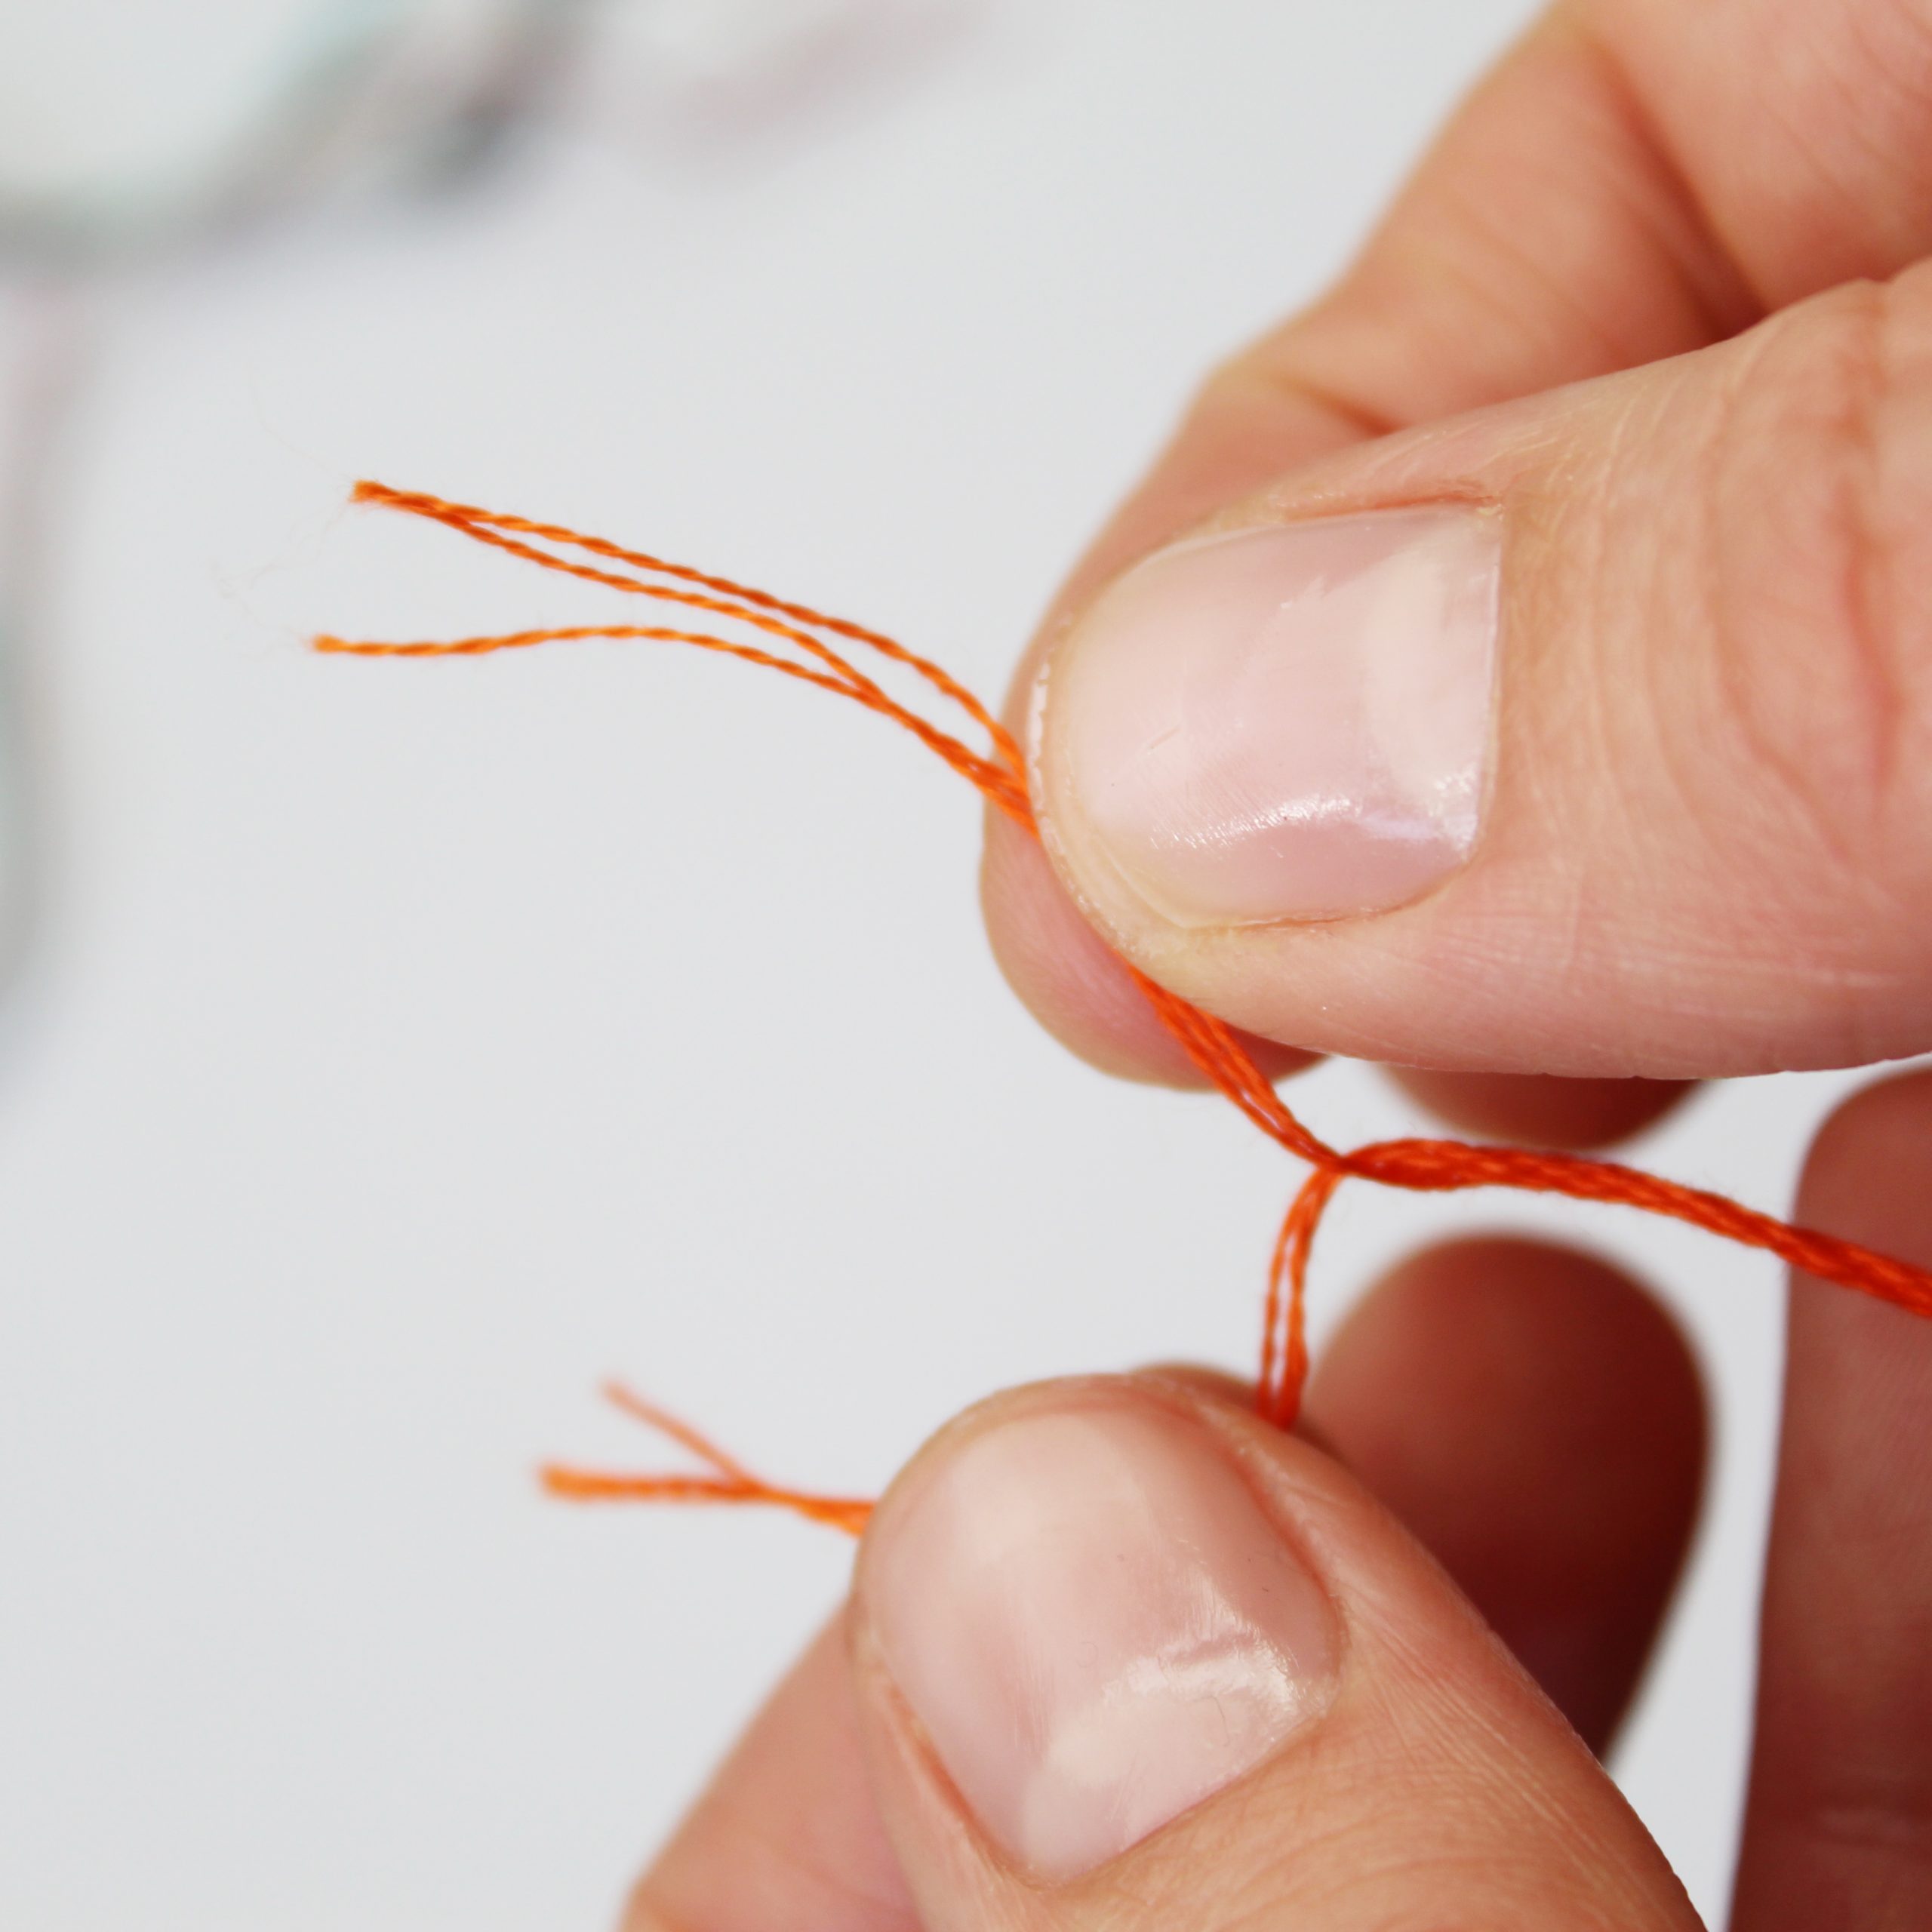
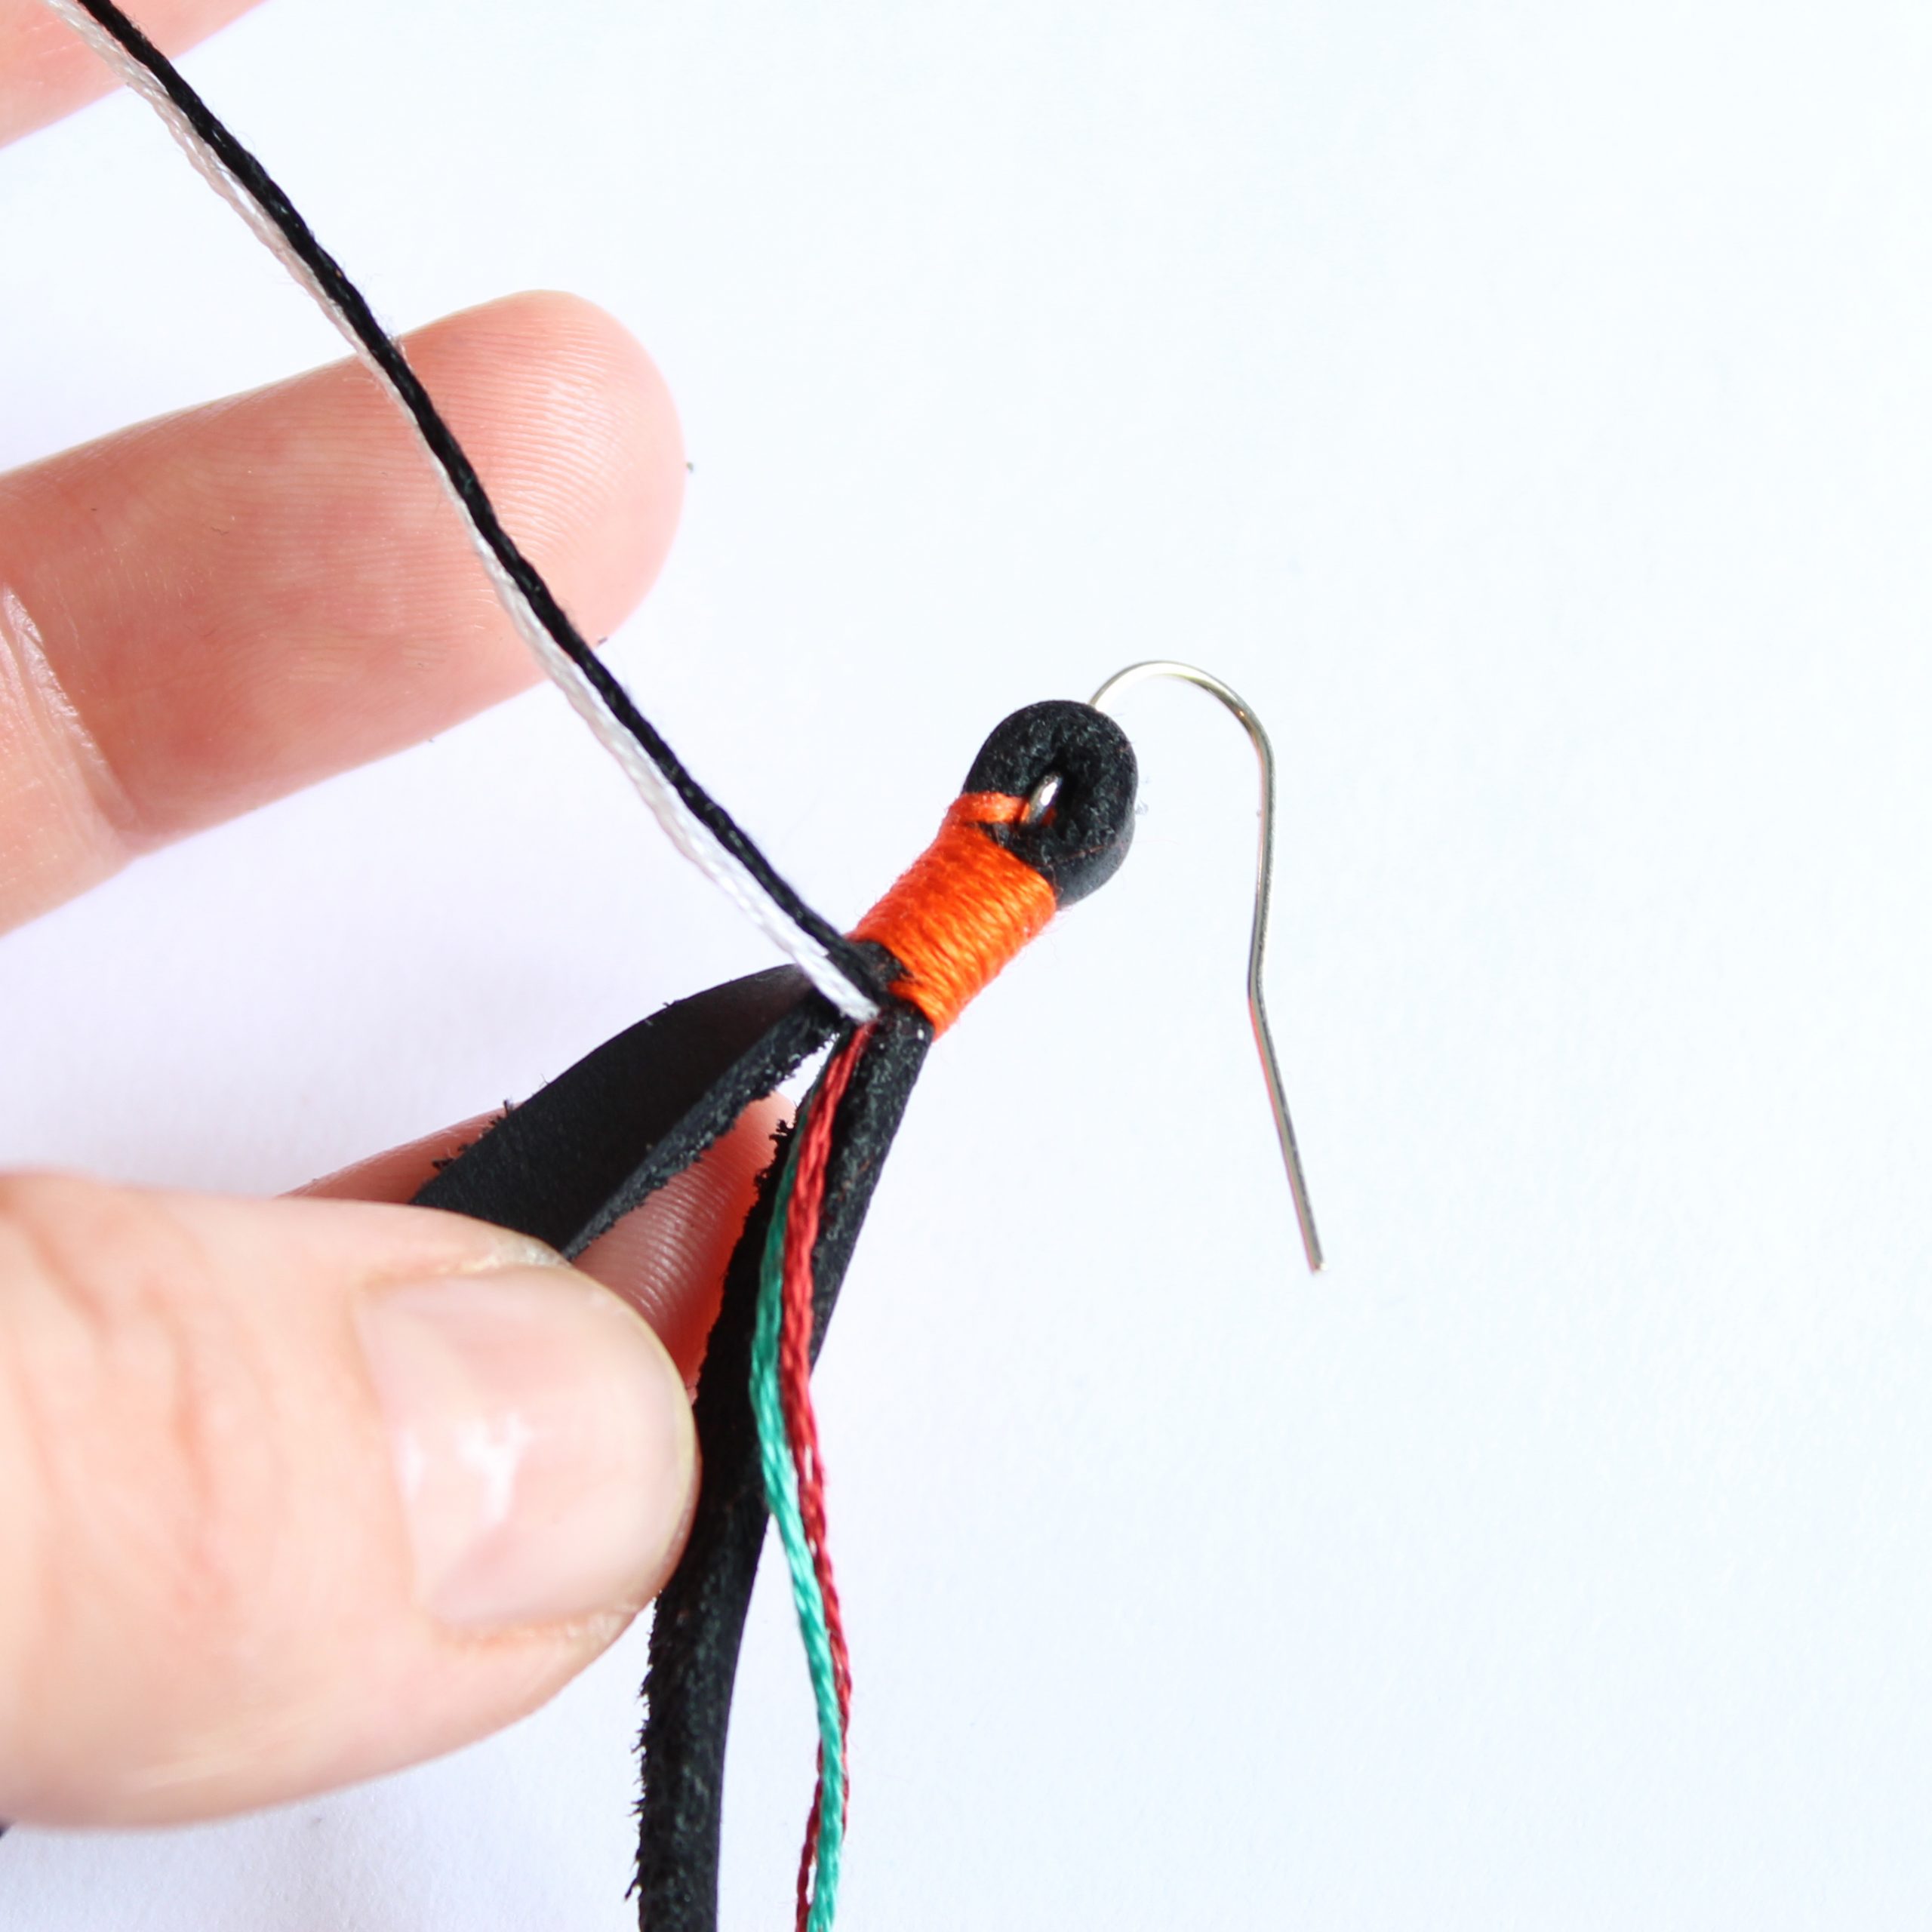
4I prepared my floss by dividing the 6 yarns into 2 sets of 3. A finer thread lays flatter when wrapped and has a cleaner look. Once you have your pieces prepared, bundle the different colors together and coat the ends in glue before threading through the metal earring eye. The bundles of floss should hang over the metal loop approximately 1/2". Squeeze the the leather pieces together to sandwich metal and thread in place. Make sure threads are tucked in between leather and do not show on the sides.
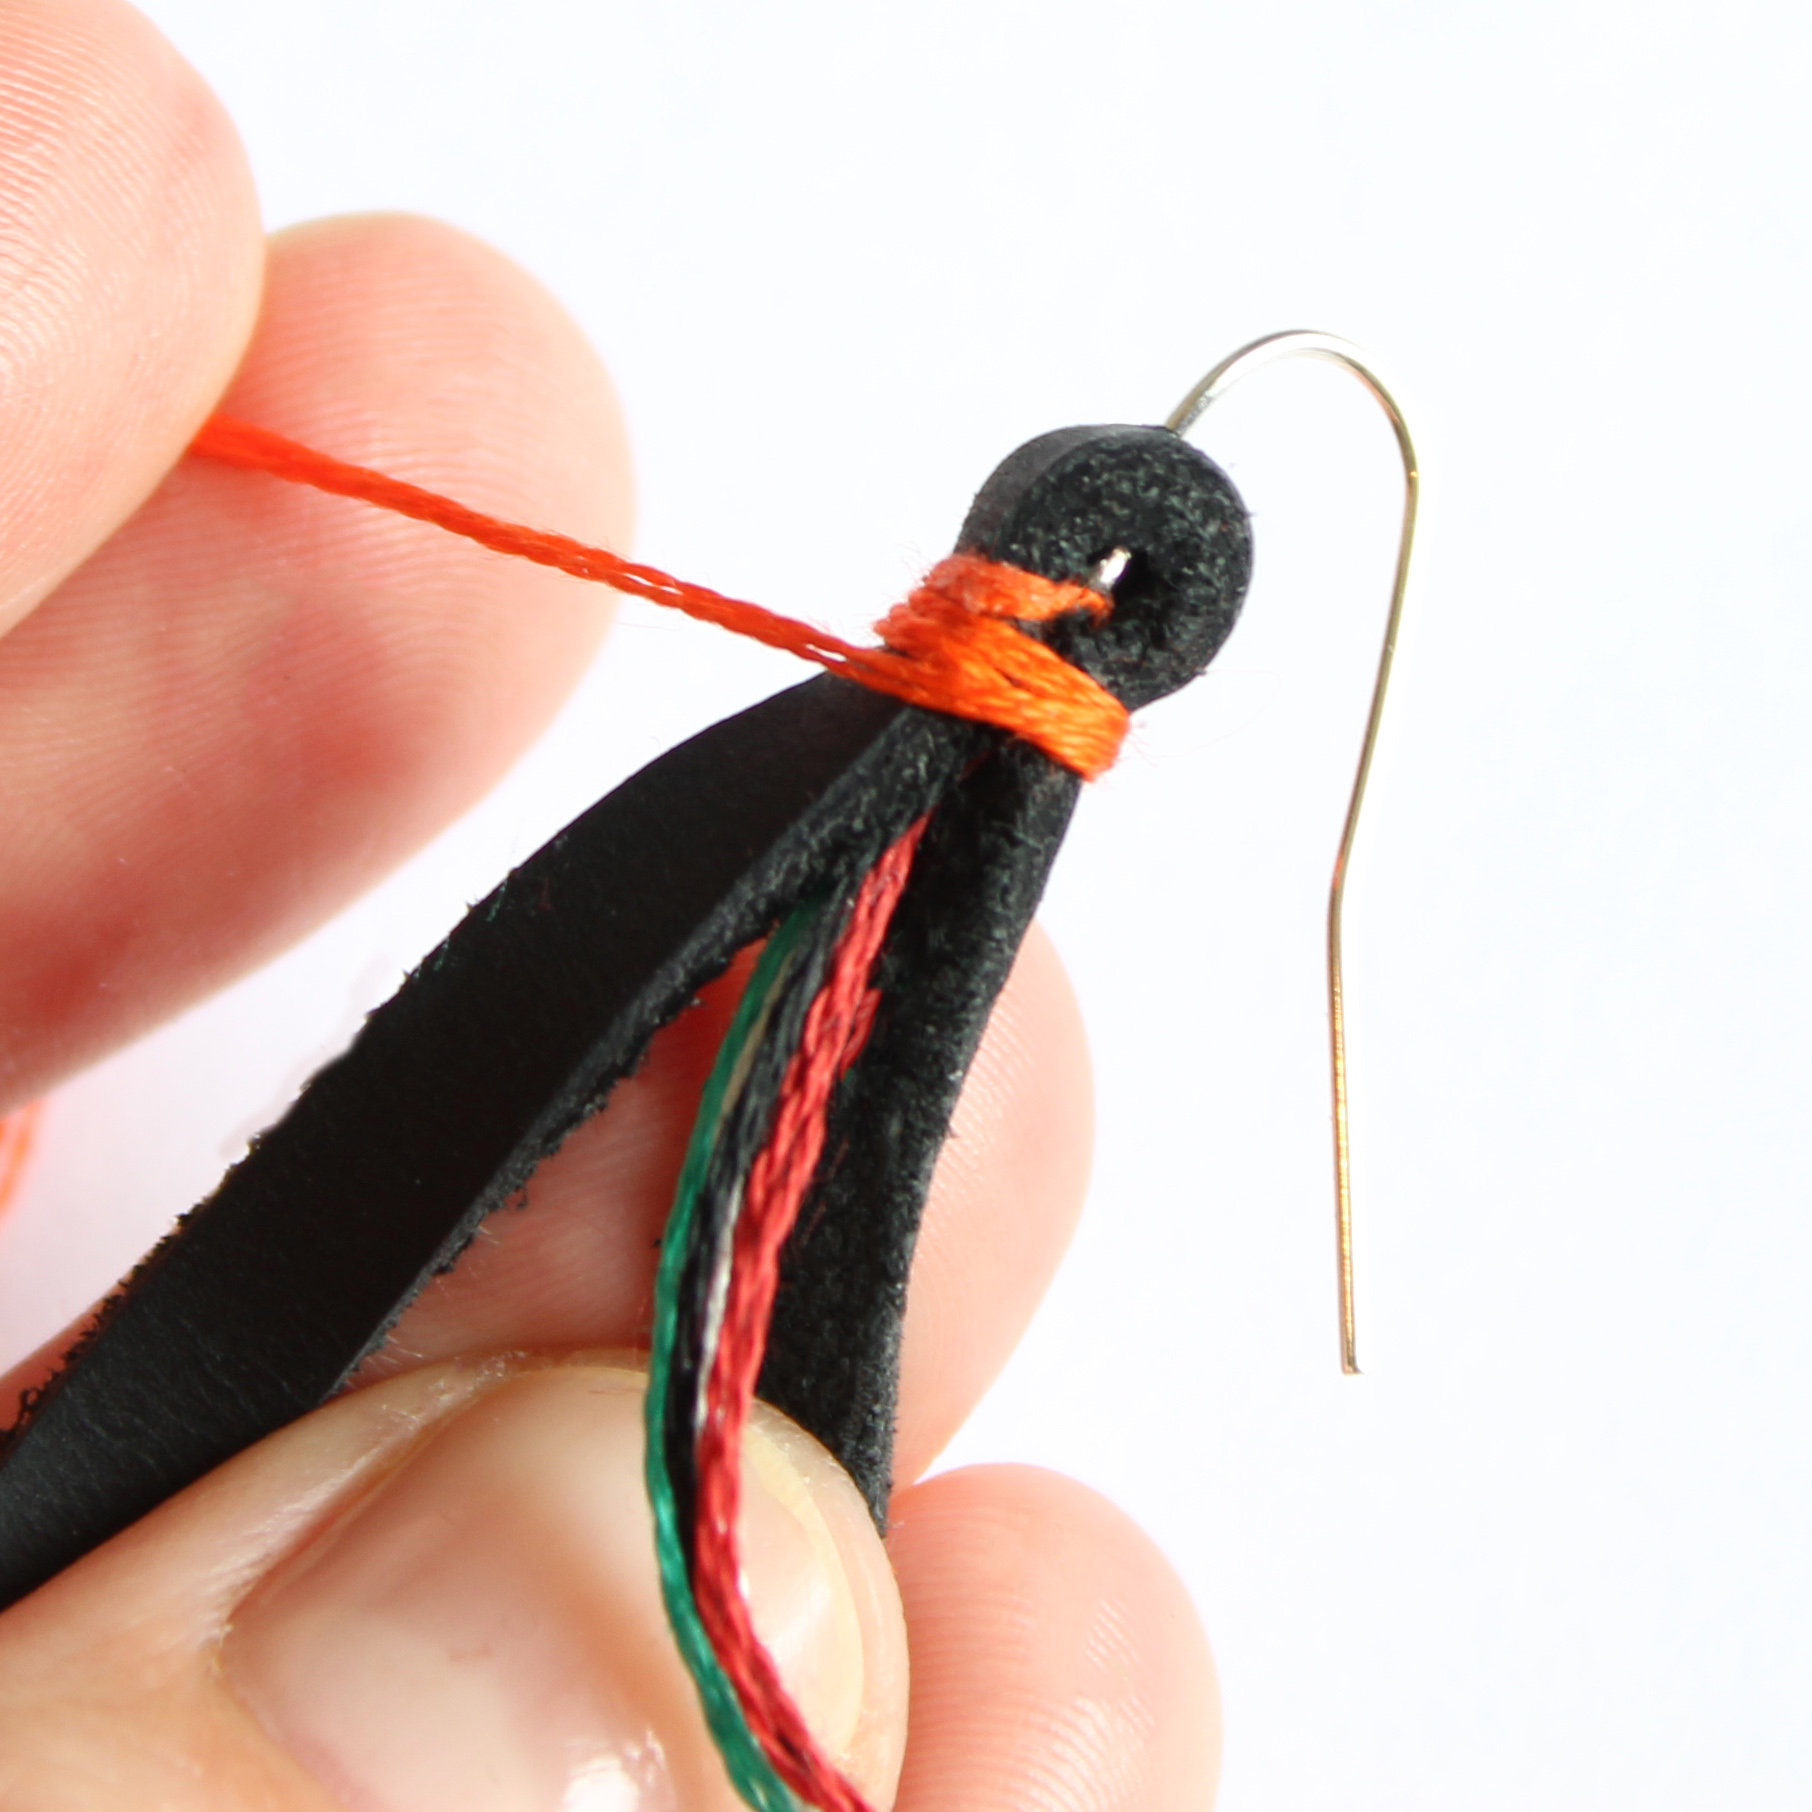
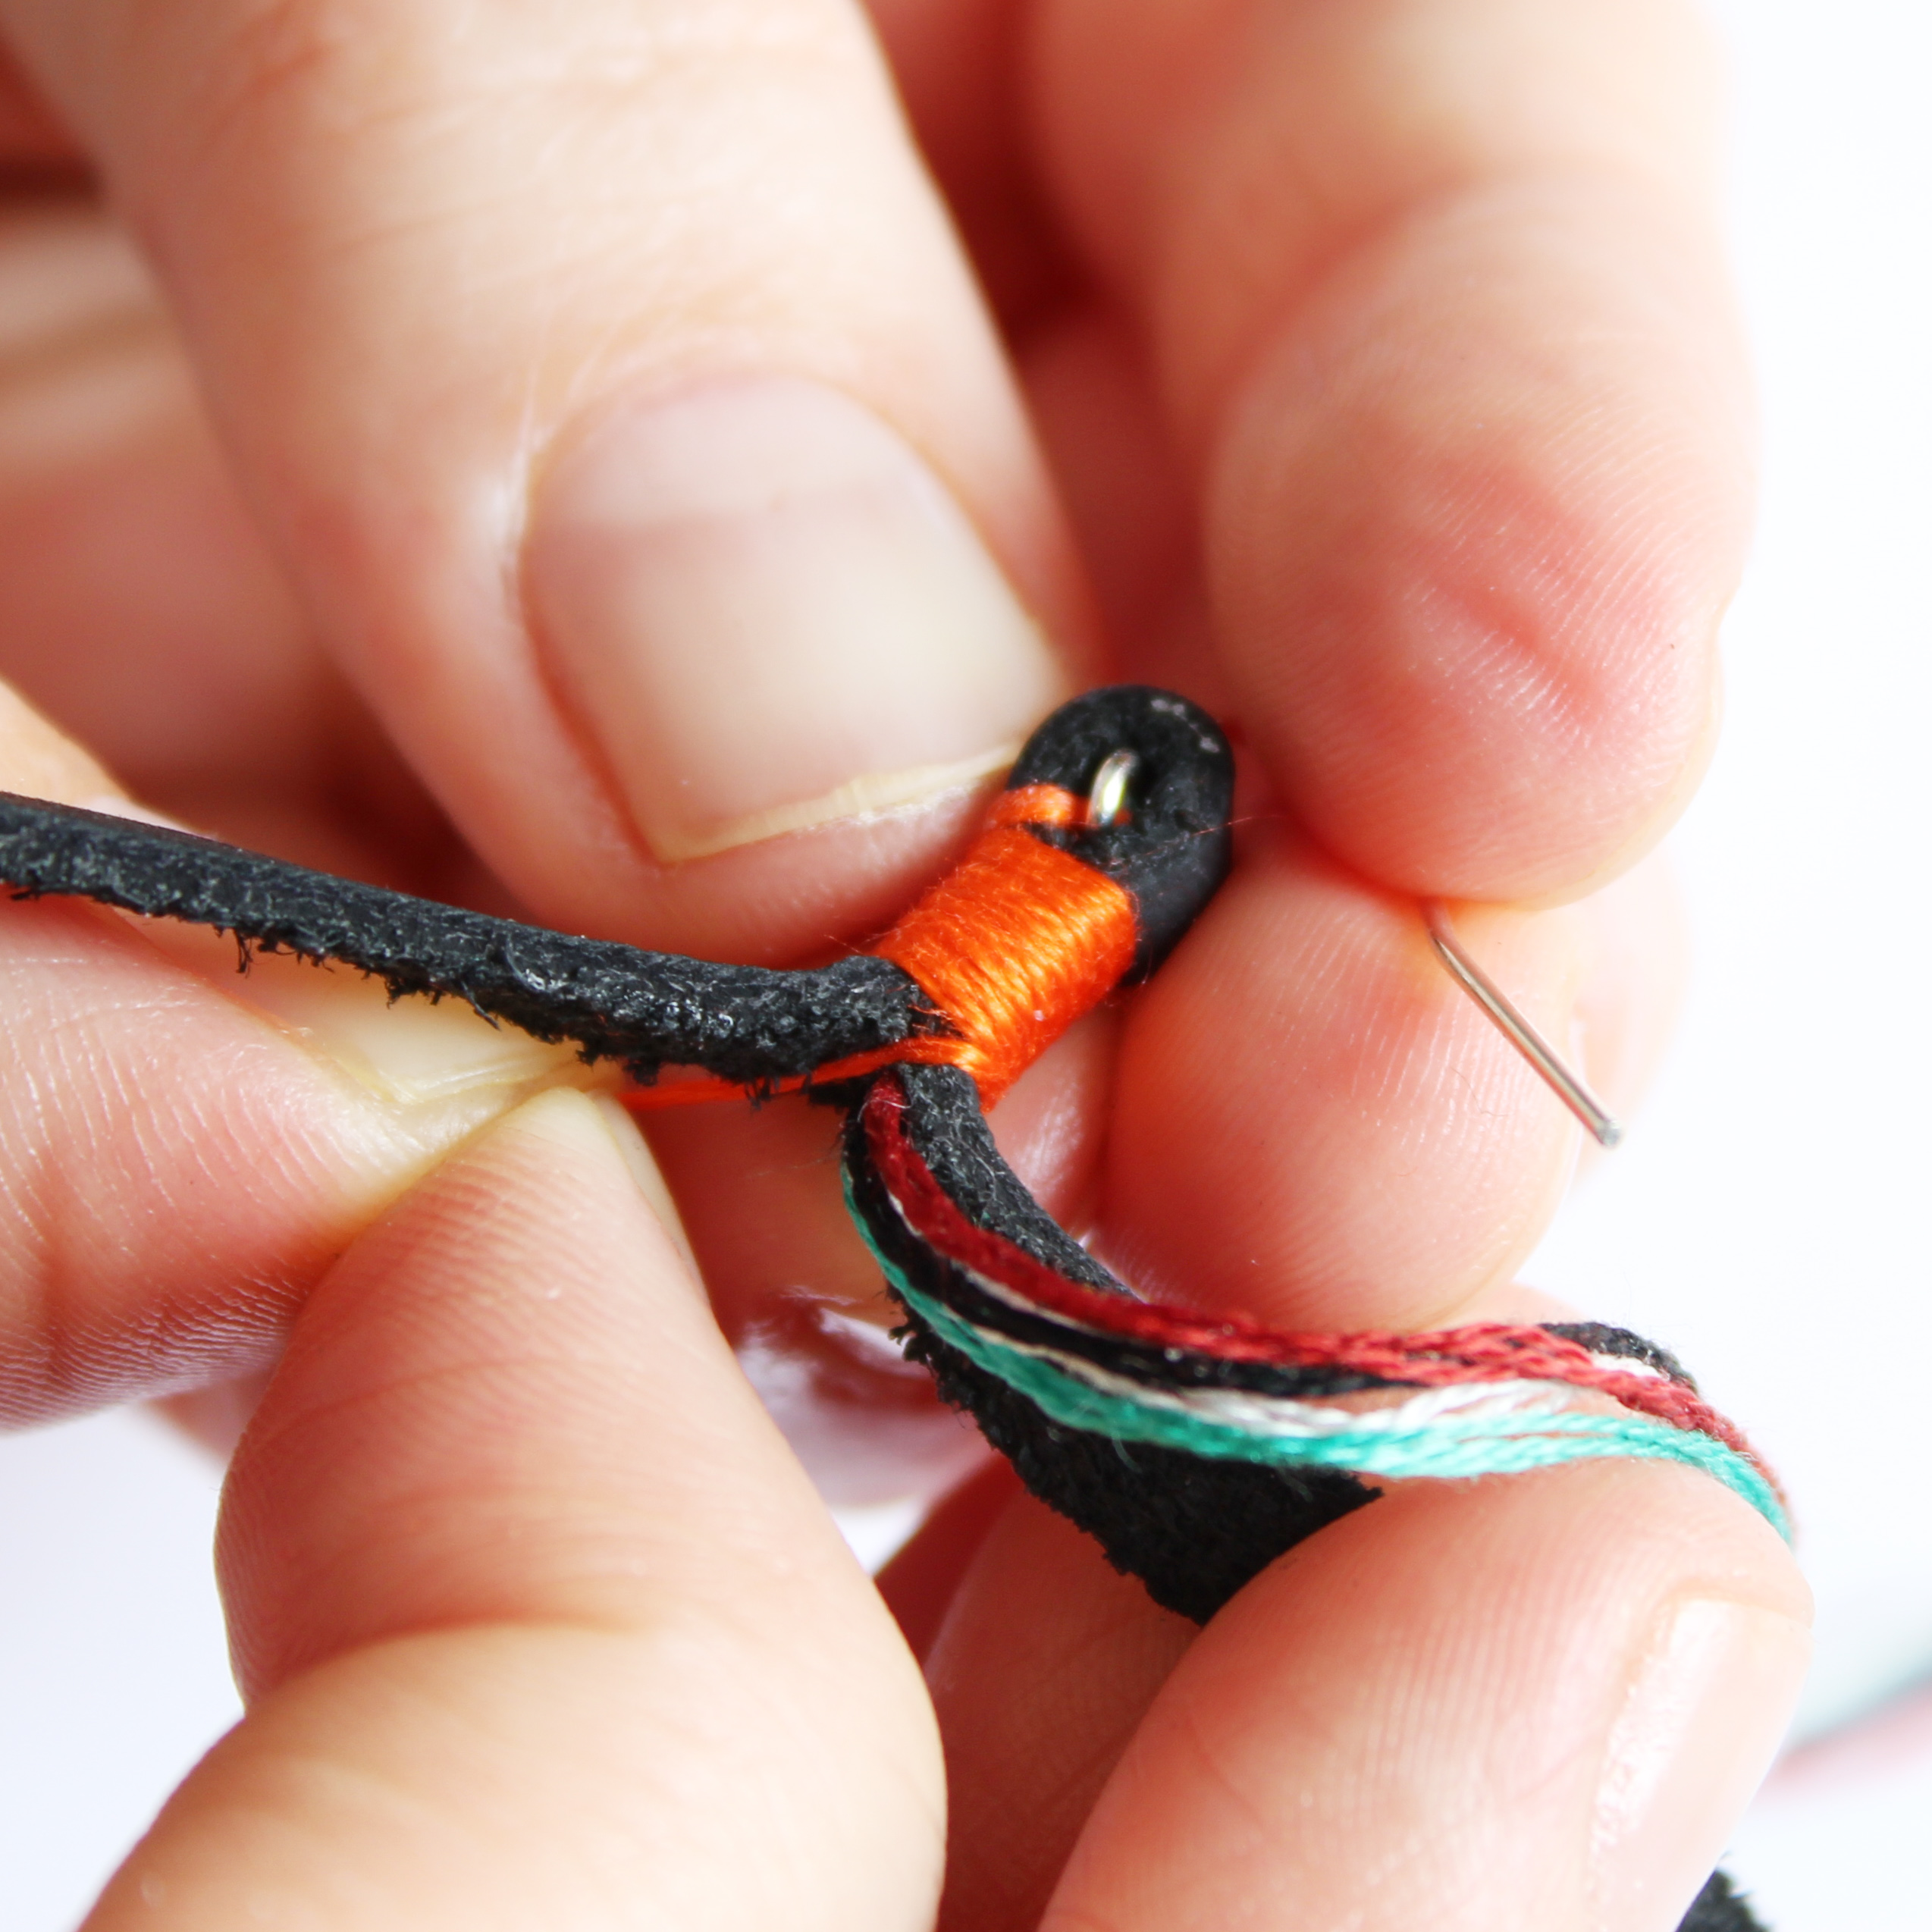
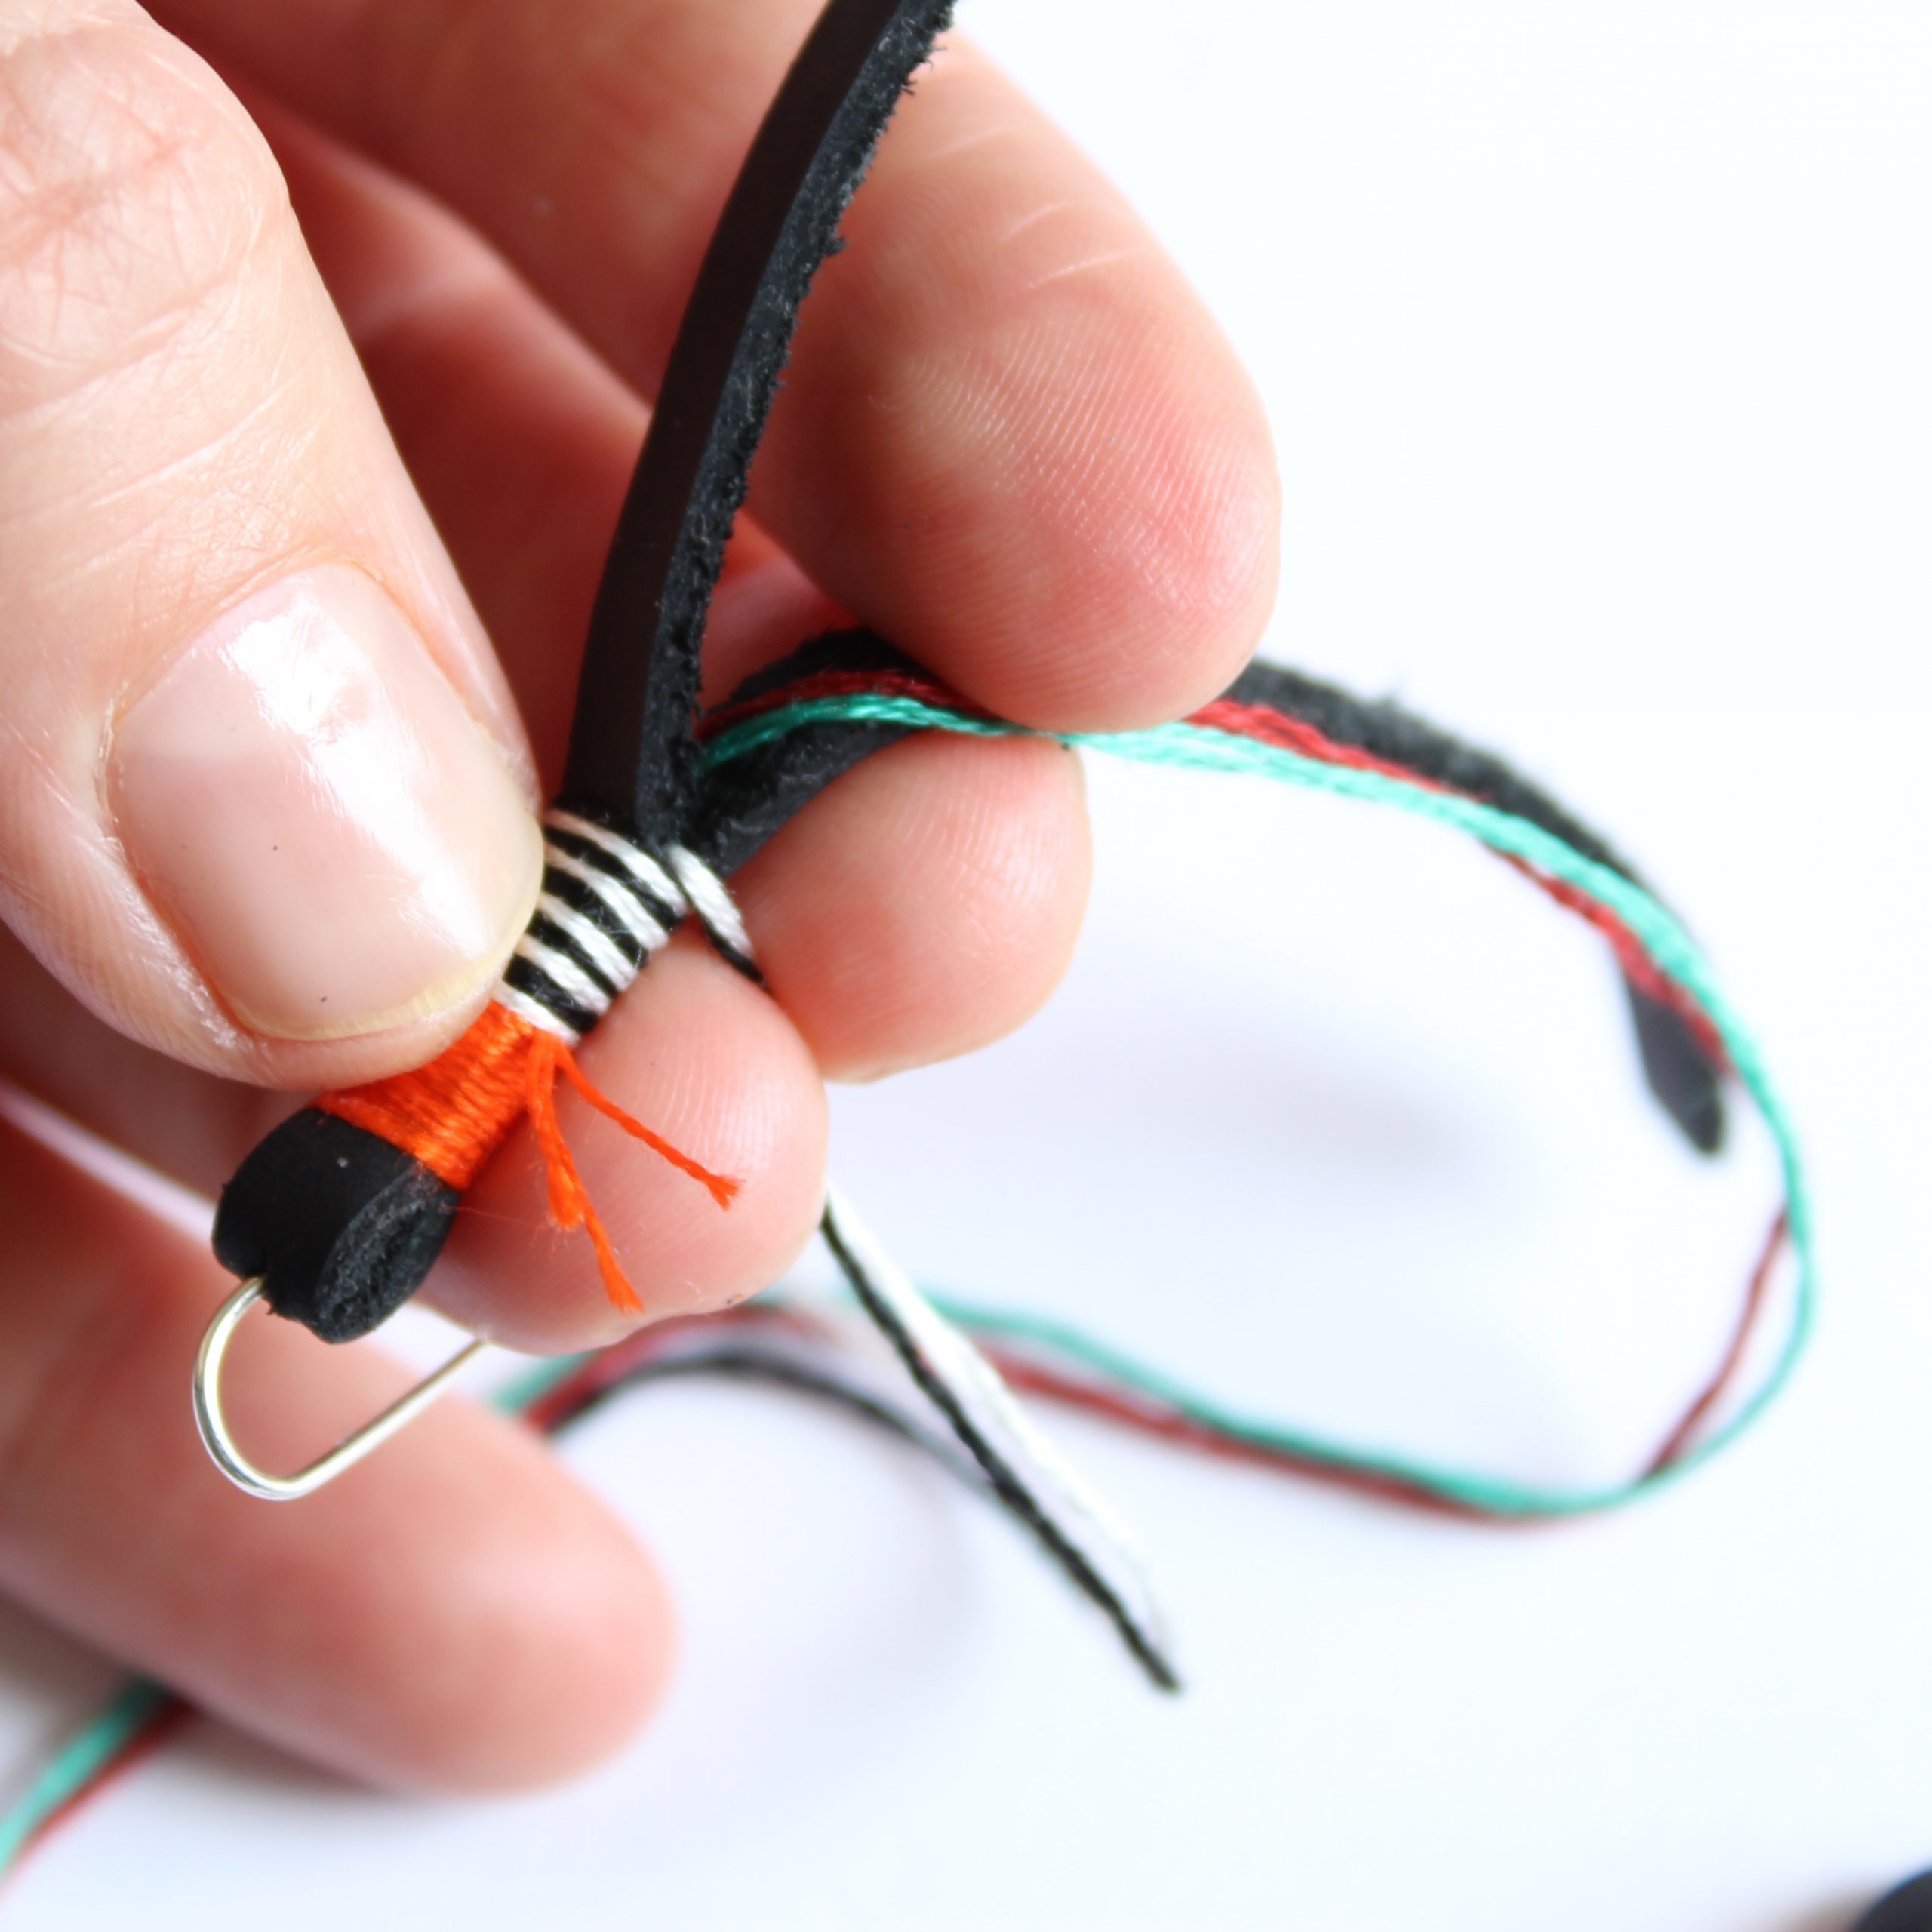
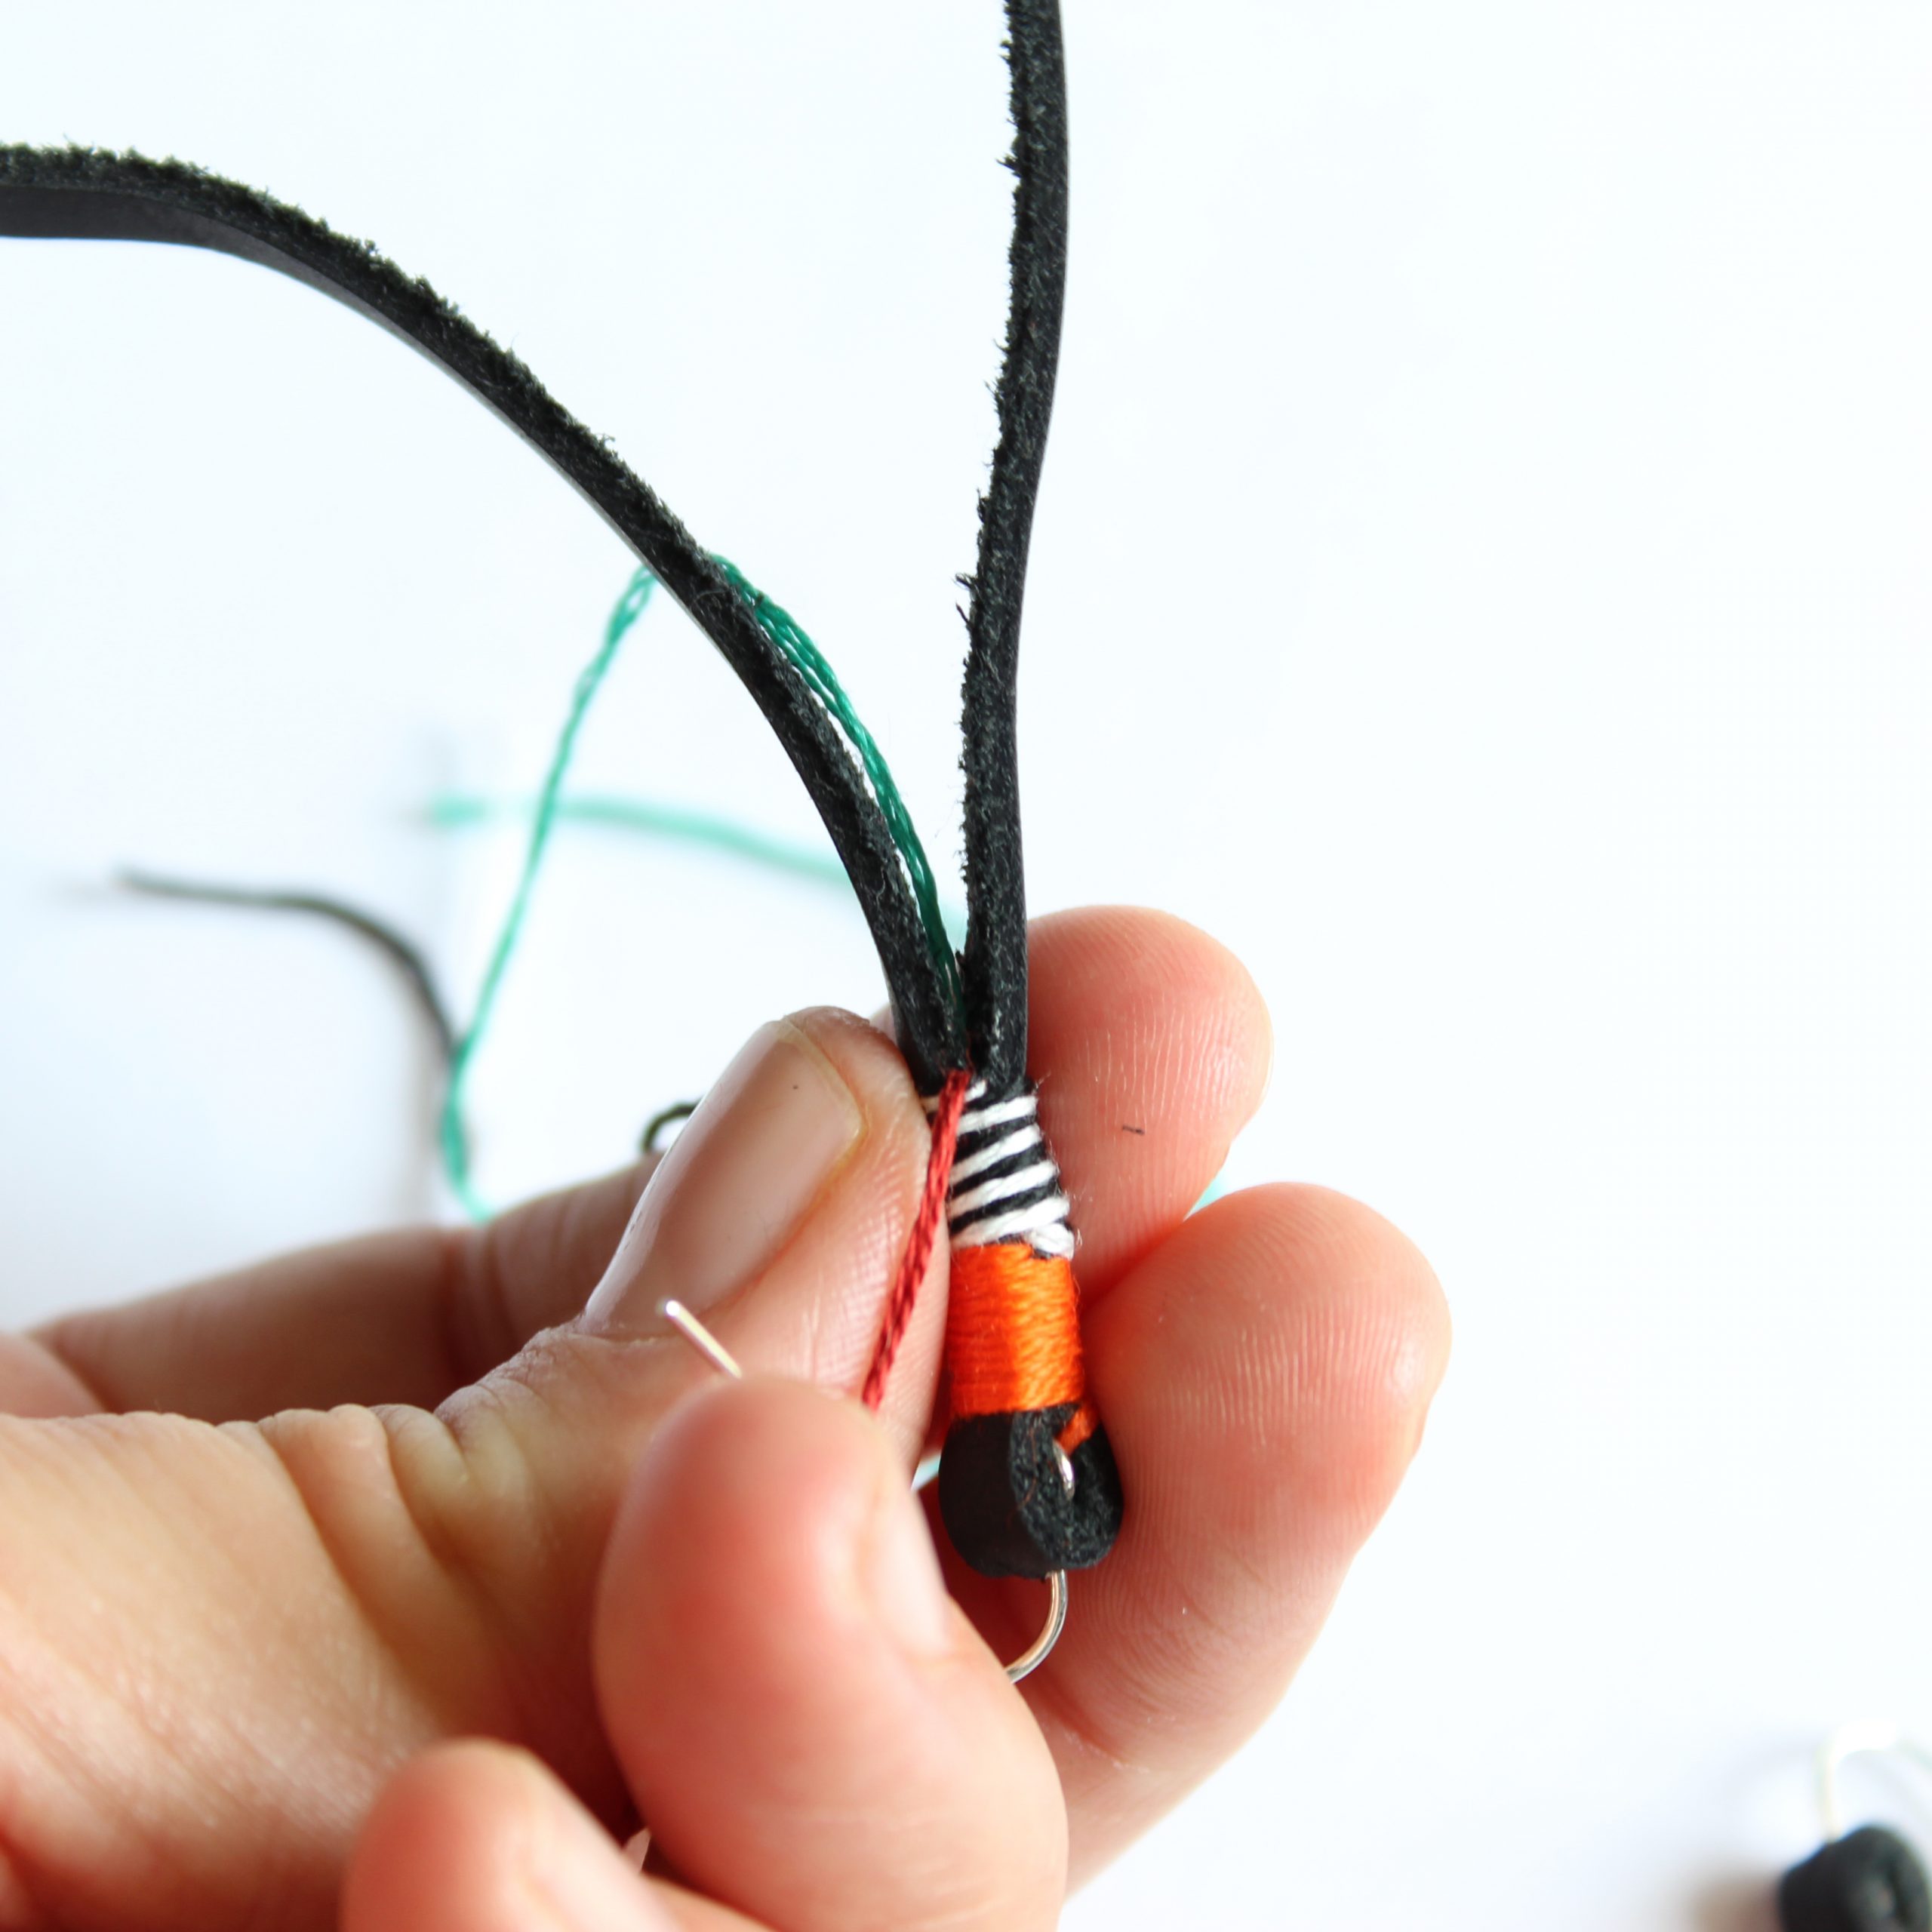
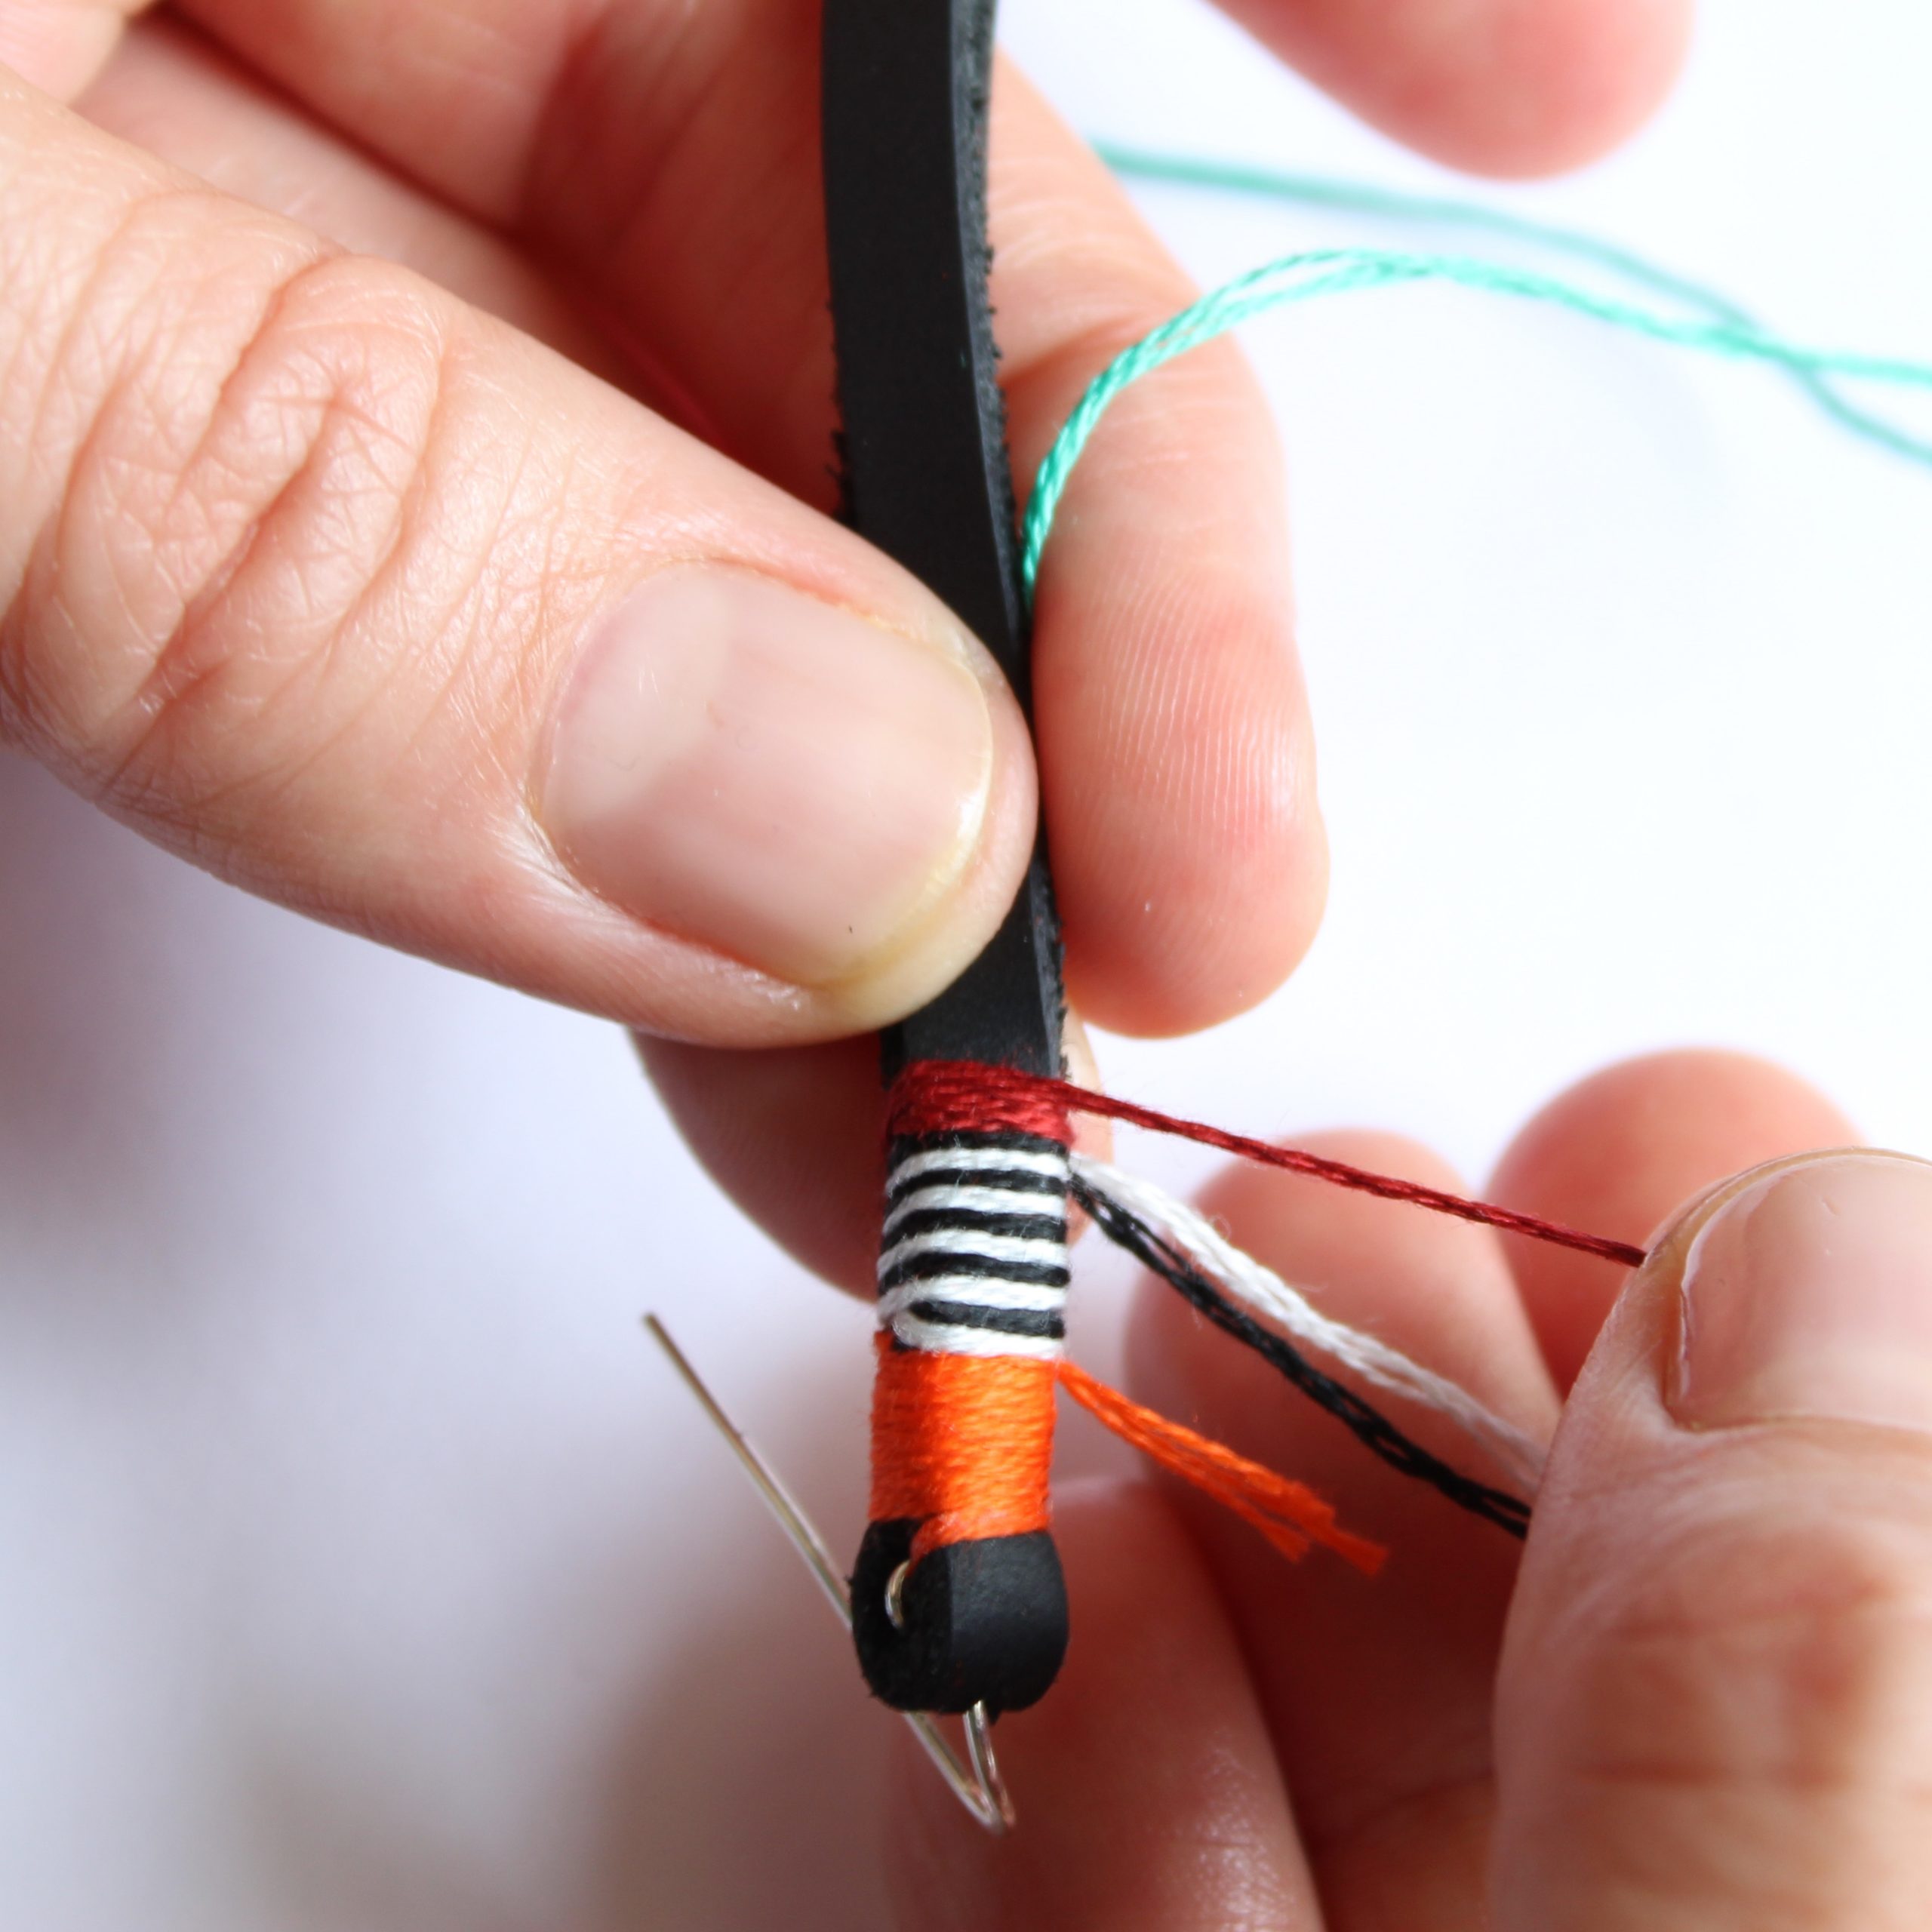
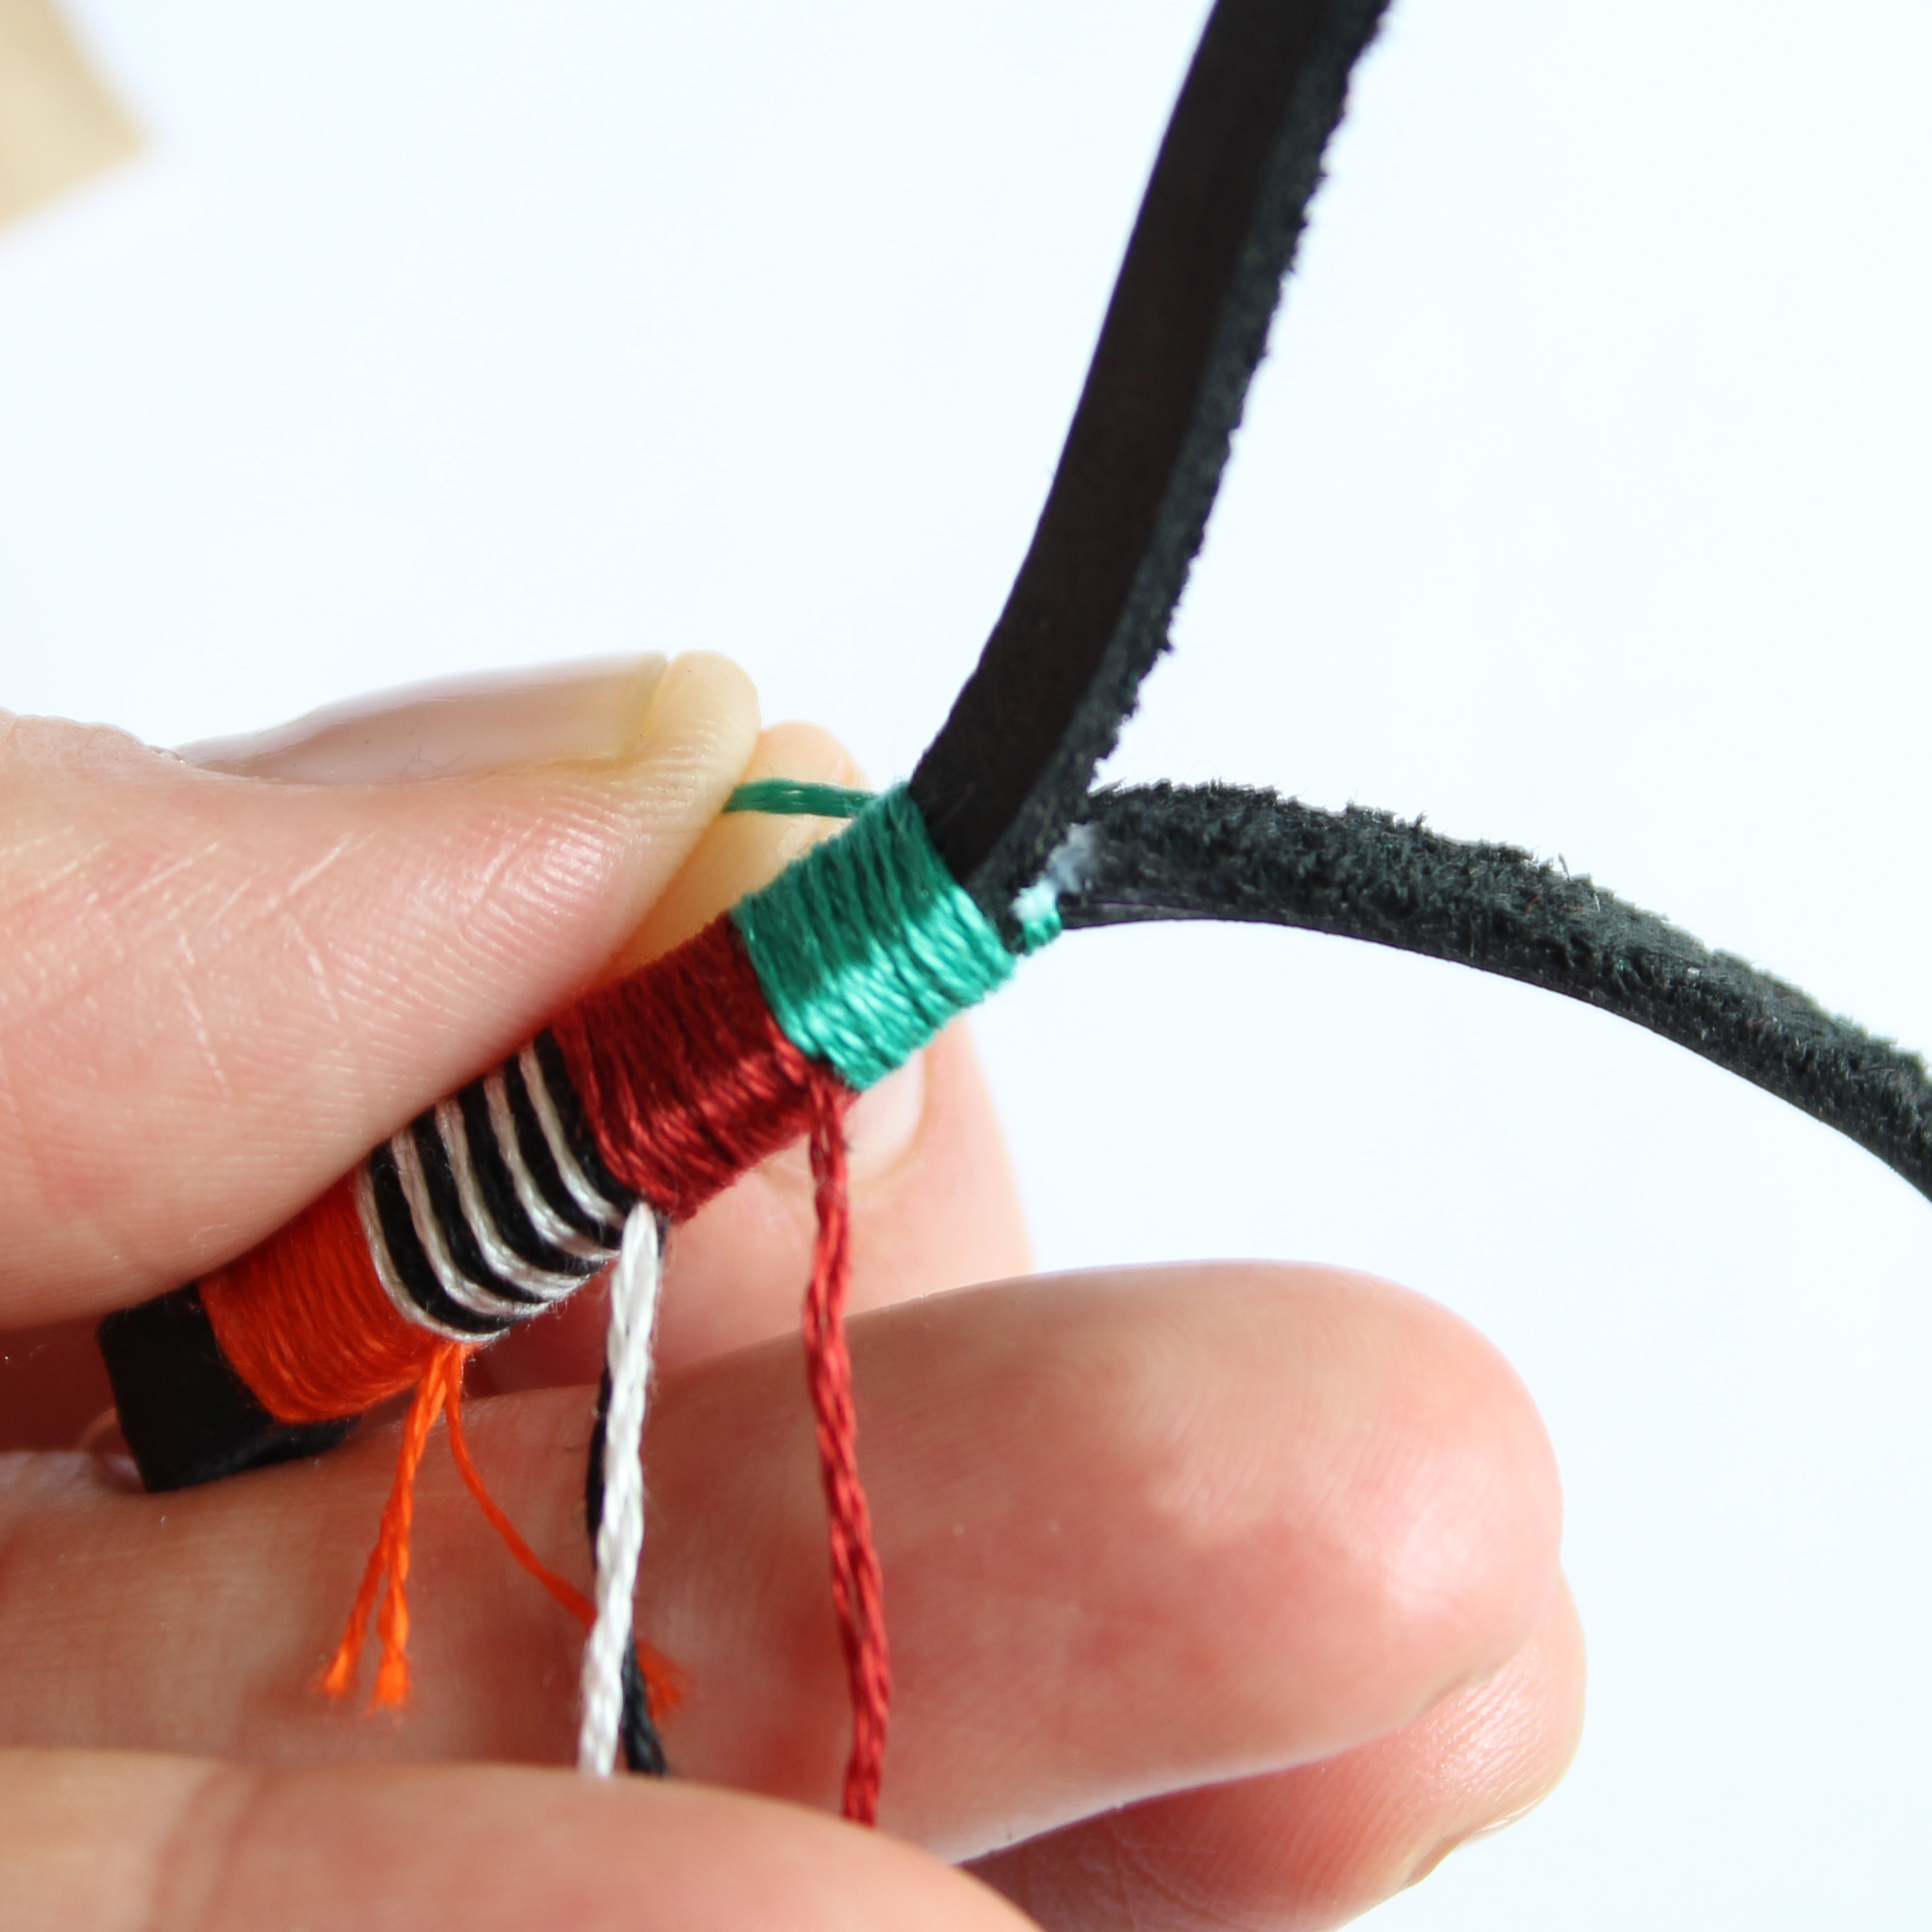
5To begin wapping, pull out one embroidery floss yarn color from the sandwiched leather. Be sure to keep the floss securely tucked inside the strips so that color does not peak out. Wrap one color around leather strips until height of wrap reaches 1/4". Once a single color is completed, tuck tail of yarn back in between the leather strips leaving the excess thread to one side. Pull out black and white yarns to make striped portion and wrap until 1/4" height has been completed. Tuck embroidery yarn tails in between leather strips to finish leaving excess yarn off to the side. Continue until all colors have been wrapped. After last color is finished, use leather glue to secure the yarn in between the leather pieces.
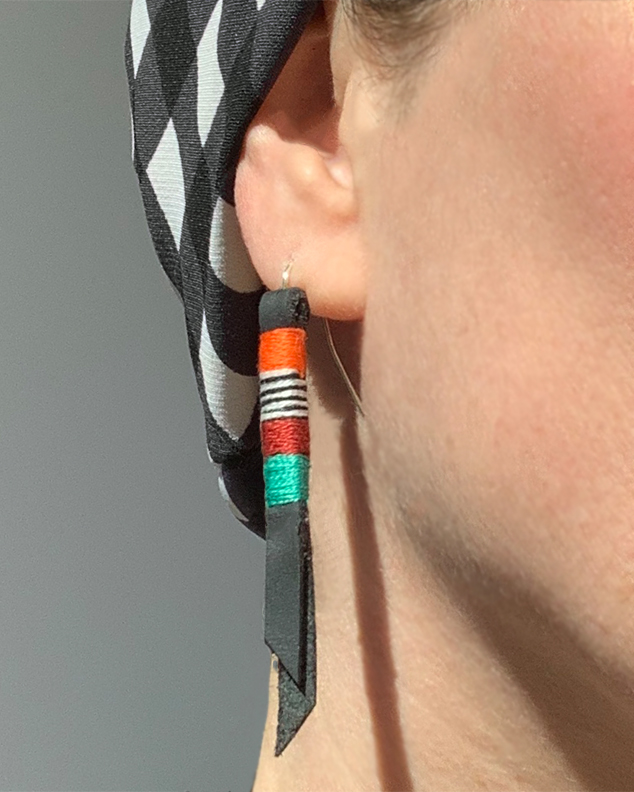
6After embroidery yarn wrapping is completed and final yarn has been secured, carefully cut the yarn tails with the X-acto knife. Take care to not cut the wrapped threads and fray the wrap. Finally, make angled cuts on leather strip ends in staggered lengths. You can make the length shorter or longer depending on what is most flattering for you.
