final edit 3 bunnies

DIY Craft Paper Bunny Easter table decor

What I love most about this project is that all of the parts and pieces are either reusable, consumable or biodegradable. The moss box filled boxes are from a project I did for my wedding and also used as a display during Christmas. The eggs will be consumed by your guests and the bunnies are mostly paper. Recycle them appropriately. At the end of Easter, there are very few items to place in storage.

style shot 4
* This post contains affiliate links to products I use and trust. This means when you purchase using my link below I may receive a commission at no extra cost to you.

Materials

  • 11 x 8.5 card stock craft paper sheets
  • Glue stick
  • Thin wood dowel
  • Small wooden boxes. I found these at Michaels and they tend to carry them at most locations.
  • Moss – I used three varieties in different colors and textures. To cover the foam blocks I used moss that available in sheets and 2 additional varieties that are sold in clumps that can be pulled apart. If you want to keep it simple you could manage this project just using the moss sheets.
  • Dry Foam bricks (green) –I used blocks that are 2.625” x 3.5” x 7.875”and typically come in packs of 6, which is enough
  • White chalk paint

Tools

  • Printer
  • Scissors
  • Paint brush

Instructions (Boxes)

1Paint walls of boxes with white chalk paint. There is no need to paint the bottom or inside of the boxes. The inner portion of the box will not be visible once the moss inserted. Allow to dry completely.
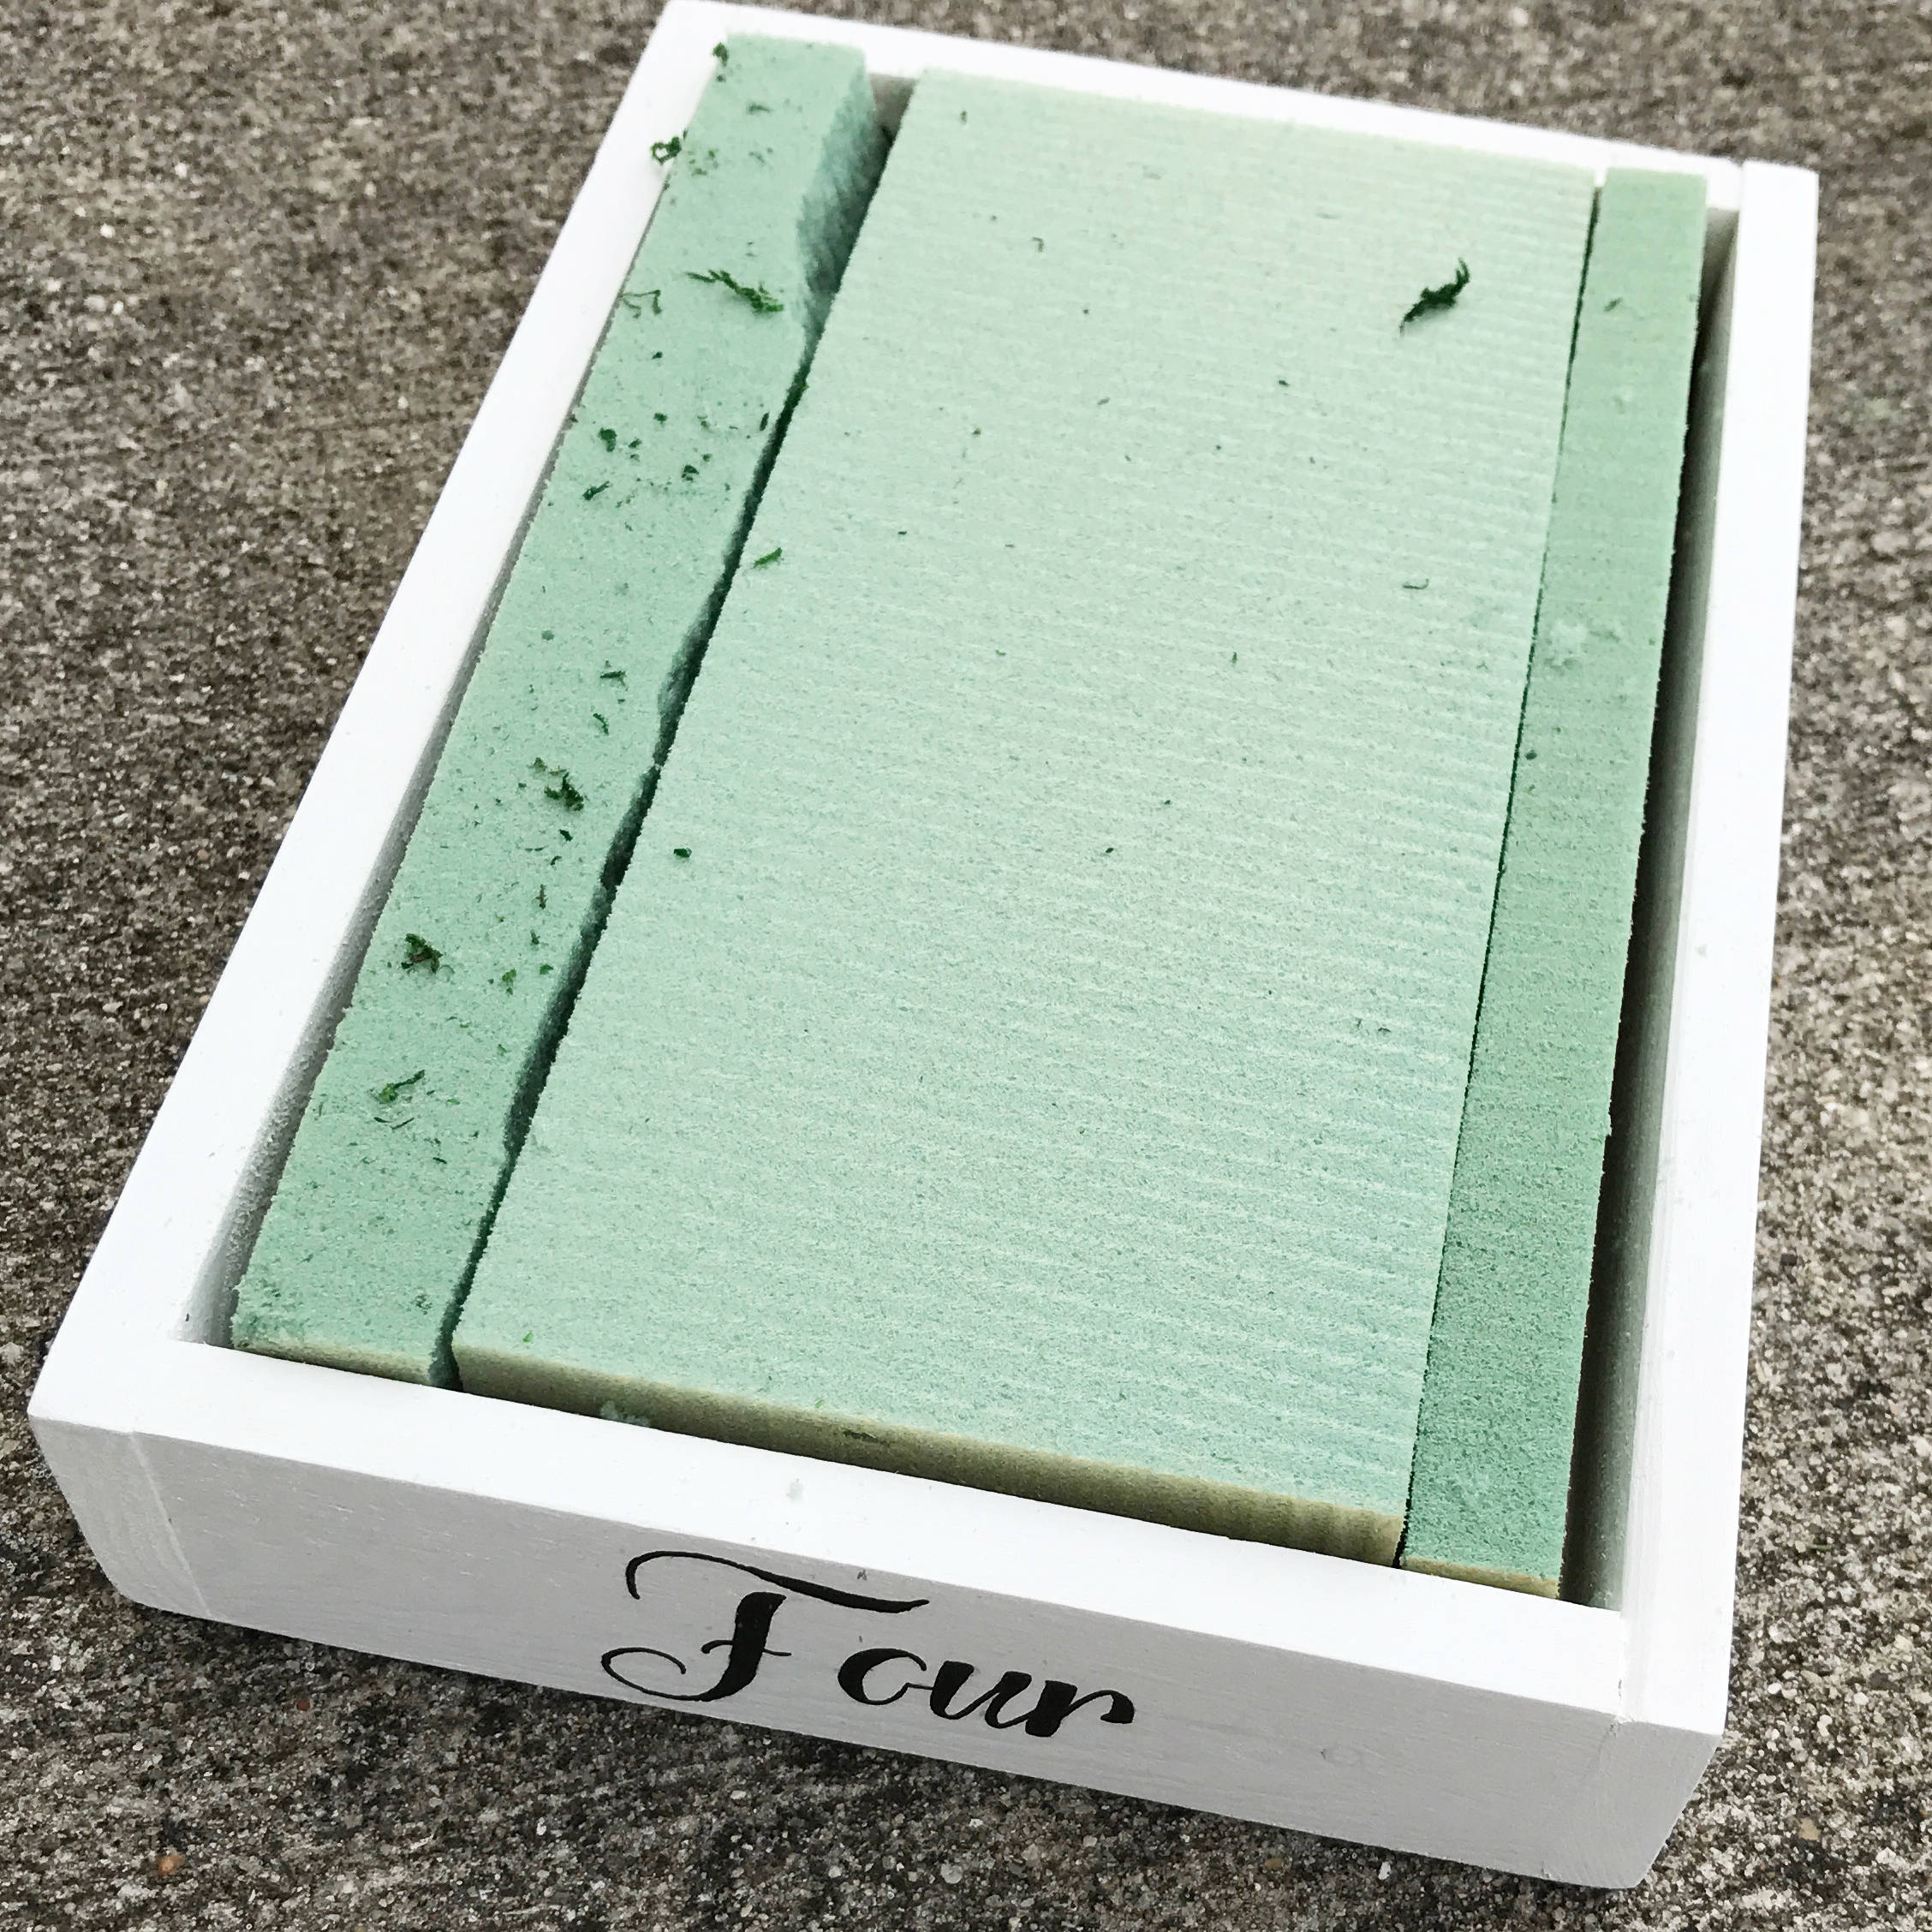
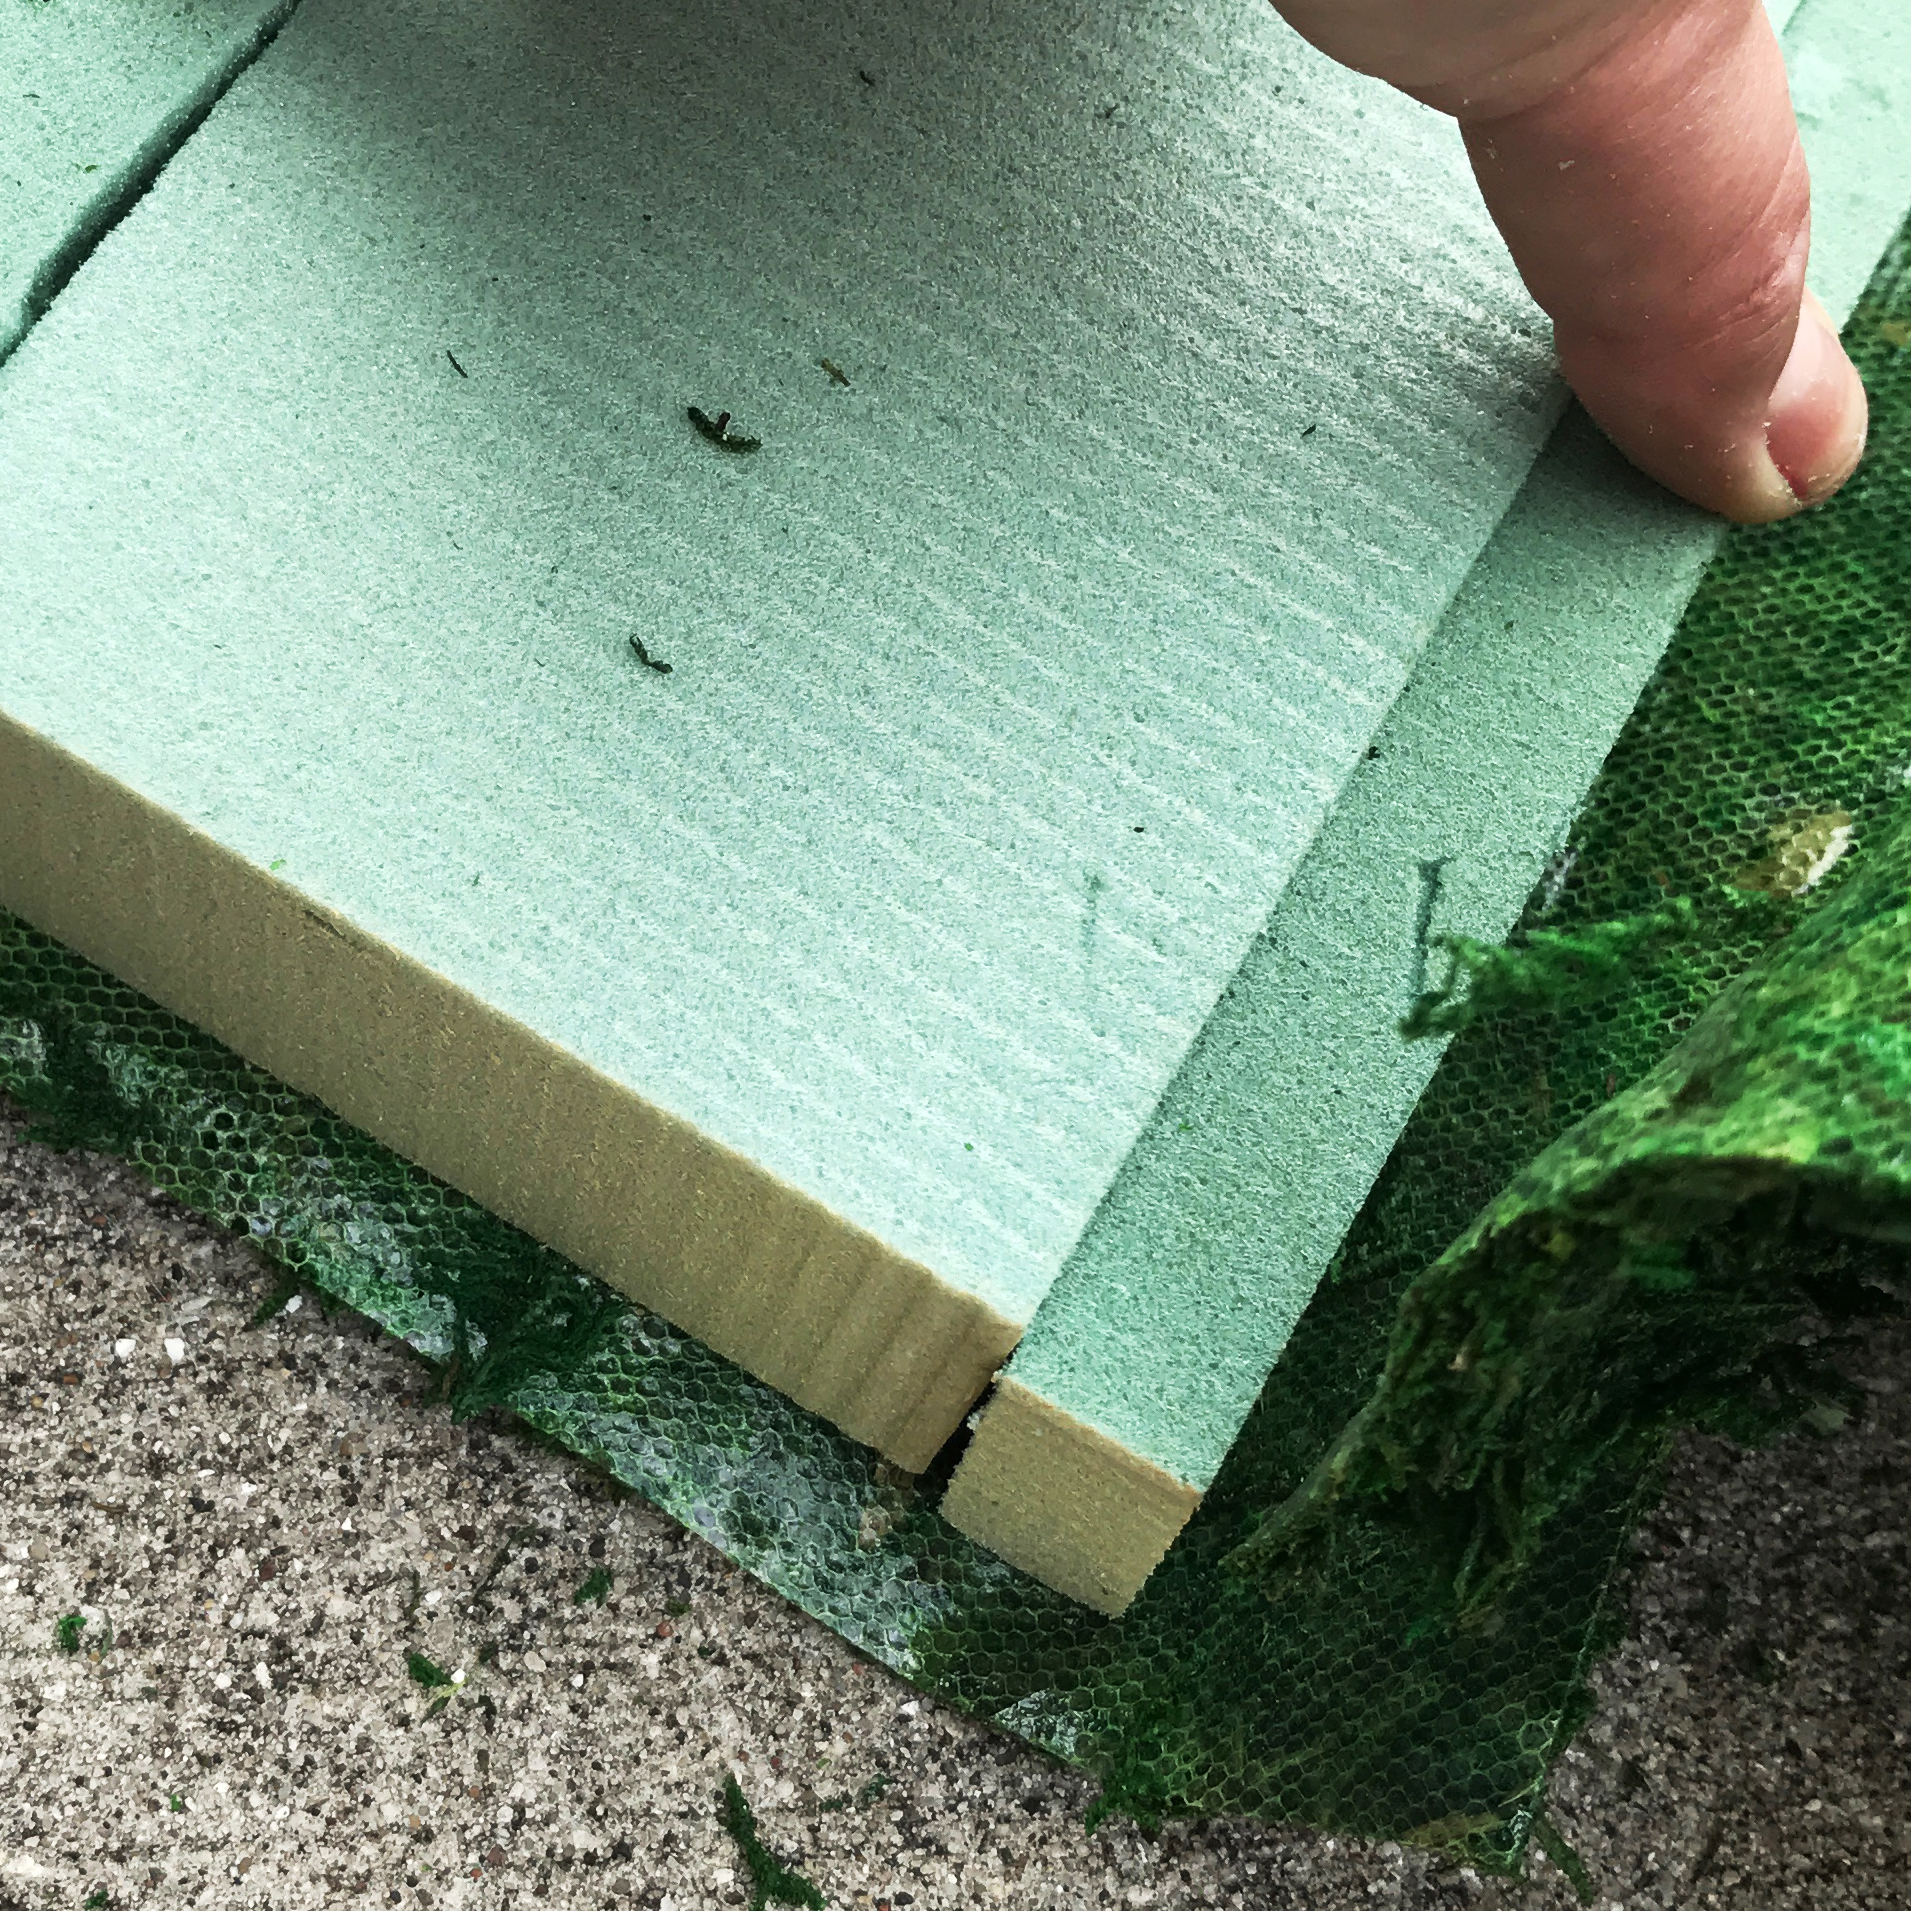
2To fill the moss boxes, cut the foam to fit so that the foam is flush with the top of the box walls and there are approximately 1/8” gaps between the box walls and foam form. The slight gap allows you to wrap the moss around the foam and have everything fit snuggly.
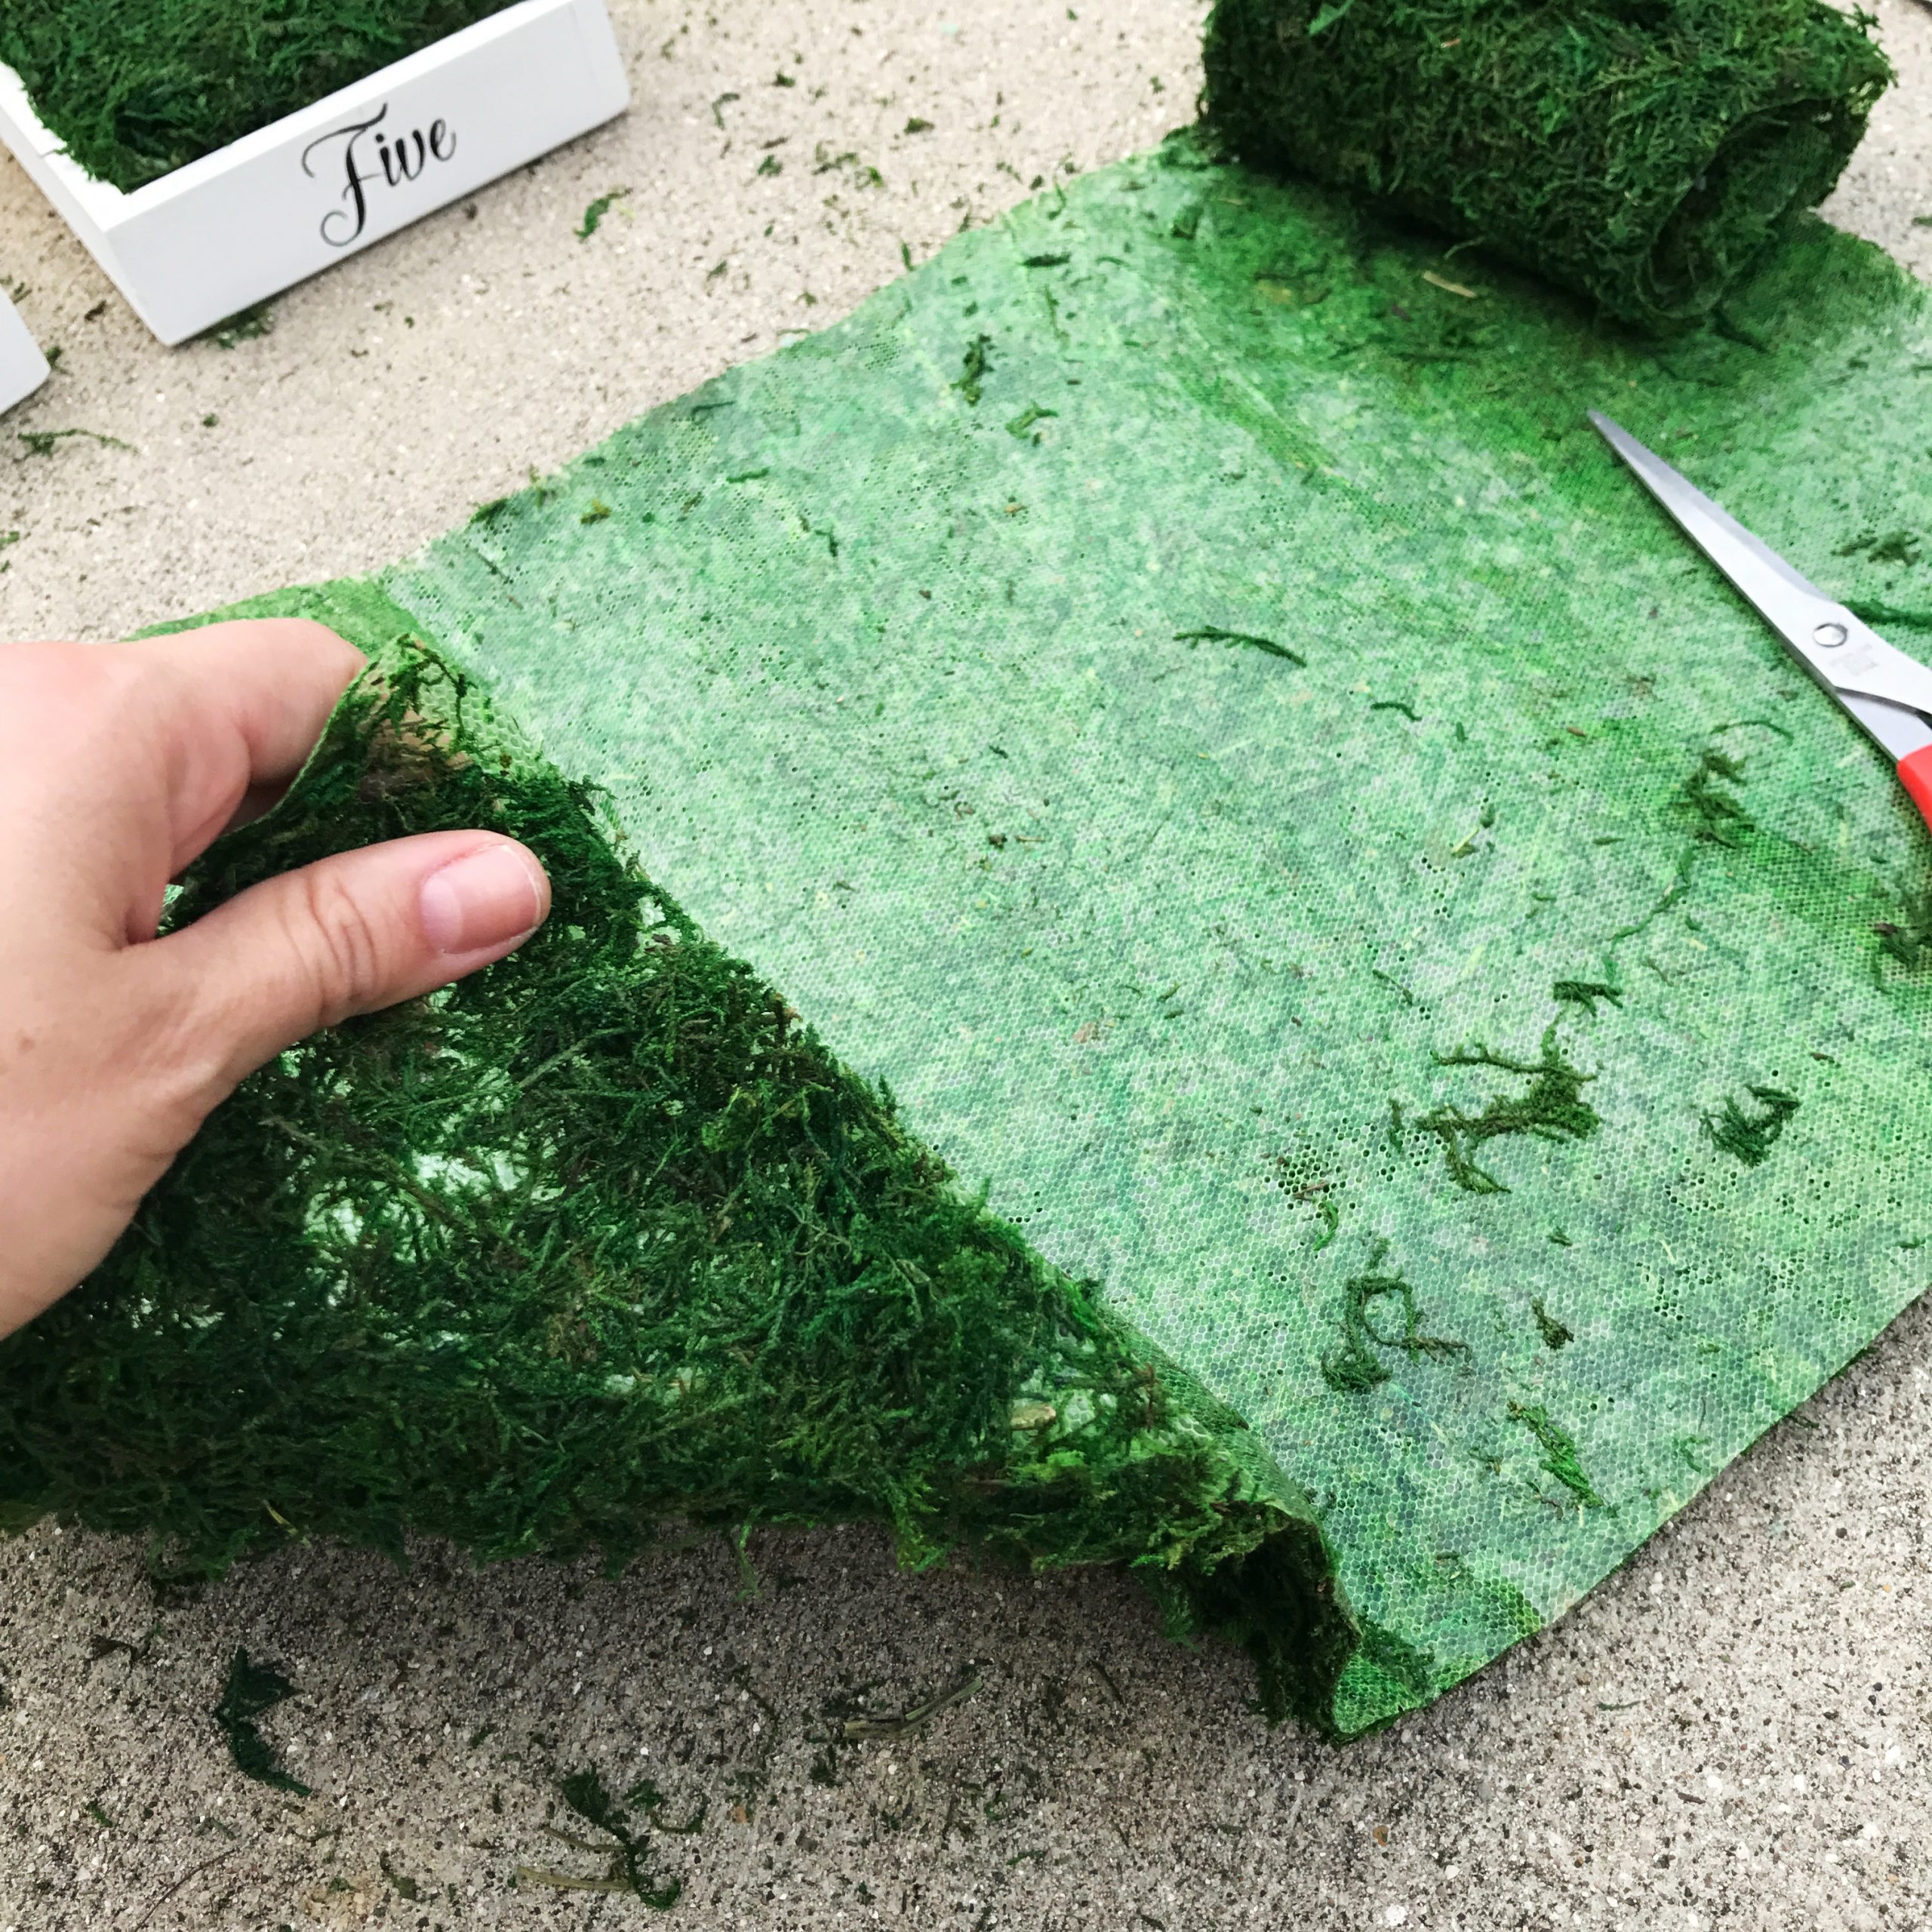
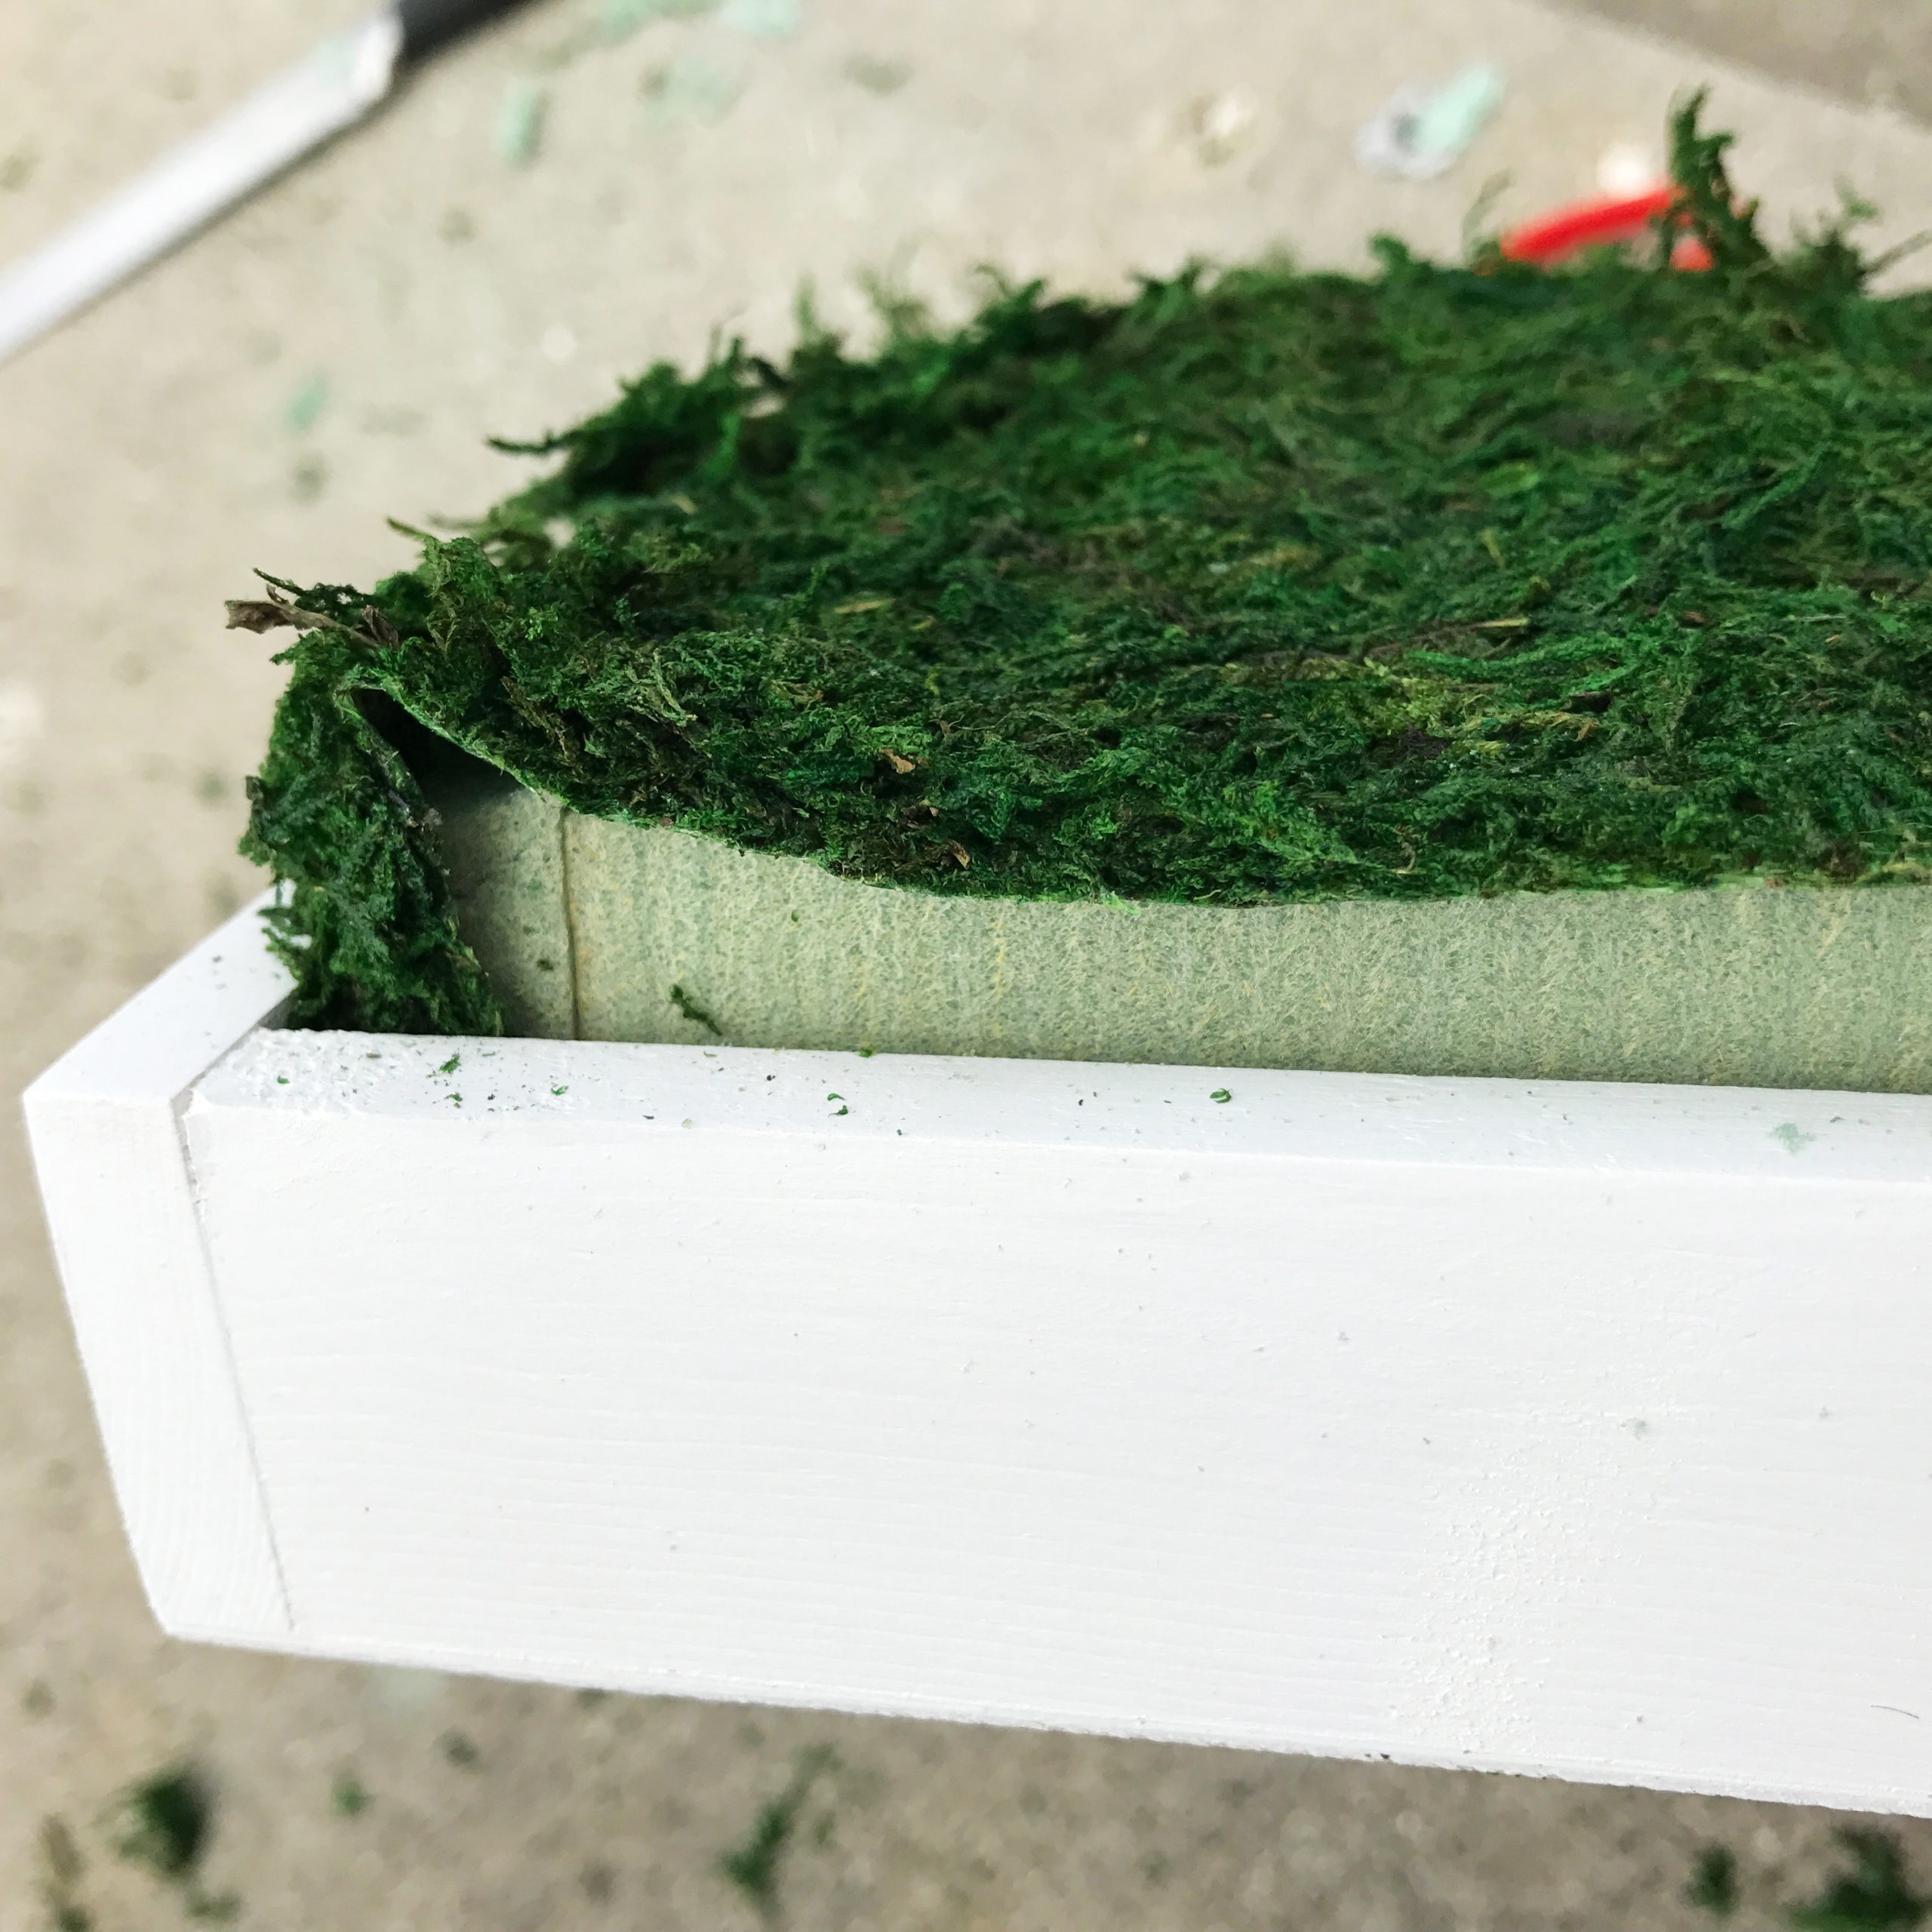
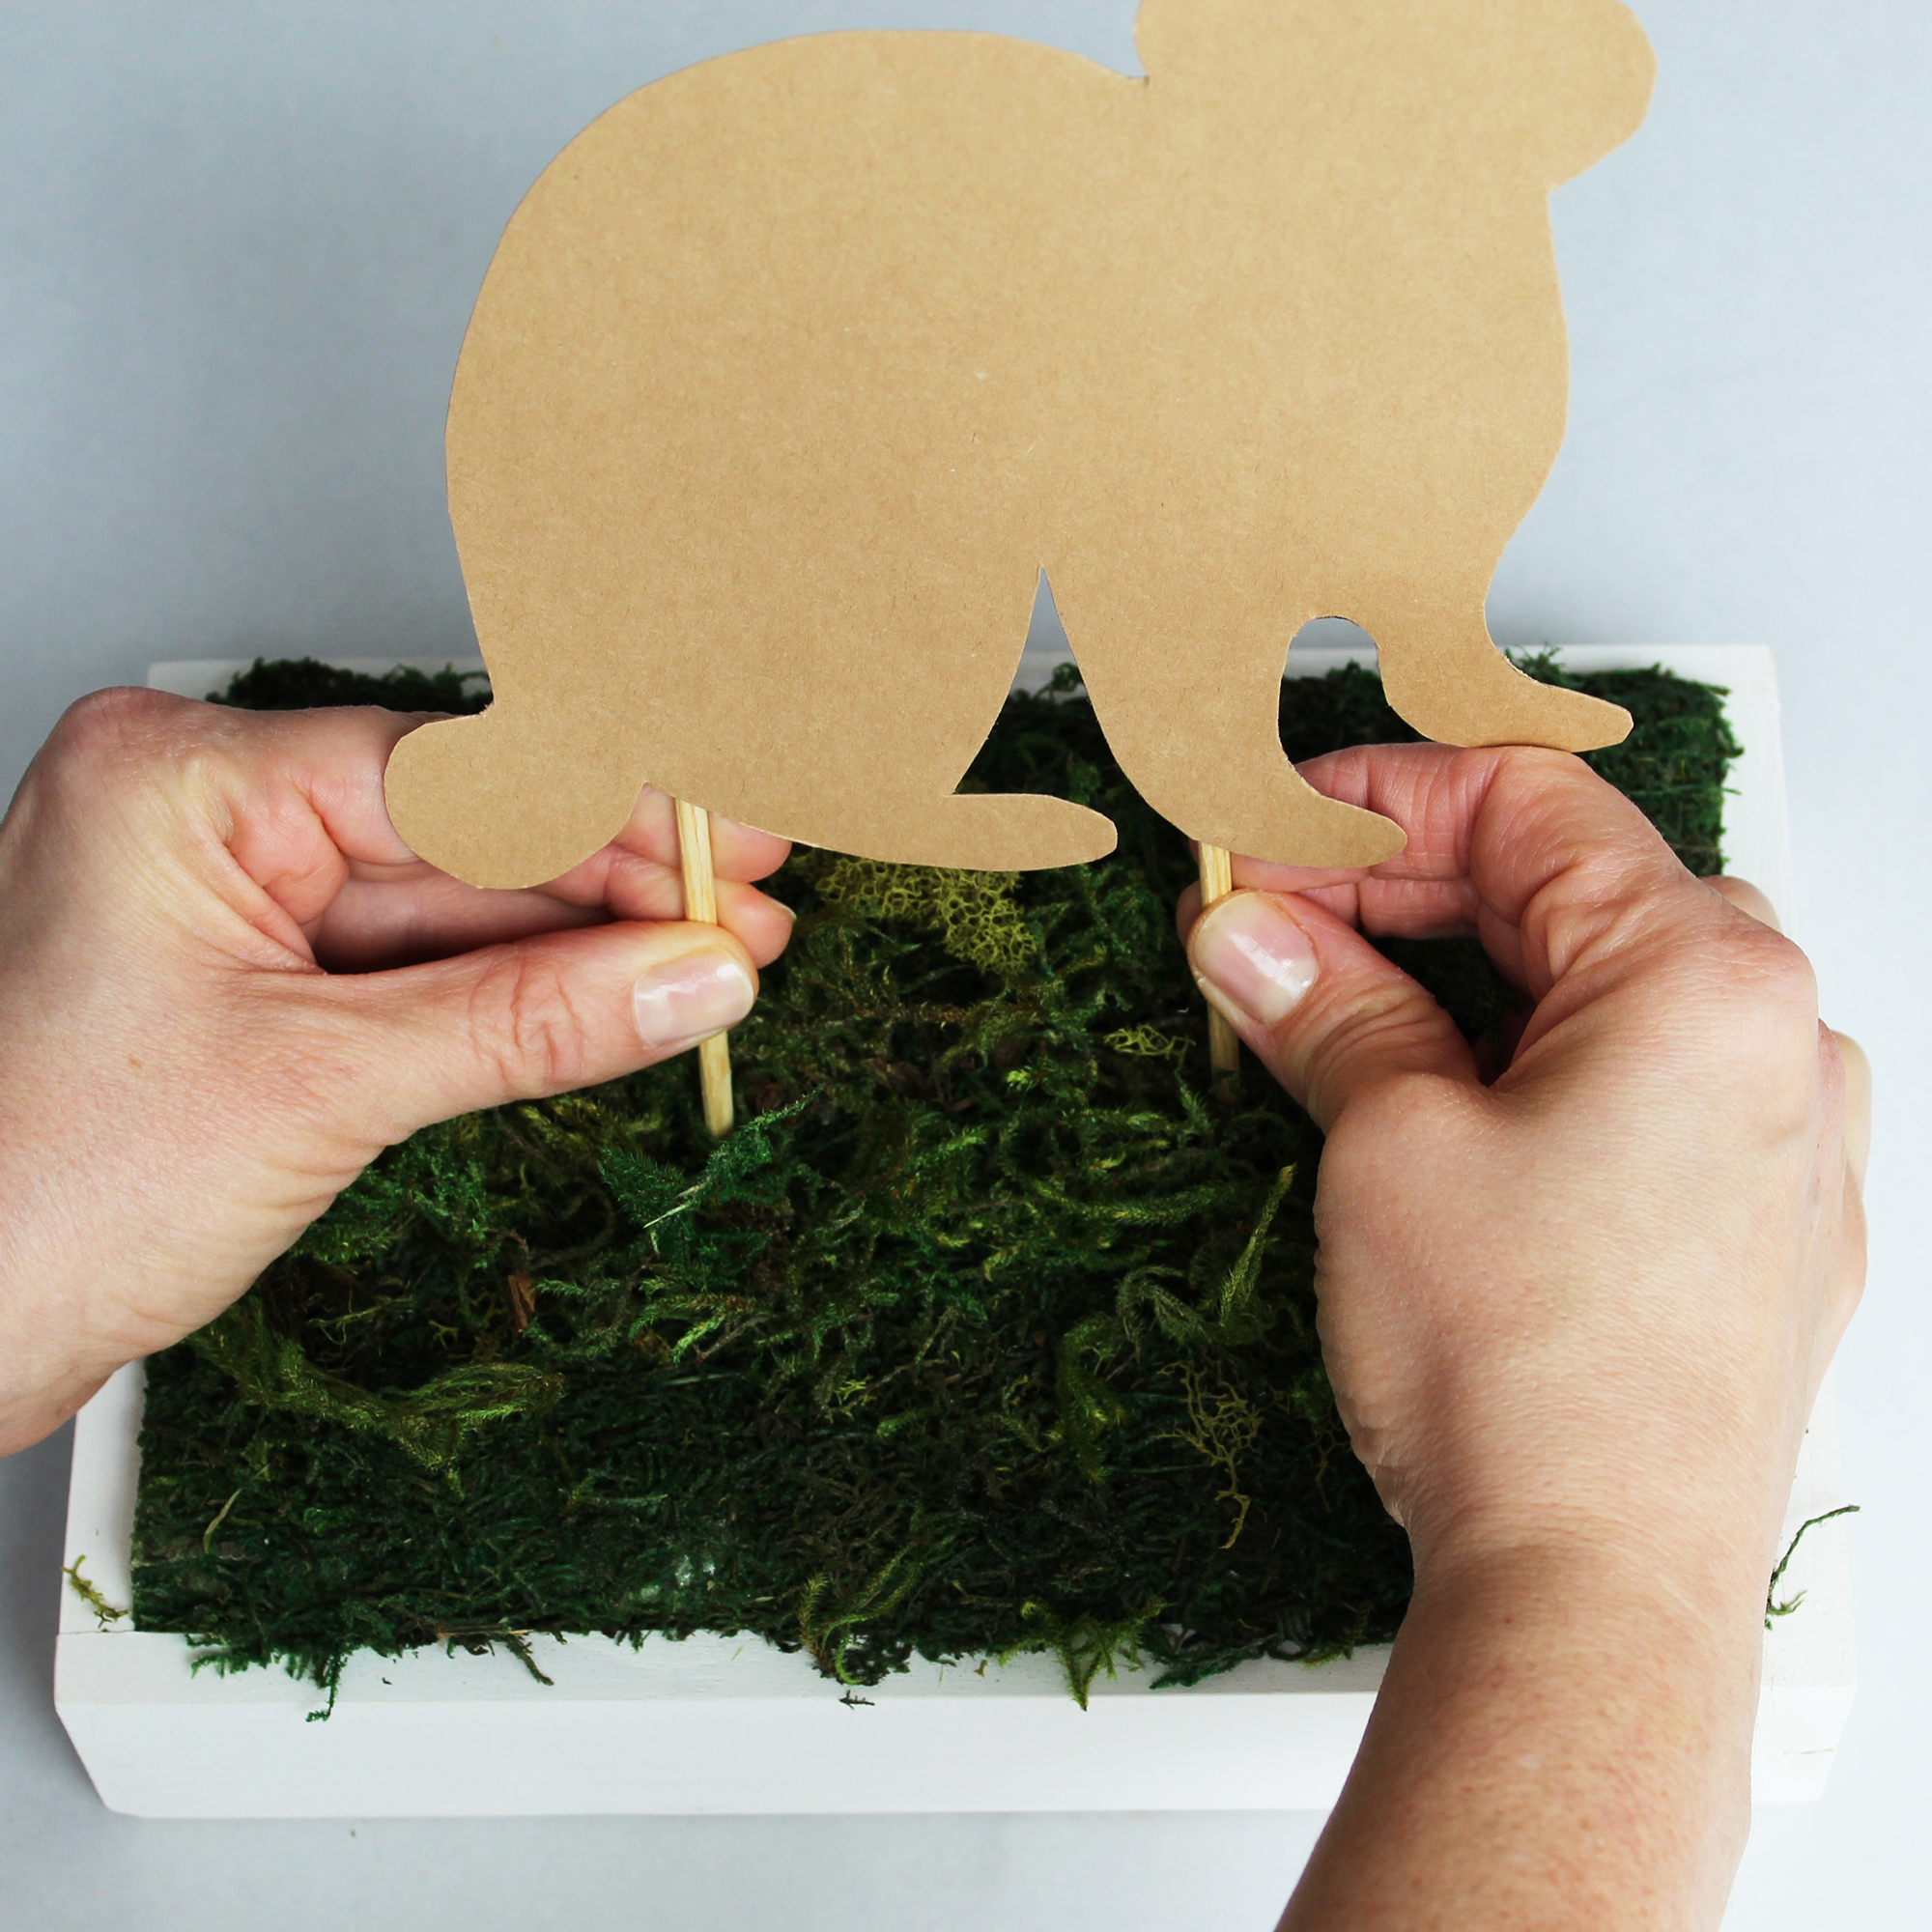
3Wrap the foam pieces in the sheet moss and push into boxes. To clean the edges, I used a butter knife to gently push the moss sheet into the side gap and smooth out any bubbles.

Instructions (Bunnies)

1Download the leaping bunnies PDF template. Print bunnies on your printer using the 11 x 8.5 size card stock craft paper. If you are having difficulty printing directly on the craft paper, print out on a standard sheet of paper and cut along the lines with craft paper stacked behind template.
2You will need two pieces of card stock for each bunny. Cut down the piece of printed paper about an inch away from the print lines. Glue the top potion of the bunny to the bottom sheet to keep in place leaving the bottom portion of the bunny unglued so that you can insert the sticks later. Cut slightly inside the lines to cut out the bunny completely.
3Cut down the wooden dowels. One 6 “ piece / two 8” pieces / 2 6” pieces
4Continue the glue application to the rest of the inside of the paper bunny. Lay wood dowels in place and press closed. If you want to the bunnies to be 2 sided, please note that there will be slight gapping / bubbling around the dowels that should not be smoothed. To make my bunnies smoother, I gently pressed the back paper down along the sides of the dowels so that the front would lay flat.
5Push wood dowels attached to the completed bunnies into foam. Add eggs once guests arrive (if you are using eggs that require refrigeration) and enjoy!
styleshot1
style shot 3 (2)

Share this post

Share on facebook
Share on twitter
Share on pinterest
Share on print
Share on email