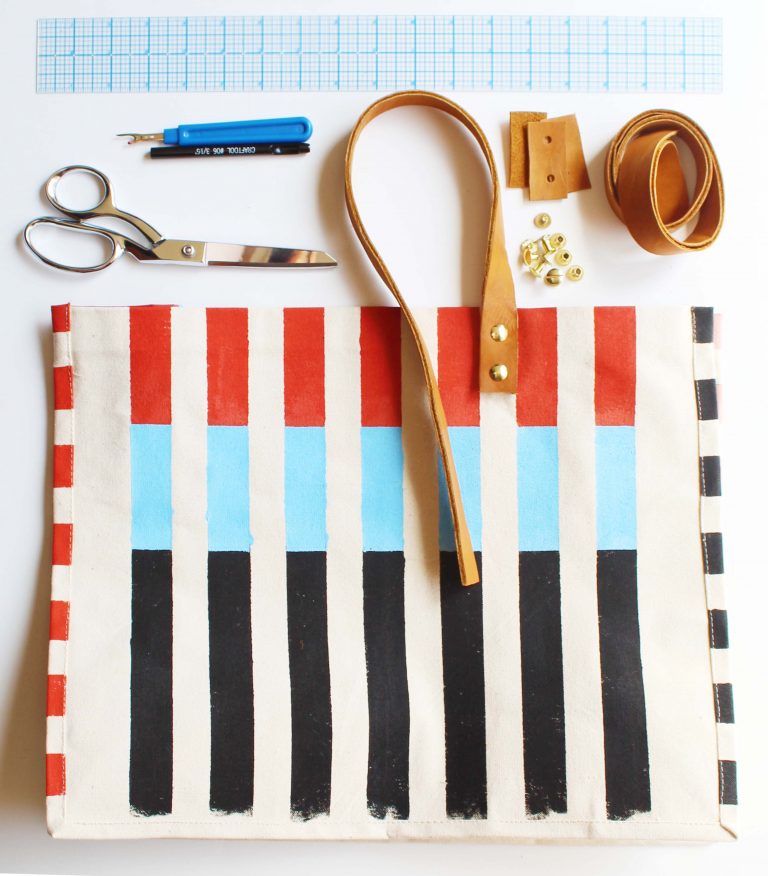
Dreaming of warm summers days, fresh veggies and handmade soap? Prepare to collect all of your finds in this stylish and multi purpose Farmers market tote. What I love most about this project is that you really can modify the color to fit your personal style. All of the colors I used to create the stripes are hand mixed by me. Stripes are universal so you really can make this your own. The finished product of this project looks incredible. Slight imperfections in the painted stripes and leather handle give this tote an authentic charm. Don't worry about absolute perfection.
* This post contains affiliate links to products I use and trust. This means when you purchase using my link below I may receive a commission at no extra cost to you.
1After purchasing tote pattern through the link above, assemble the tote pattern following instructions in the print out. The purchased pattern also indicates where you will want to apply painters tape to create the stripe pattern.
2Lay out pattern on top of fabric to cut out pieces. Make sure fabric is folded in half lining selvage edge to selvage edge to eliminate fabric twisting. Pin paper pattern to fabric along the perimeter of the pattern pieces. The longer piece will be cut on the fold to make the sides and bottom of tote. After cutting you should have two rectangular pieces to that will make the front and back. While pattern pieces are still pinned to the cloth, take you scissors and clip 1/8" markings on either side of the gray bars so that you will know where to apply the painters tape.
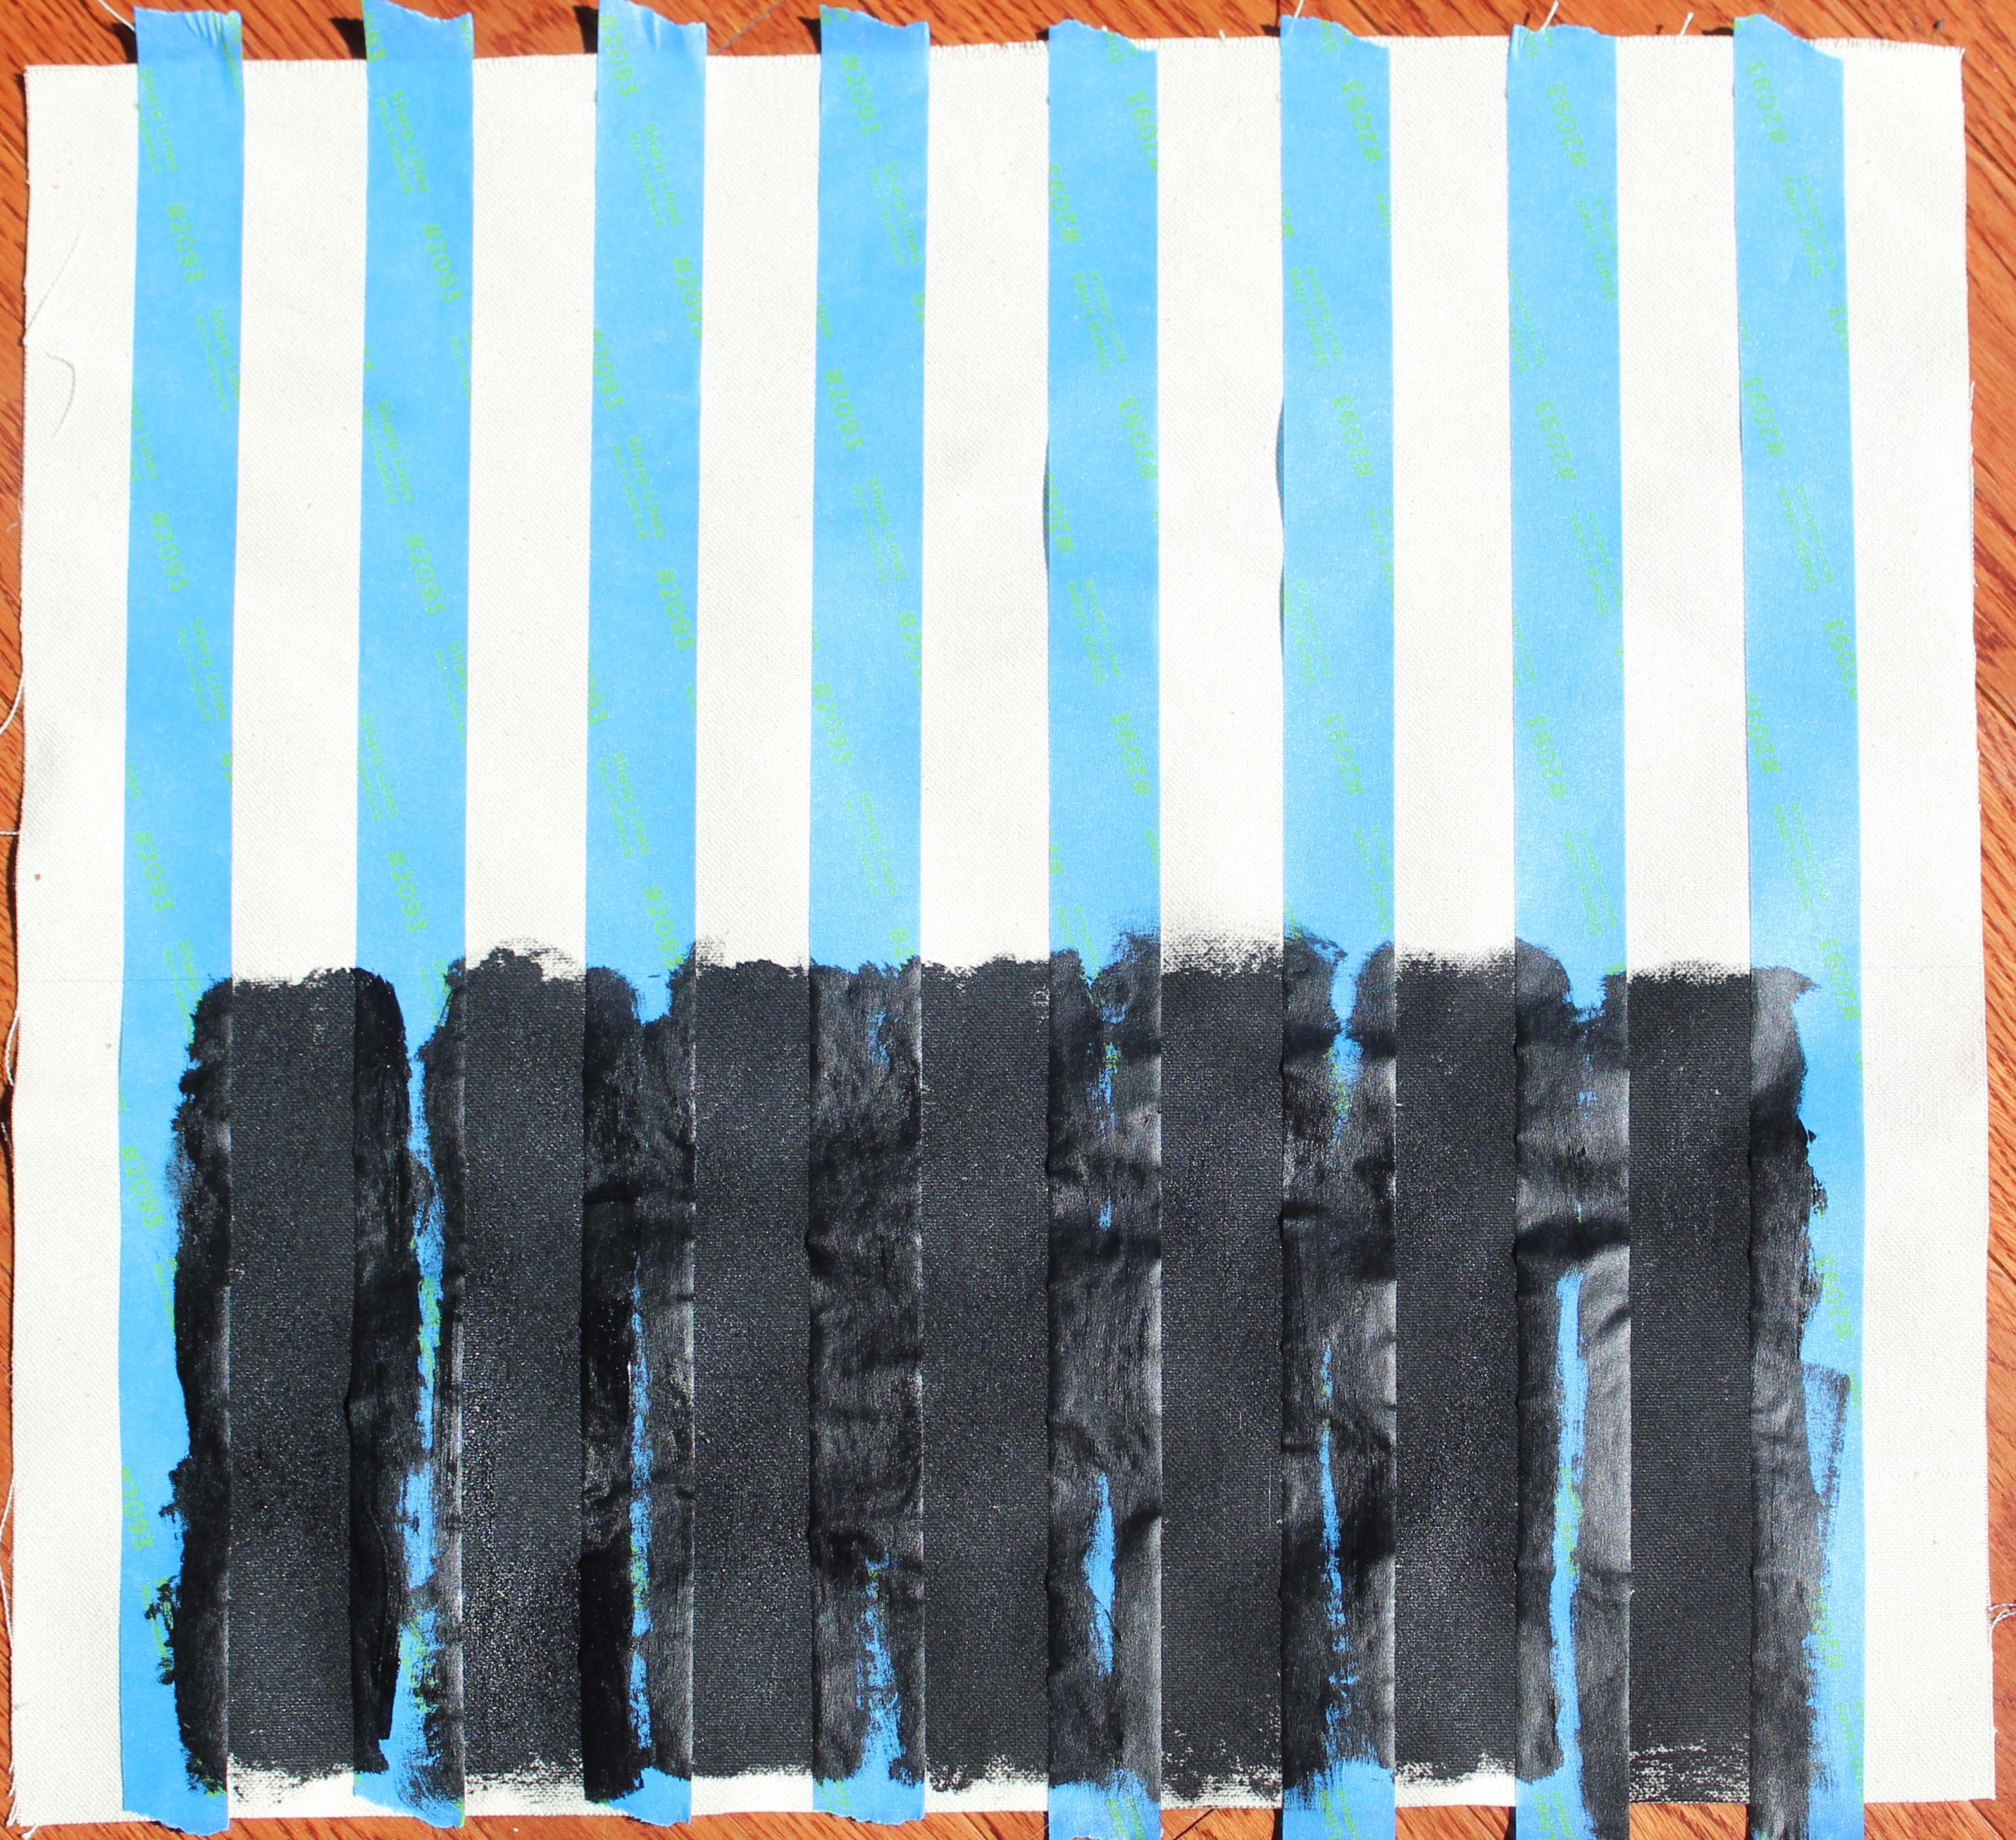
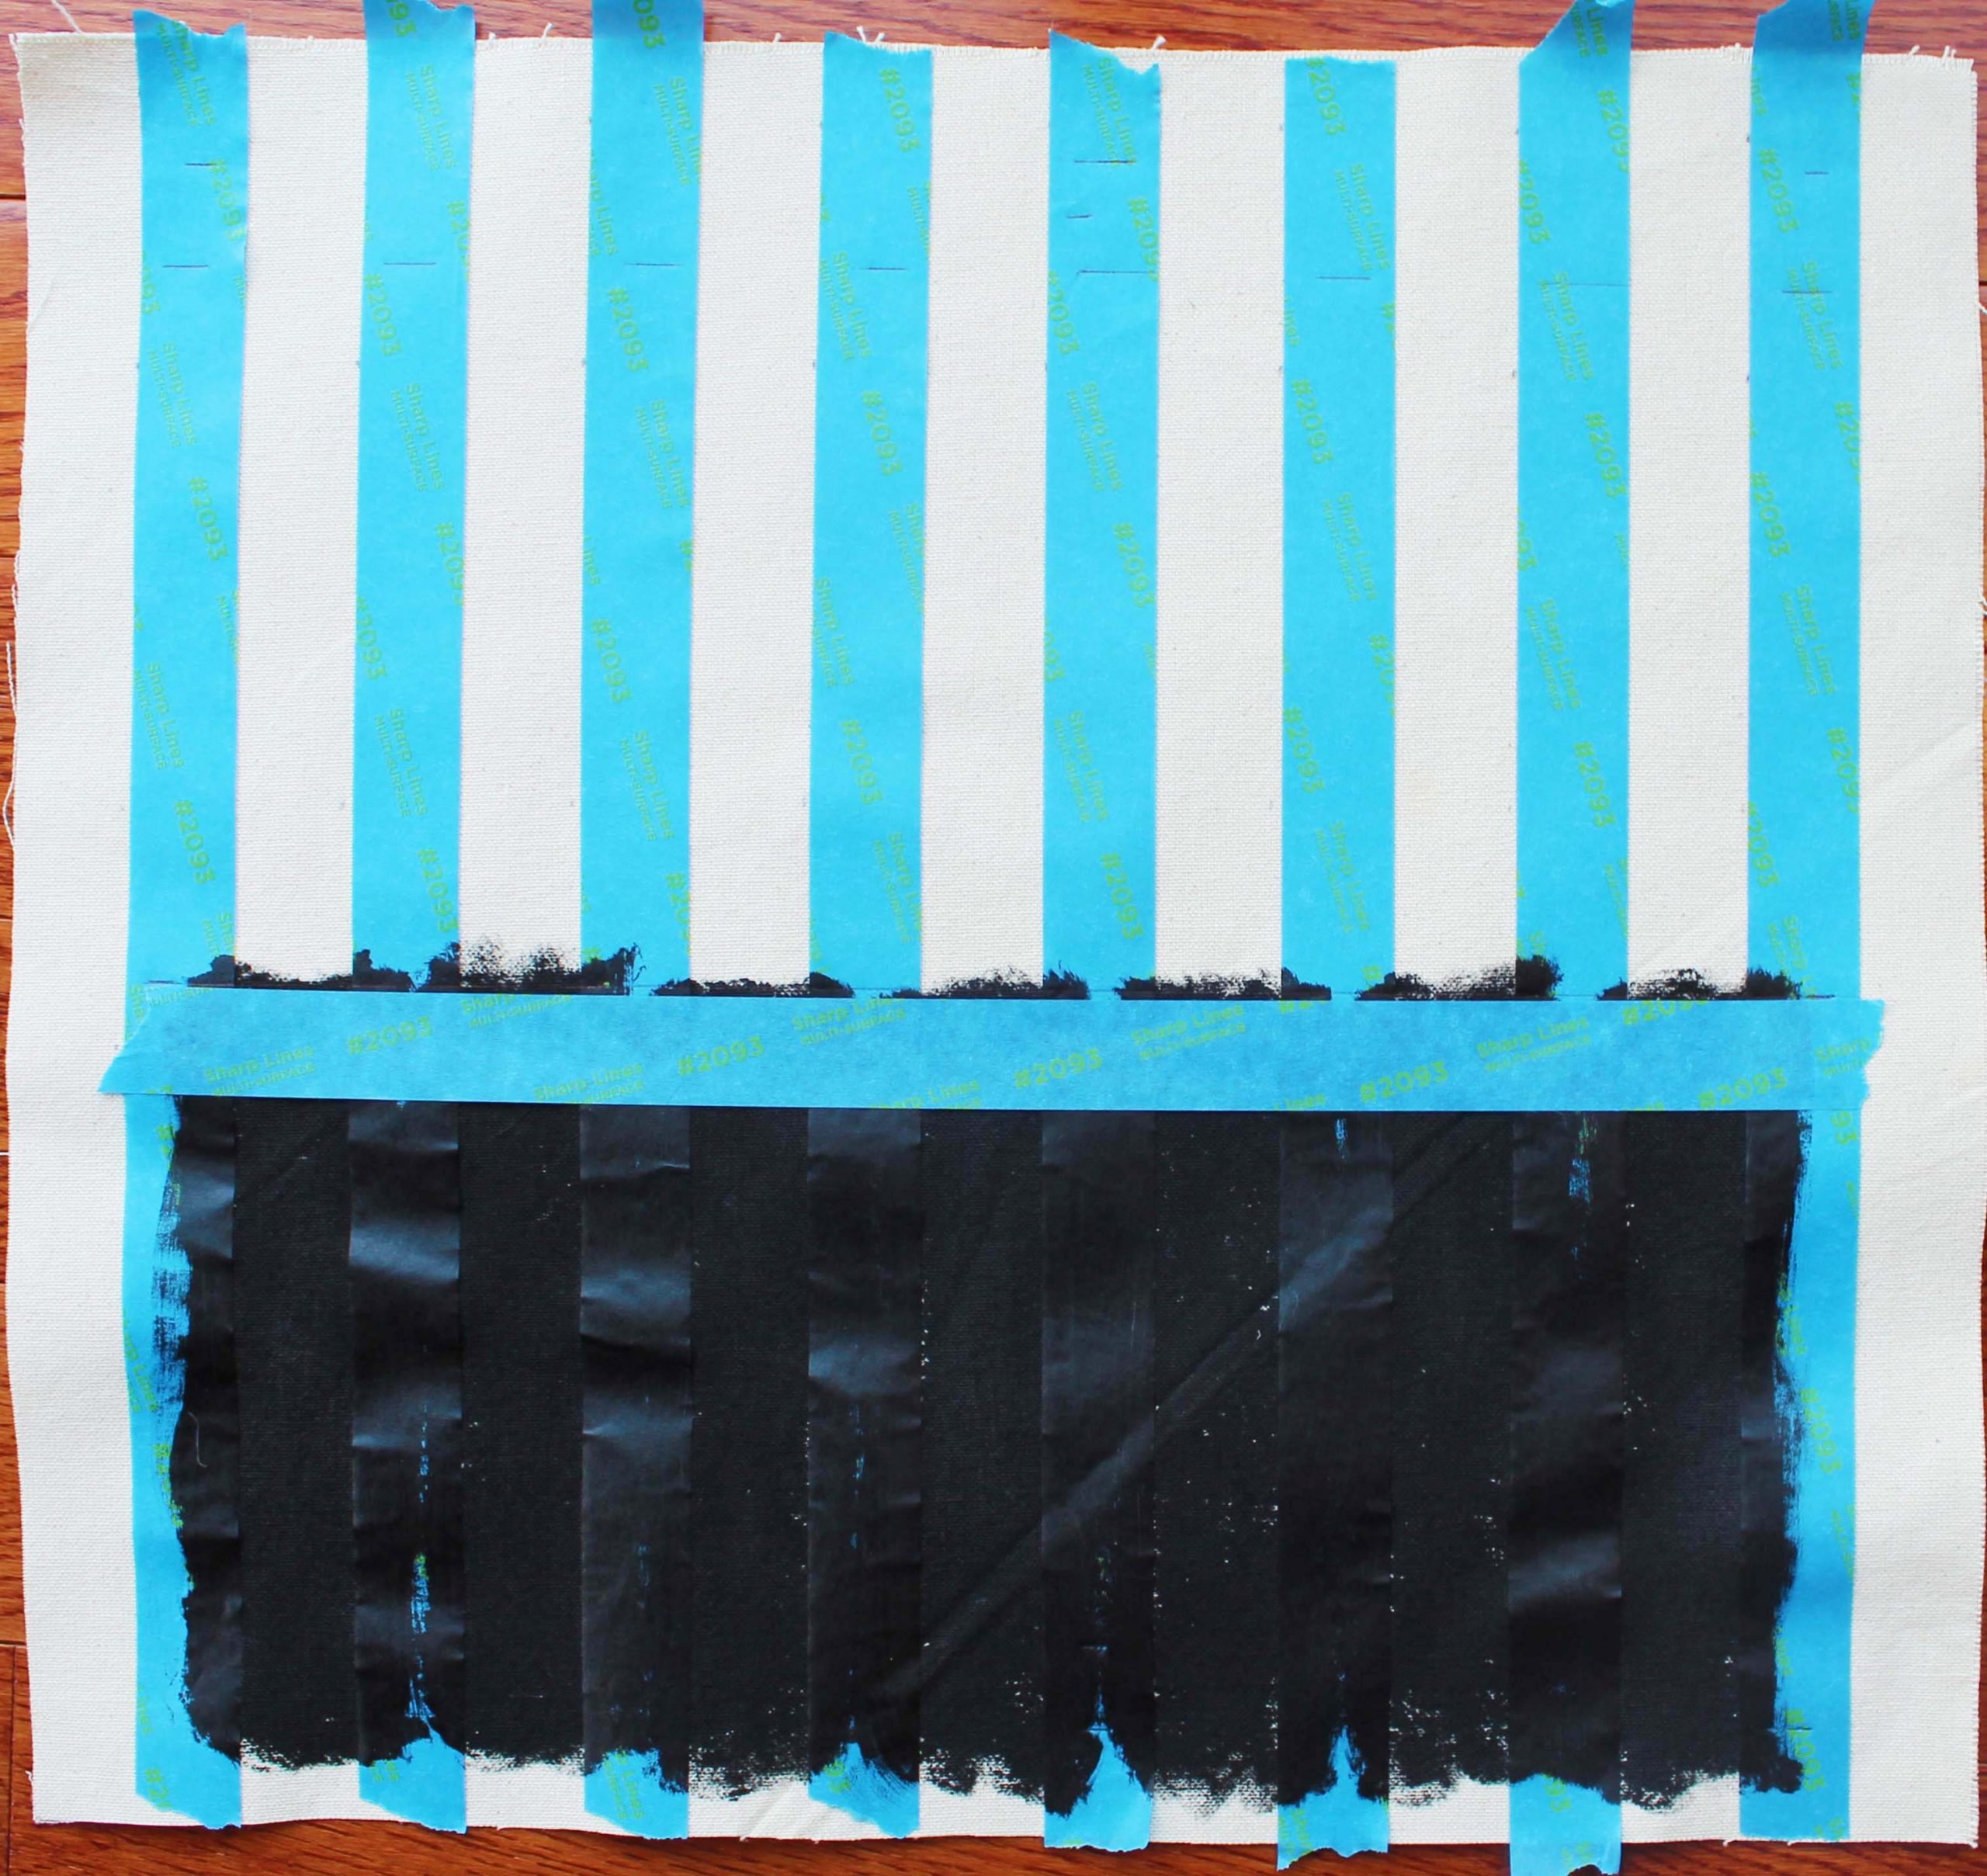
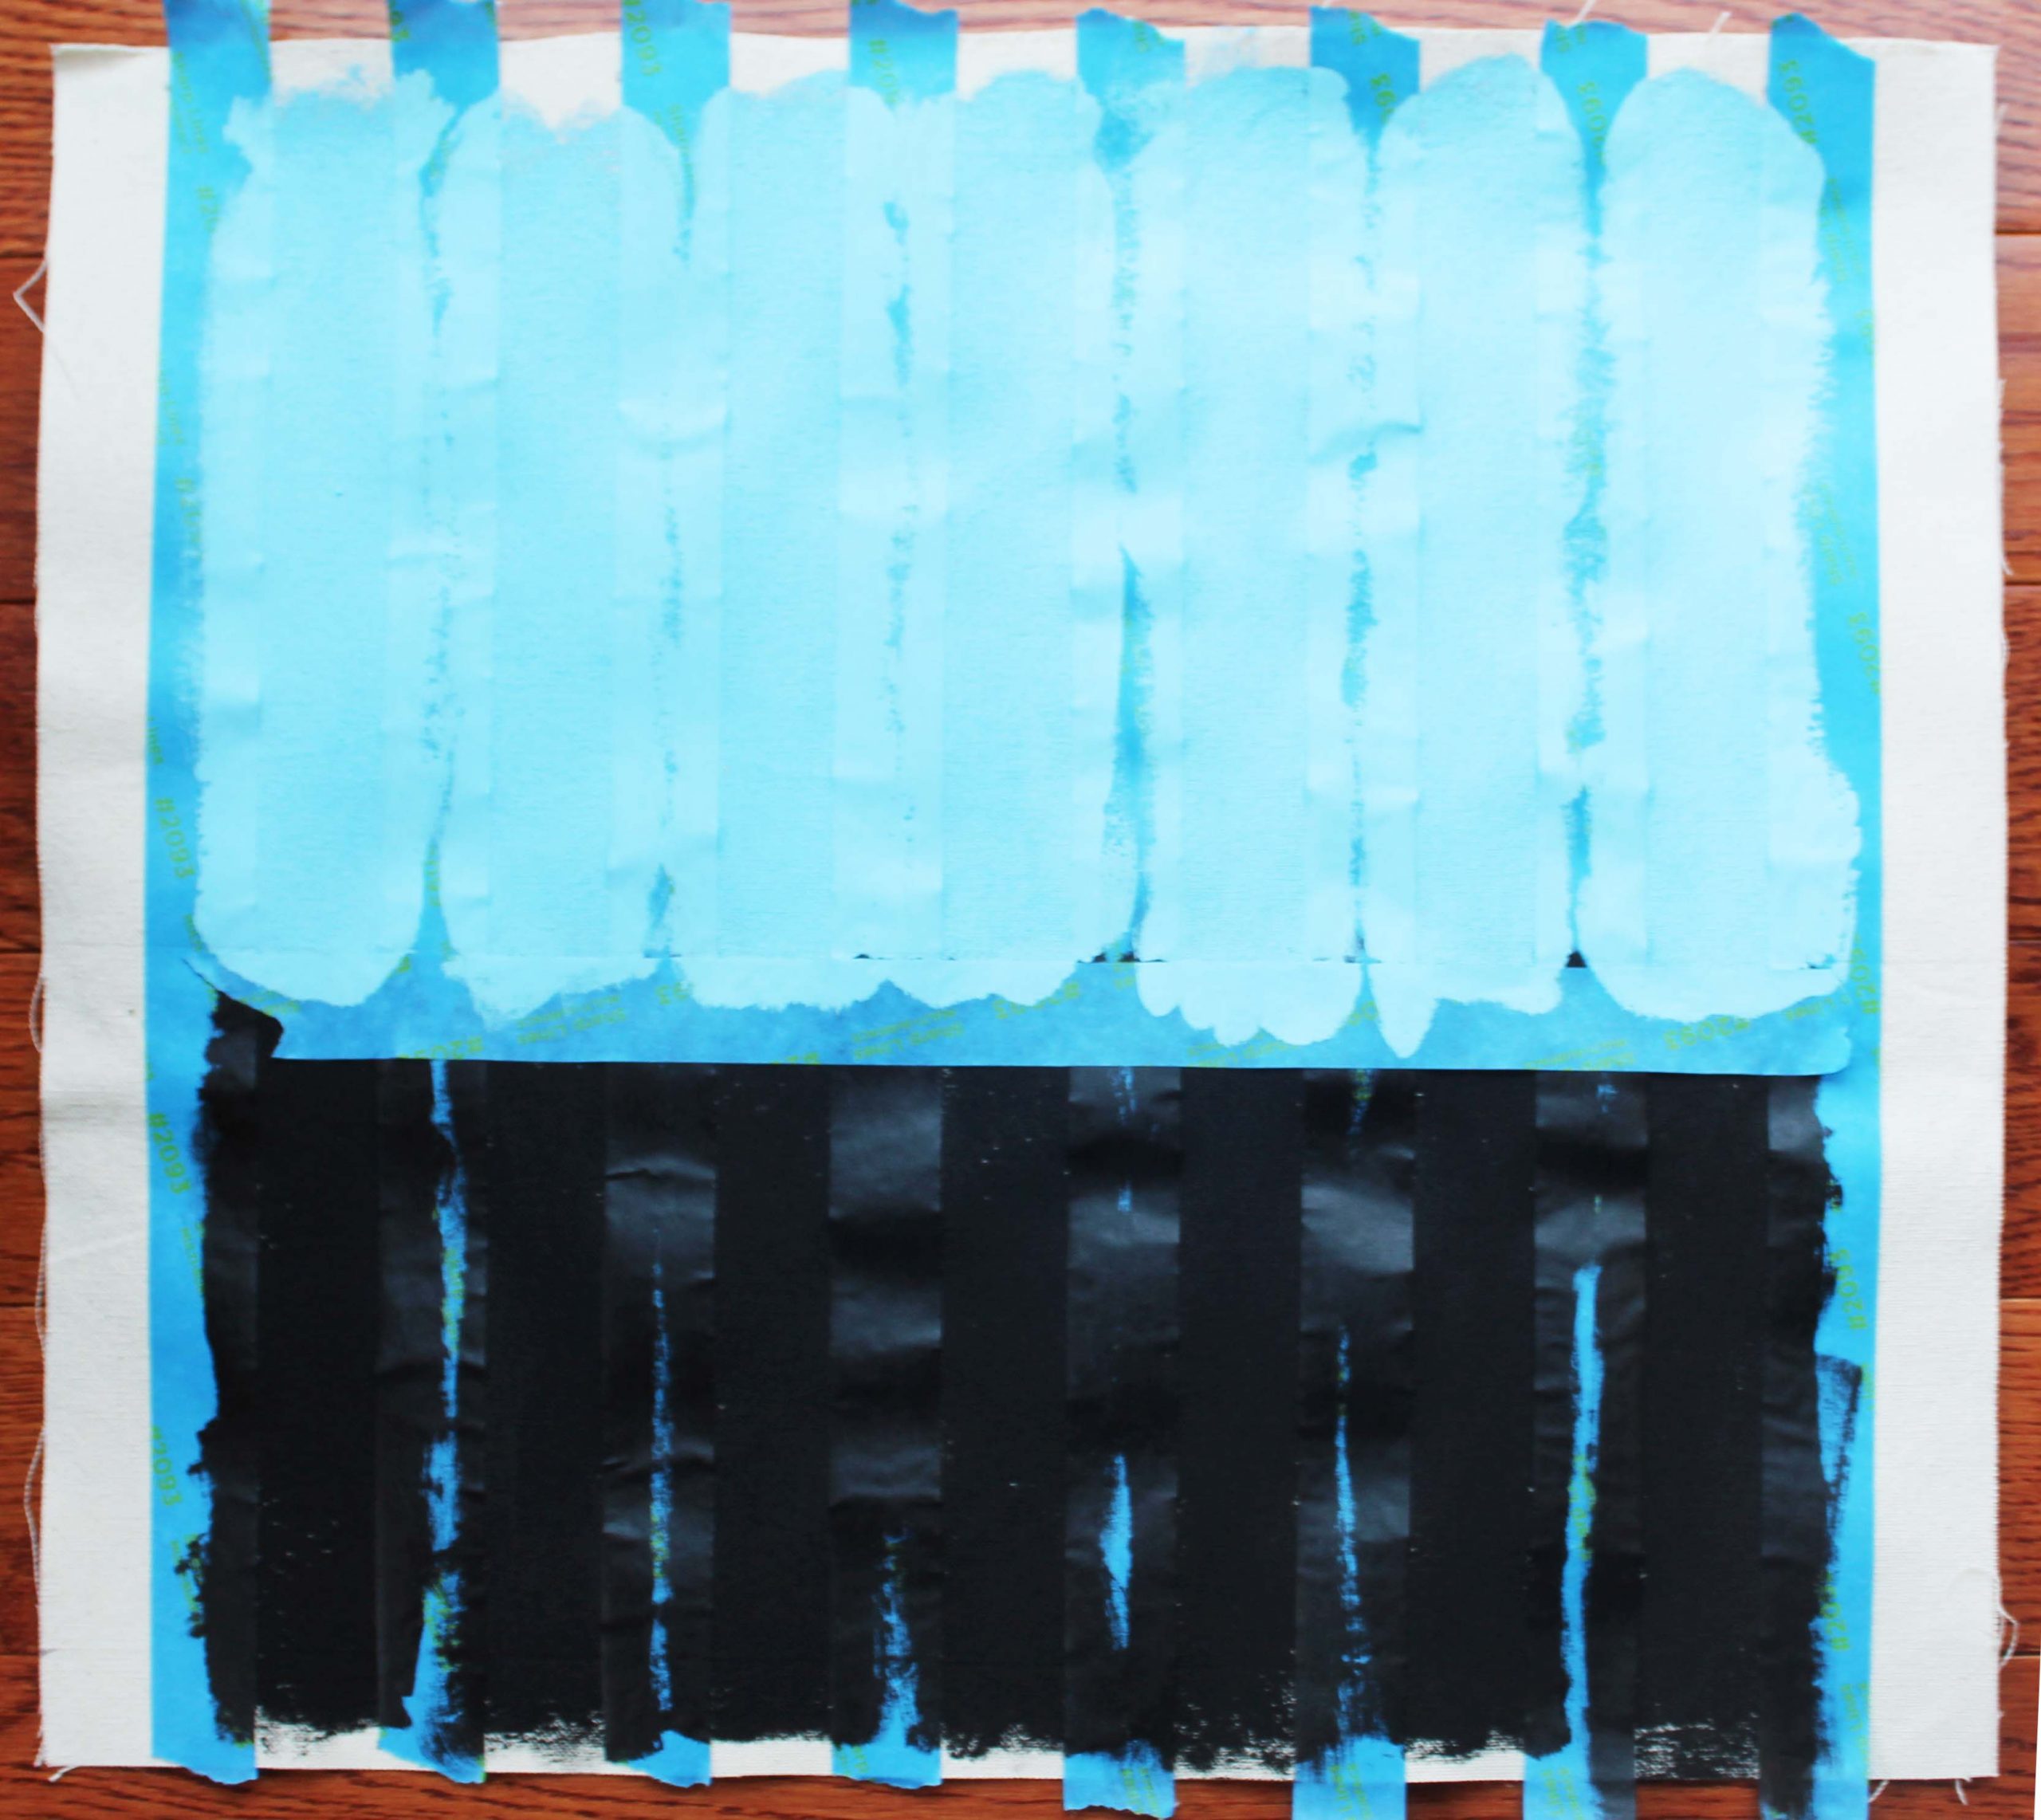
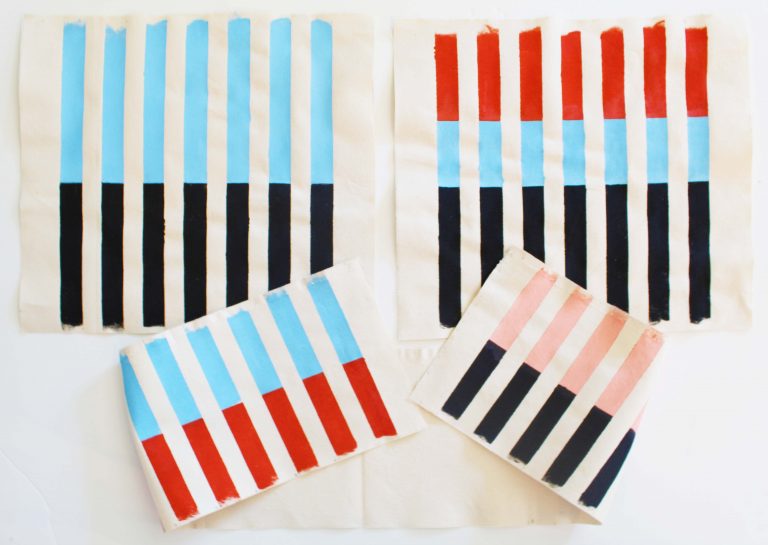
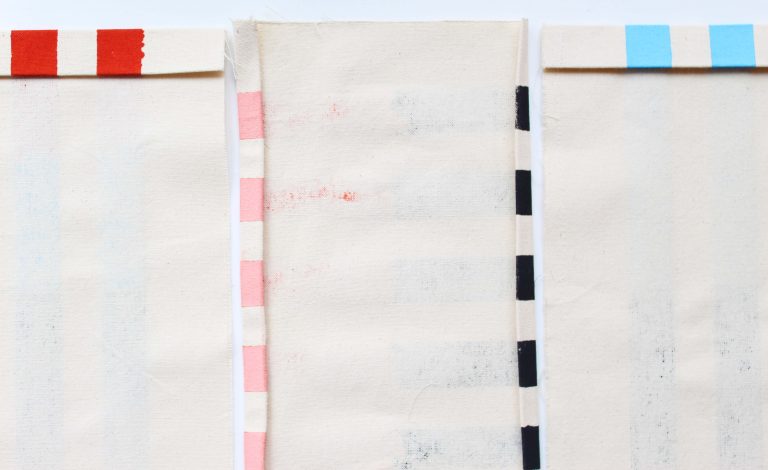
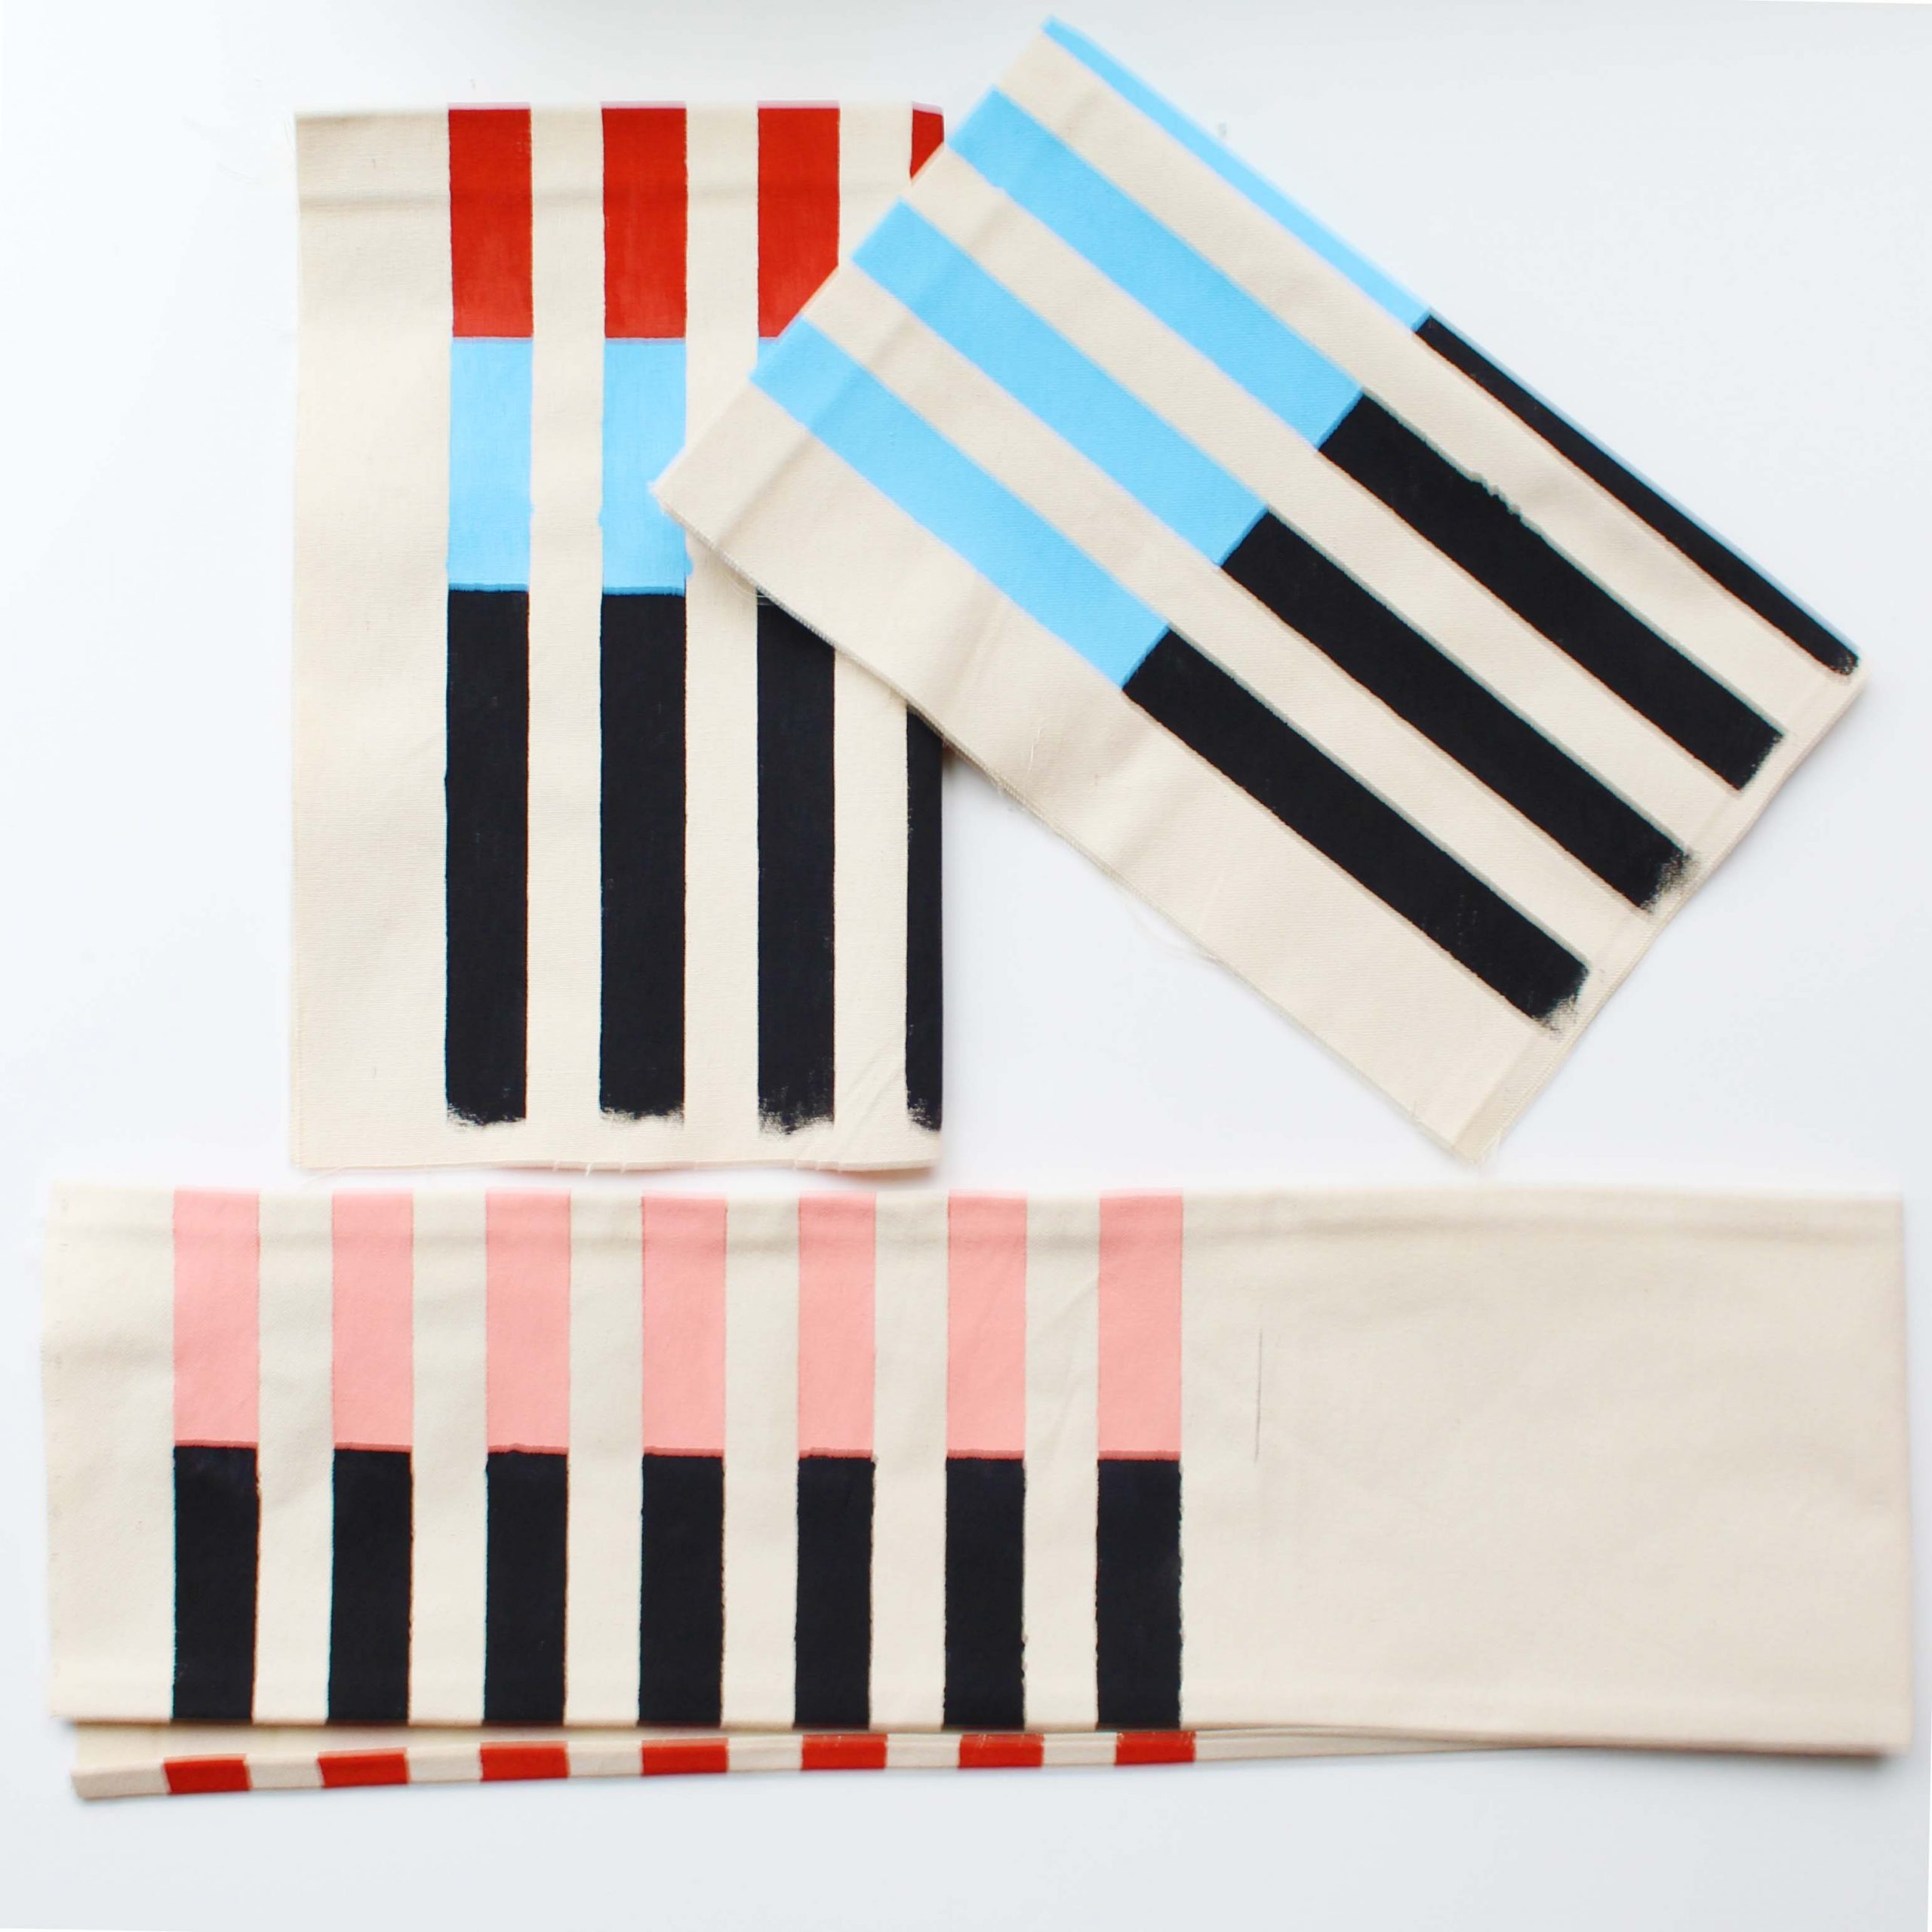
3 After cutting pieces, begin applying tape in the gray spaces indicated in the pattern. After taping, you will want to paint the exposed sections with a brush to create the stripes. If you wish to create a multi color stripe as I have, you will need to allow the painted section to dry (I used a blow dryer to accelerate this) and then apply tape over the stripes running the opposite direction to create crisp edges. I used fabric screen printing ink to create the stripes because the color is more vibrant (see materials links). However, you can use pre mixed fabric paints from any craft store if you don't want to invest in more expensive screen print inks. This is the color mix I created for this tote:
(Rust Red - Red | Hot Pink | Drop of green)
(Light Blue - Blue | White)
(Light Coral - Neon Pink | White)
(Black - As is).
Allow paint to dry and Iron to set. Follow instructions on the product label to do so.
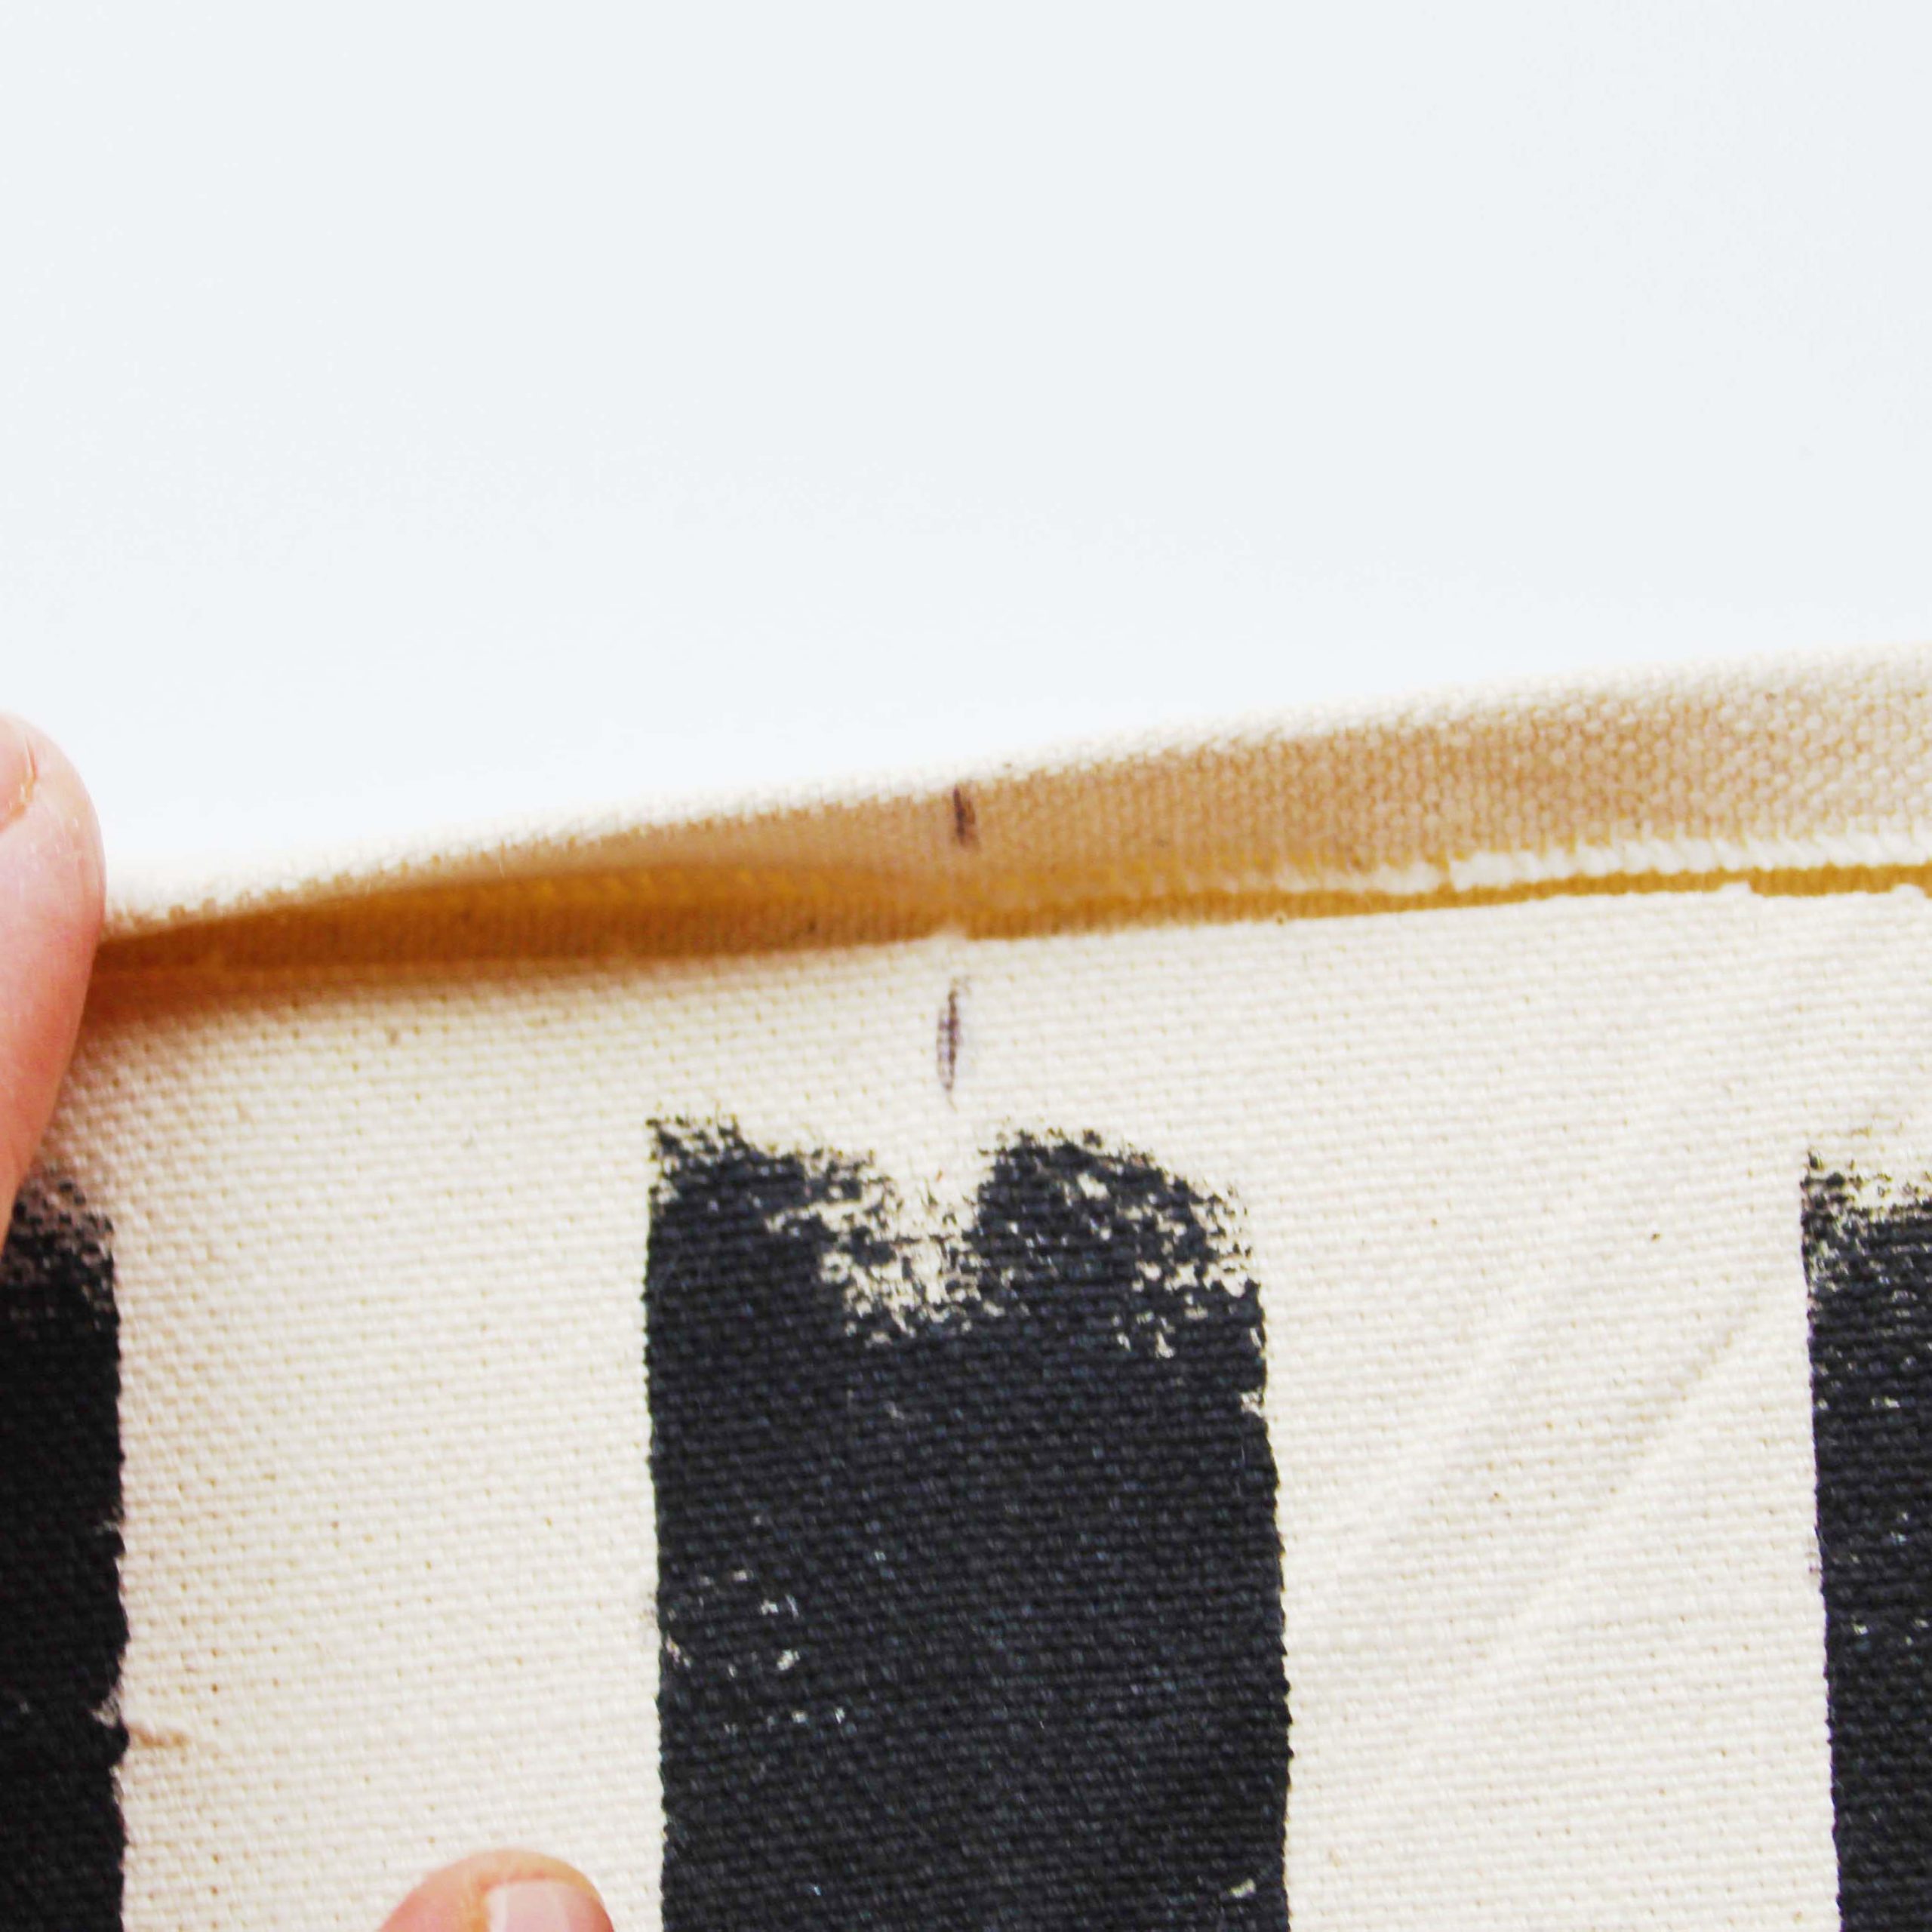
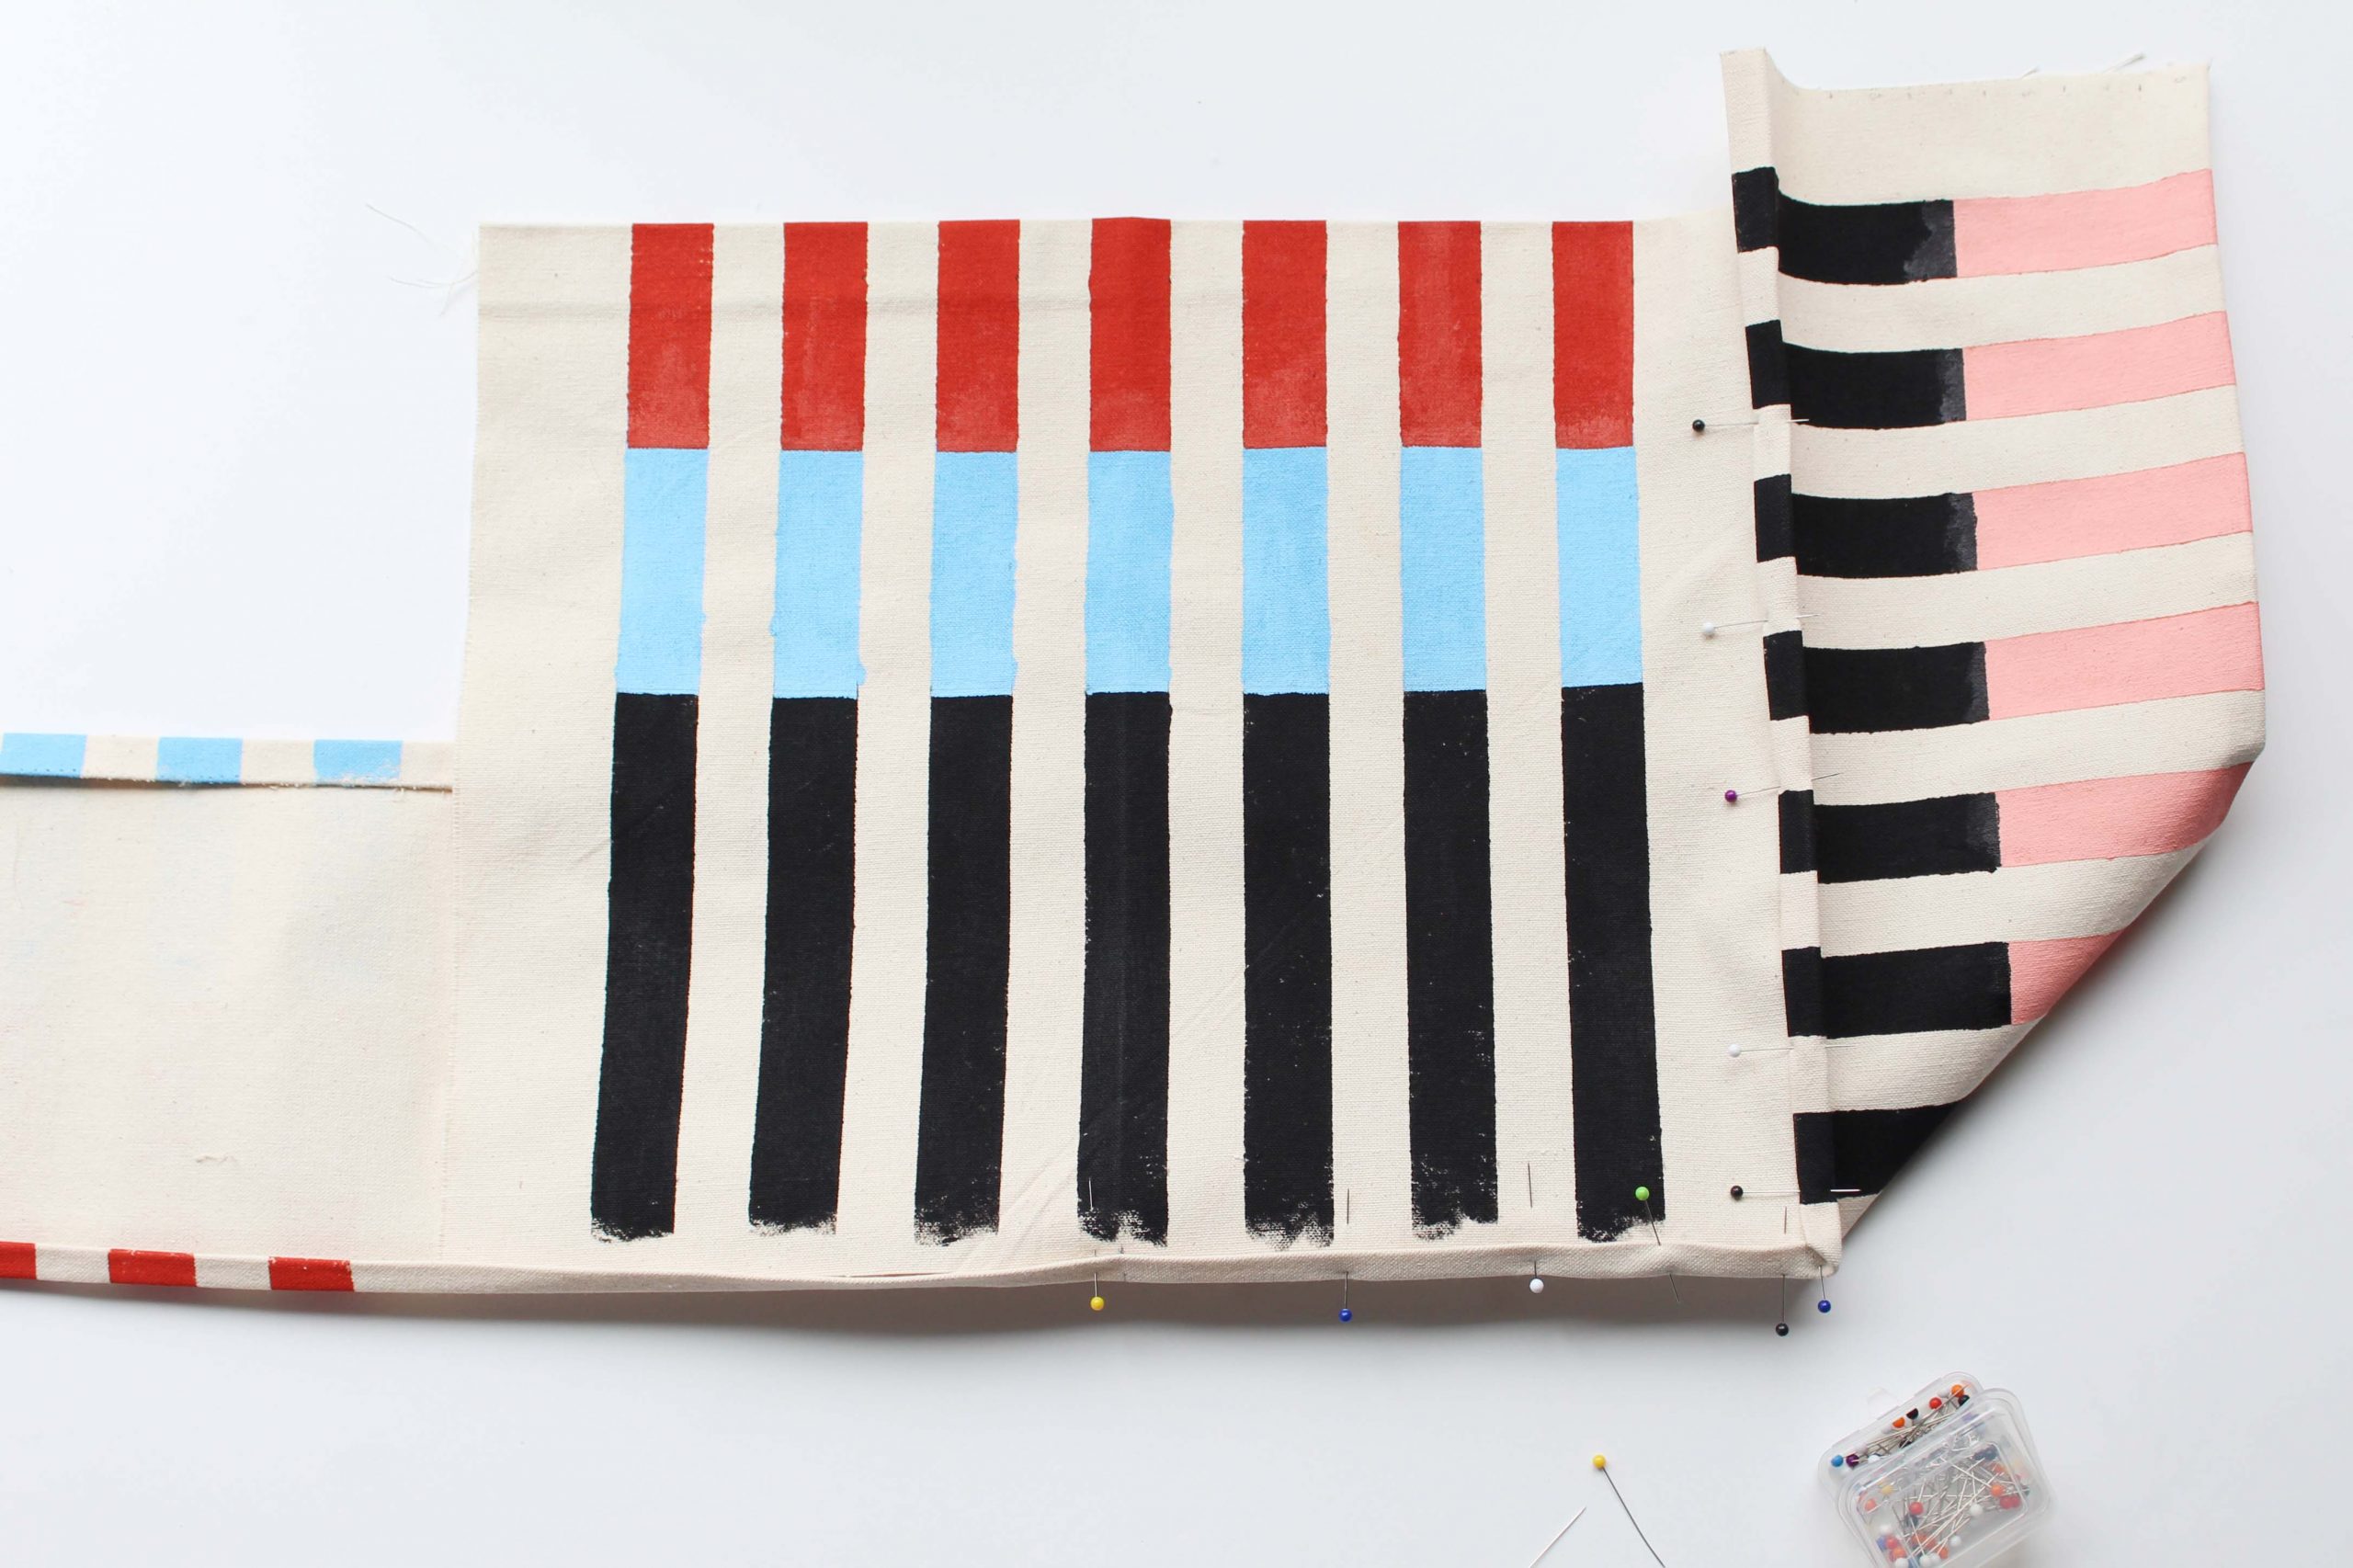
4After you have completed your stripes, you will want to prepare the pieces to be assembled. Begin with the long piece that makes the sides and bottom. You will want to create a folded "flap" on the top and bottom of the longer sides. To do this, fold up 3/8" along entire length and press flat, fold up again 1/2" and press again. To prepare the front and back tote pieces, first, measure down 2" , fold and press. From the top of the pressed fold, measure down 1" and tuck raw edge under to create 1" turn and turn hem. Press flat. This will create the hem for the top of the tote. This should look like image below once completed.
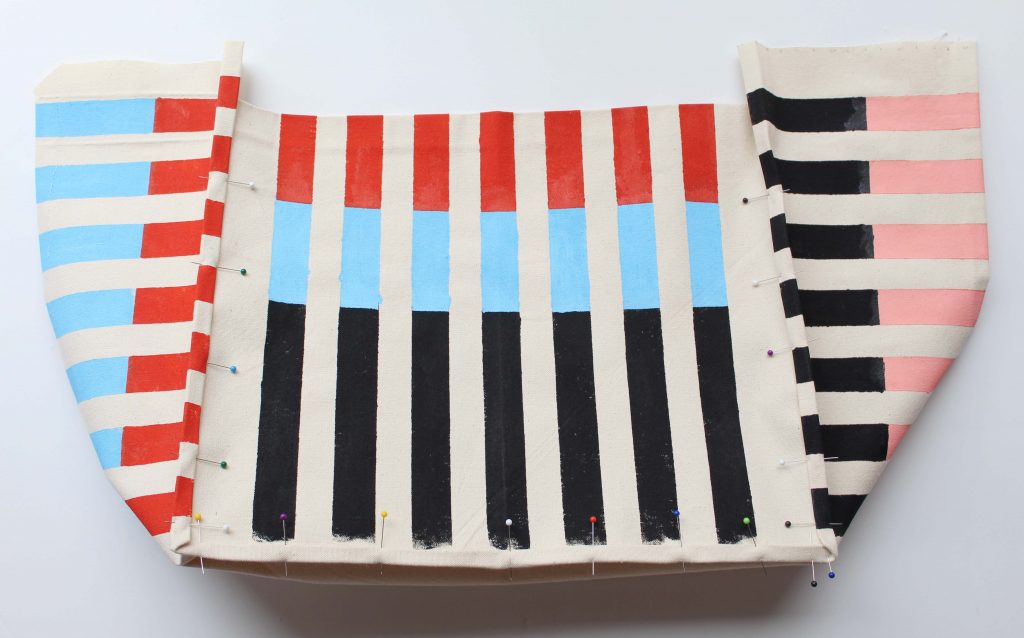
5The next step is to pin the front and back pieces to the long fabric strip that makes up the sides and bottom of tote. Begin by folding the front and back pieces in half (see image below). Make a small but visible mark to indicate the center point of the fabric. Do the same for the longer piece but make sure the small mark is made inside the lip and will not be visible when constructed. To attach the side pieces to the front and back, start lining up marks to make sure the pieces are centered (See image). Tuck the bottom edge of the front /back piece into the 1/2" flap you created earlier and pin together. The best way to understand the construction here is that the pieces will attach similar to the way you would attach a binding.
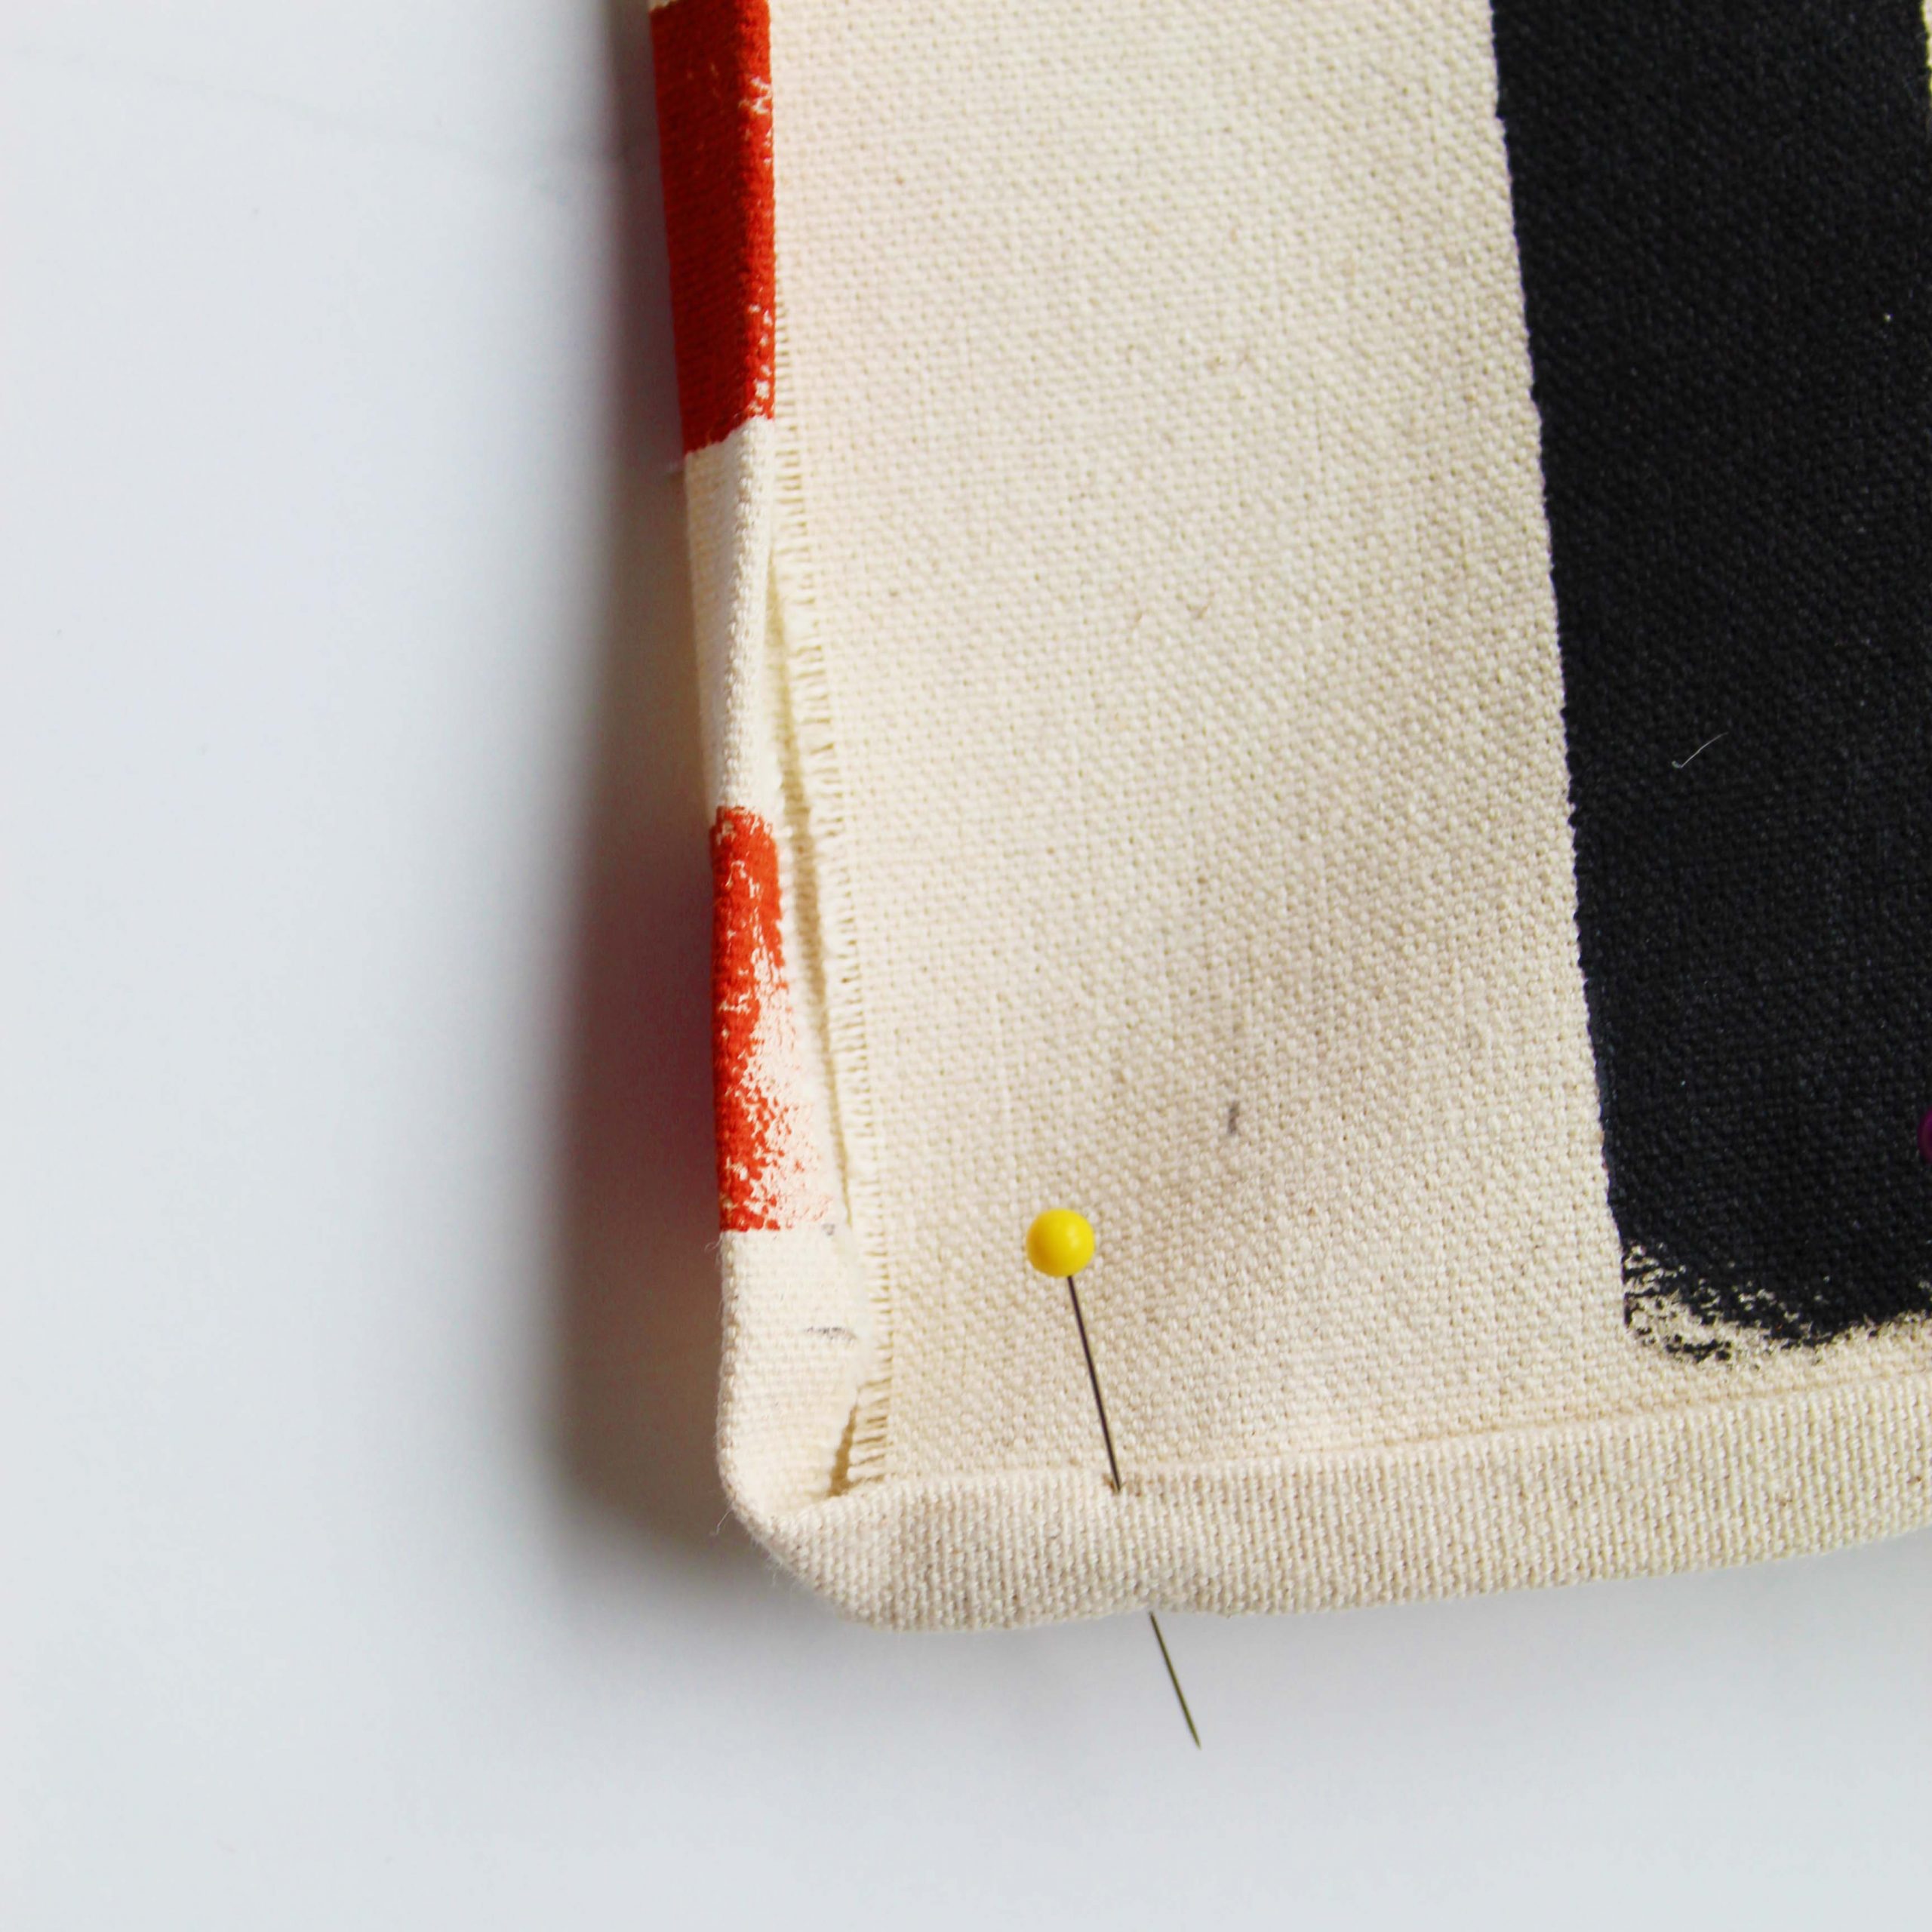
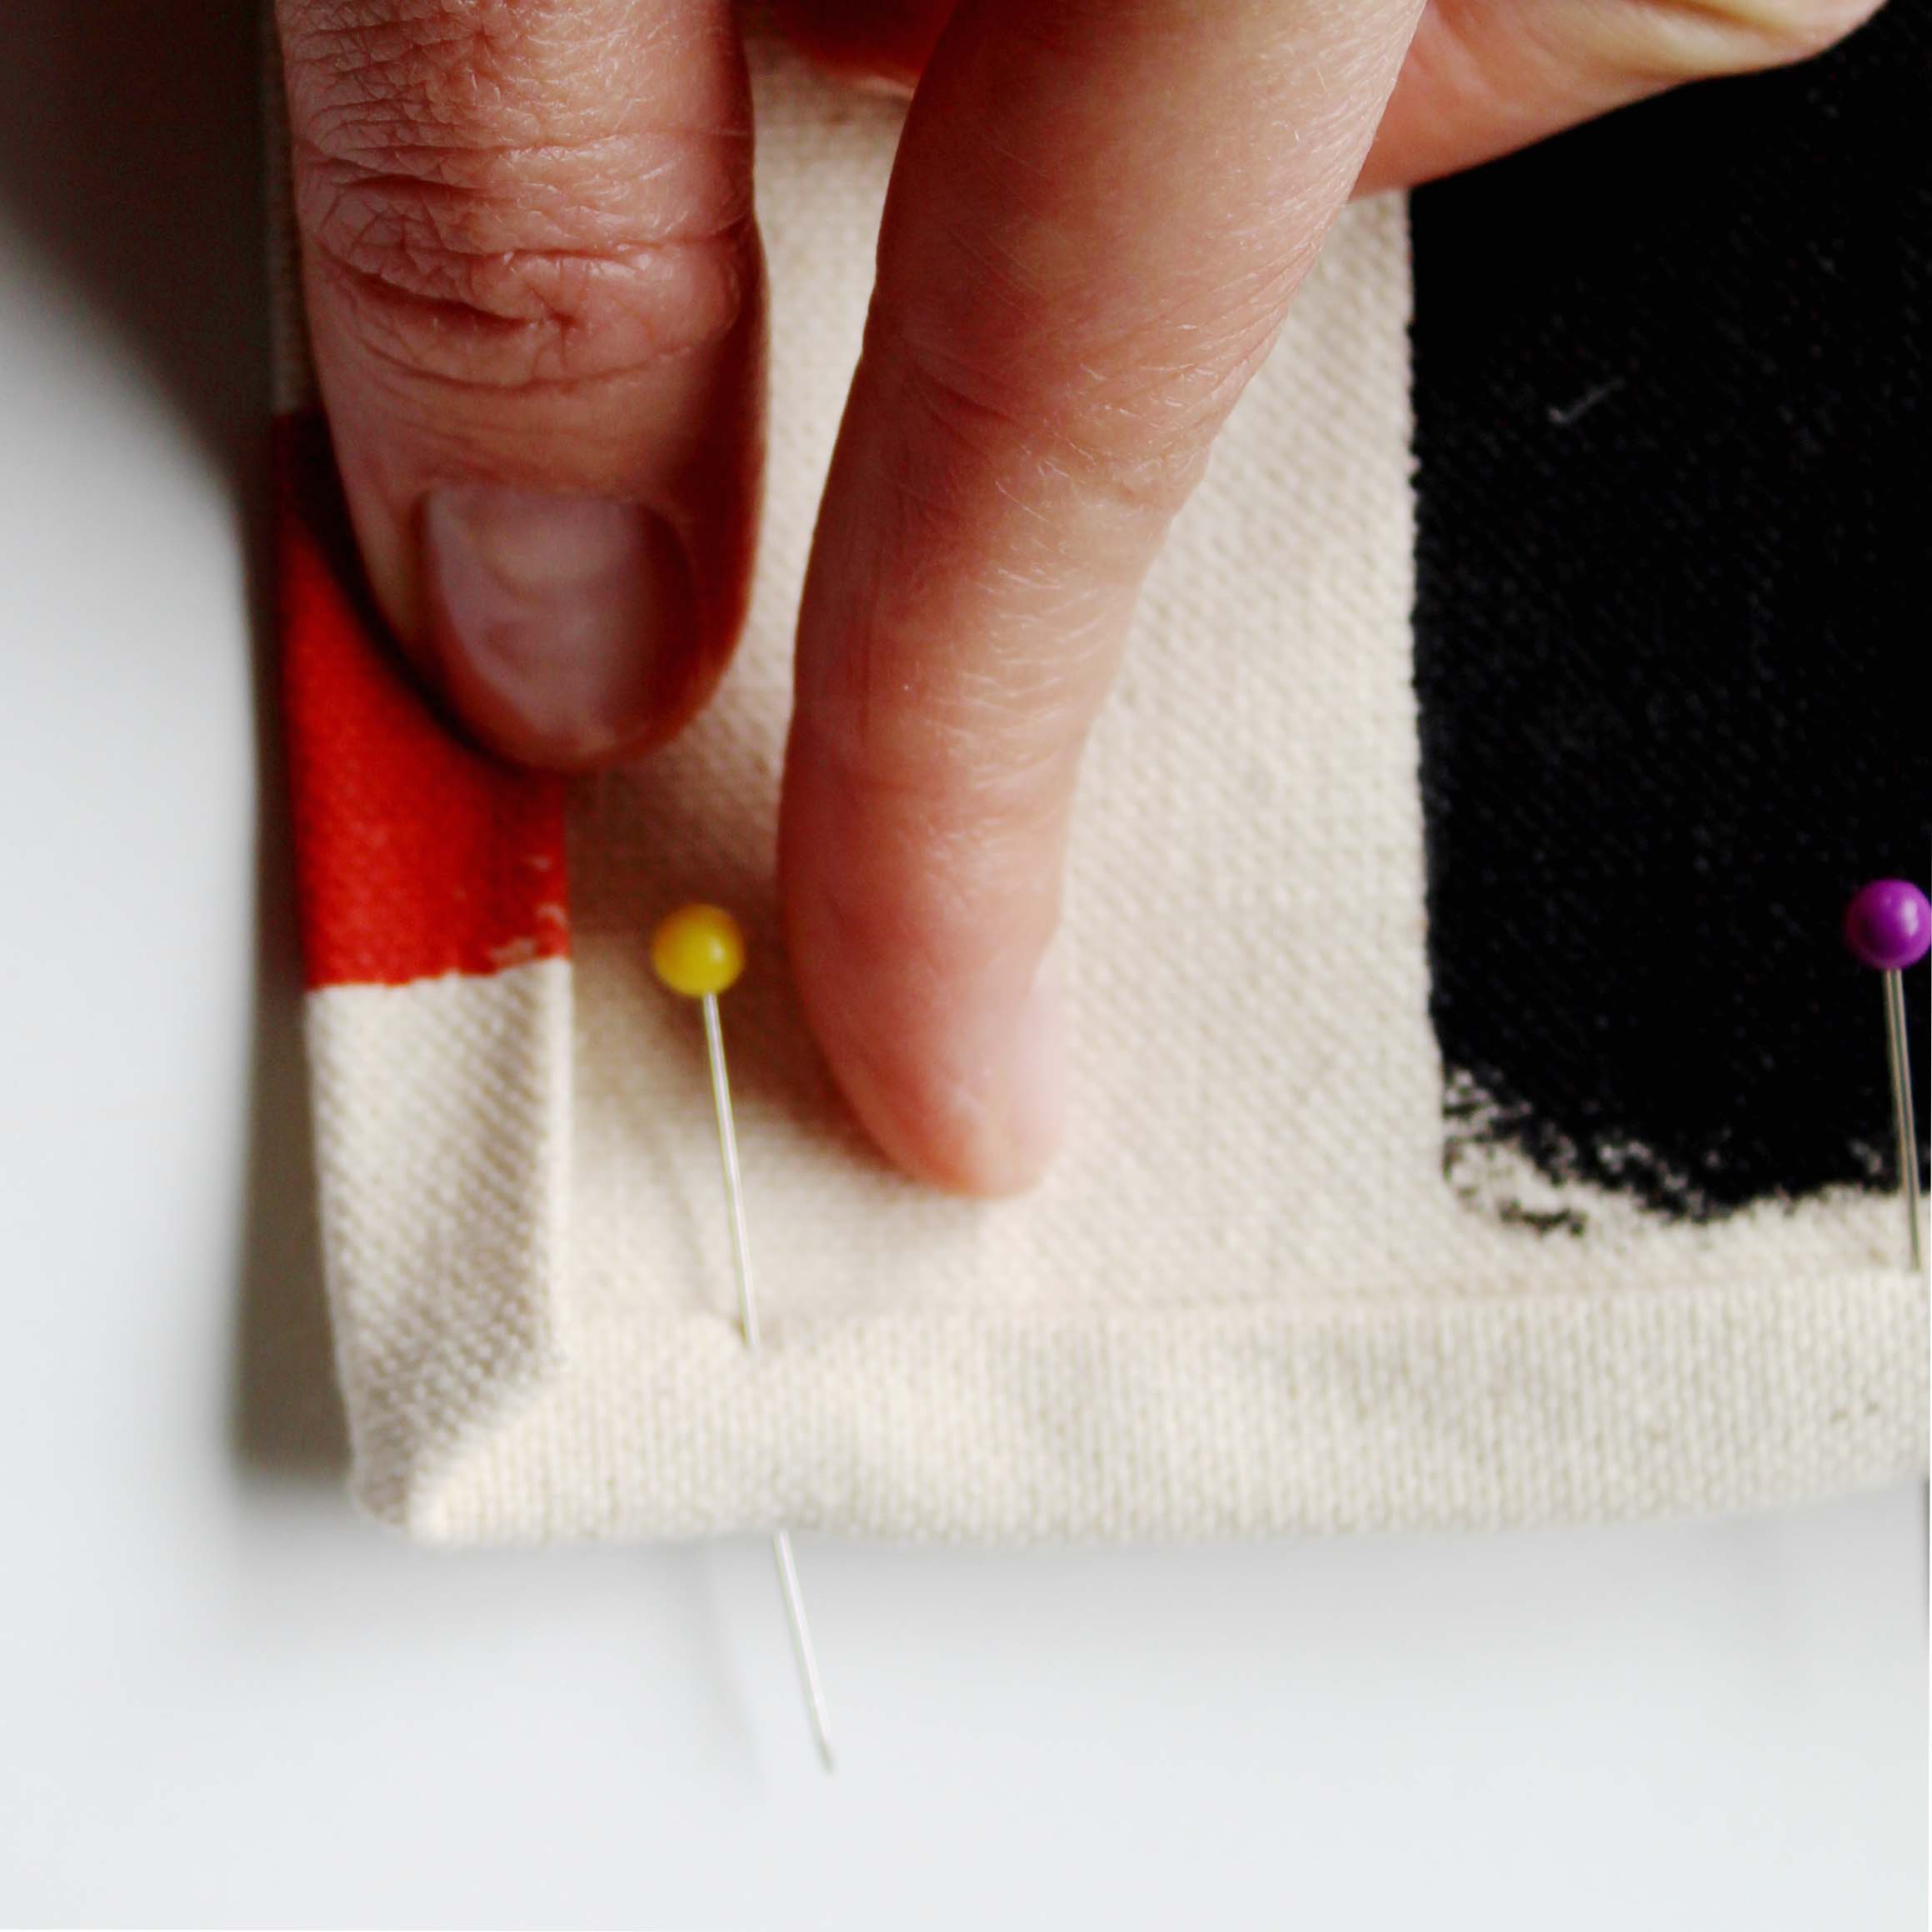
6 When you get to the corner, leave a about a 1/2" space between the last pin and the end that begins the corner. Fold side pieces at a 90 degree angle making sure the side pieces tucks into the side flap (see images below). Attach the side panel with pins leaving room at the end to fold.
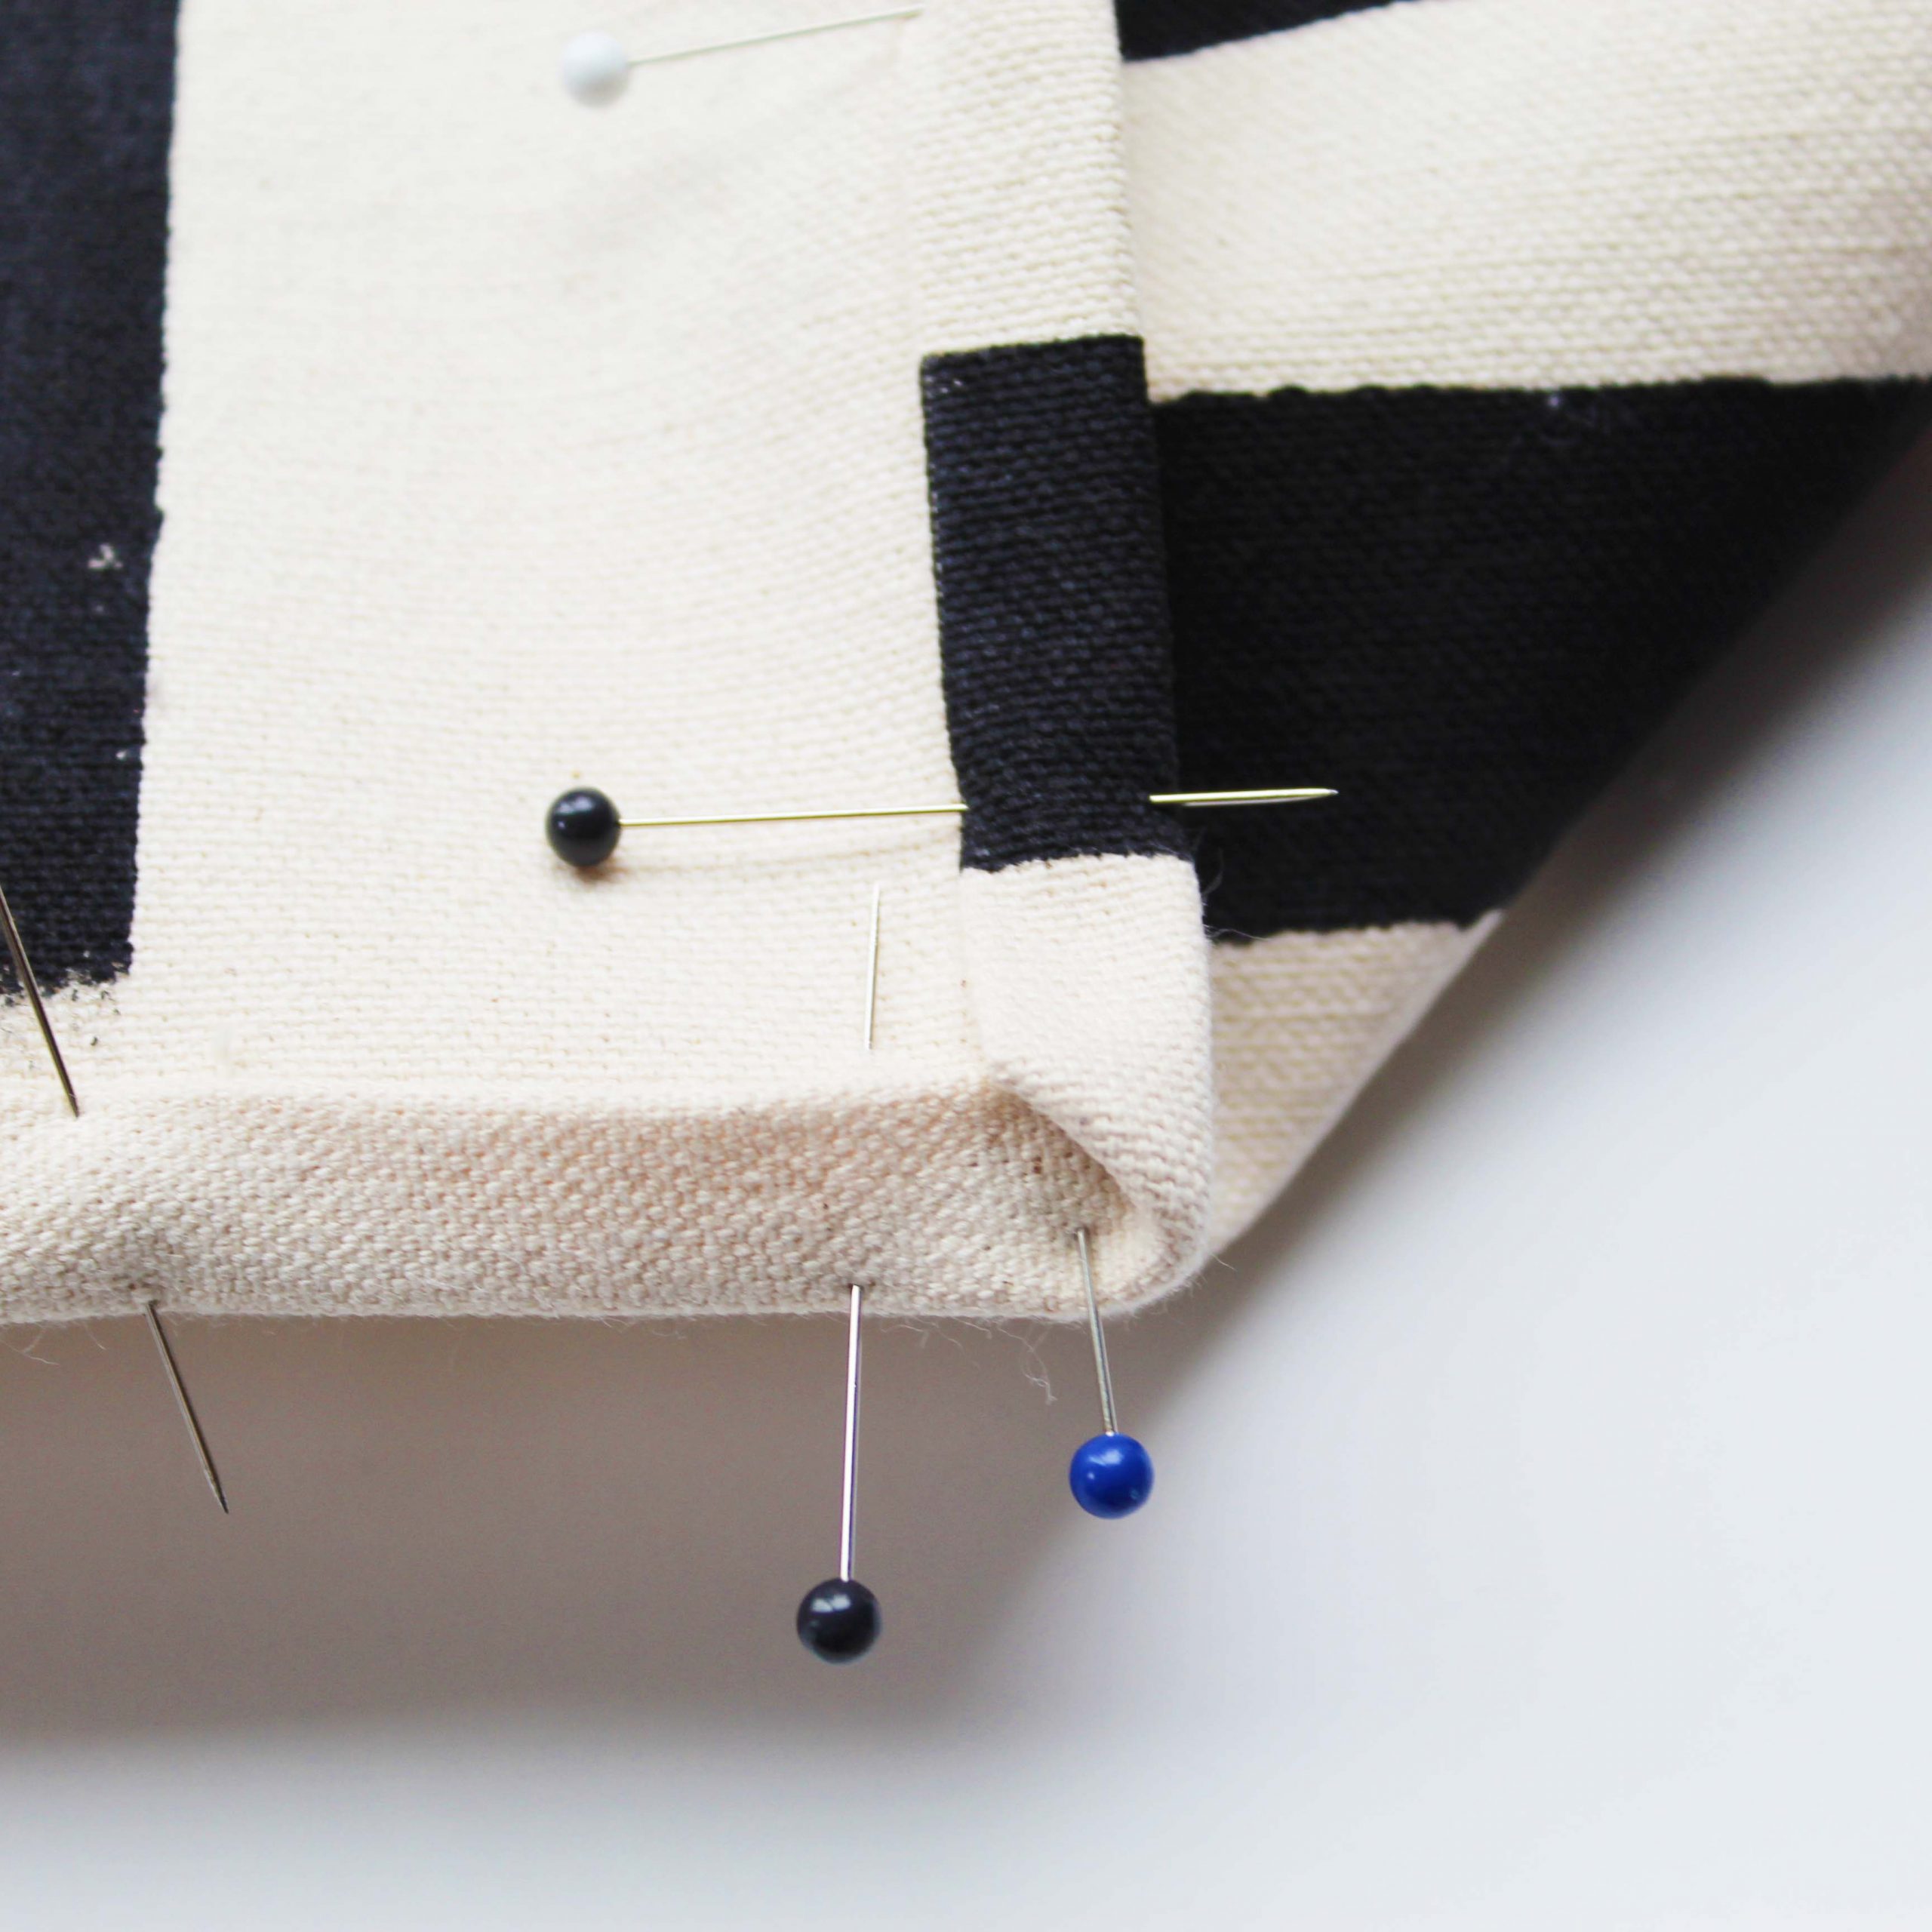
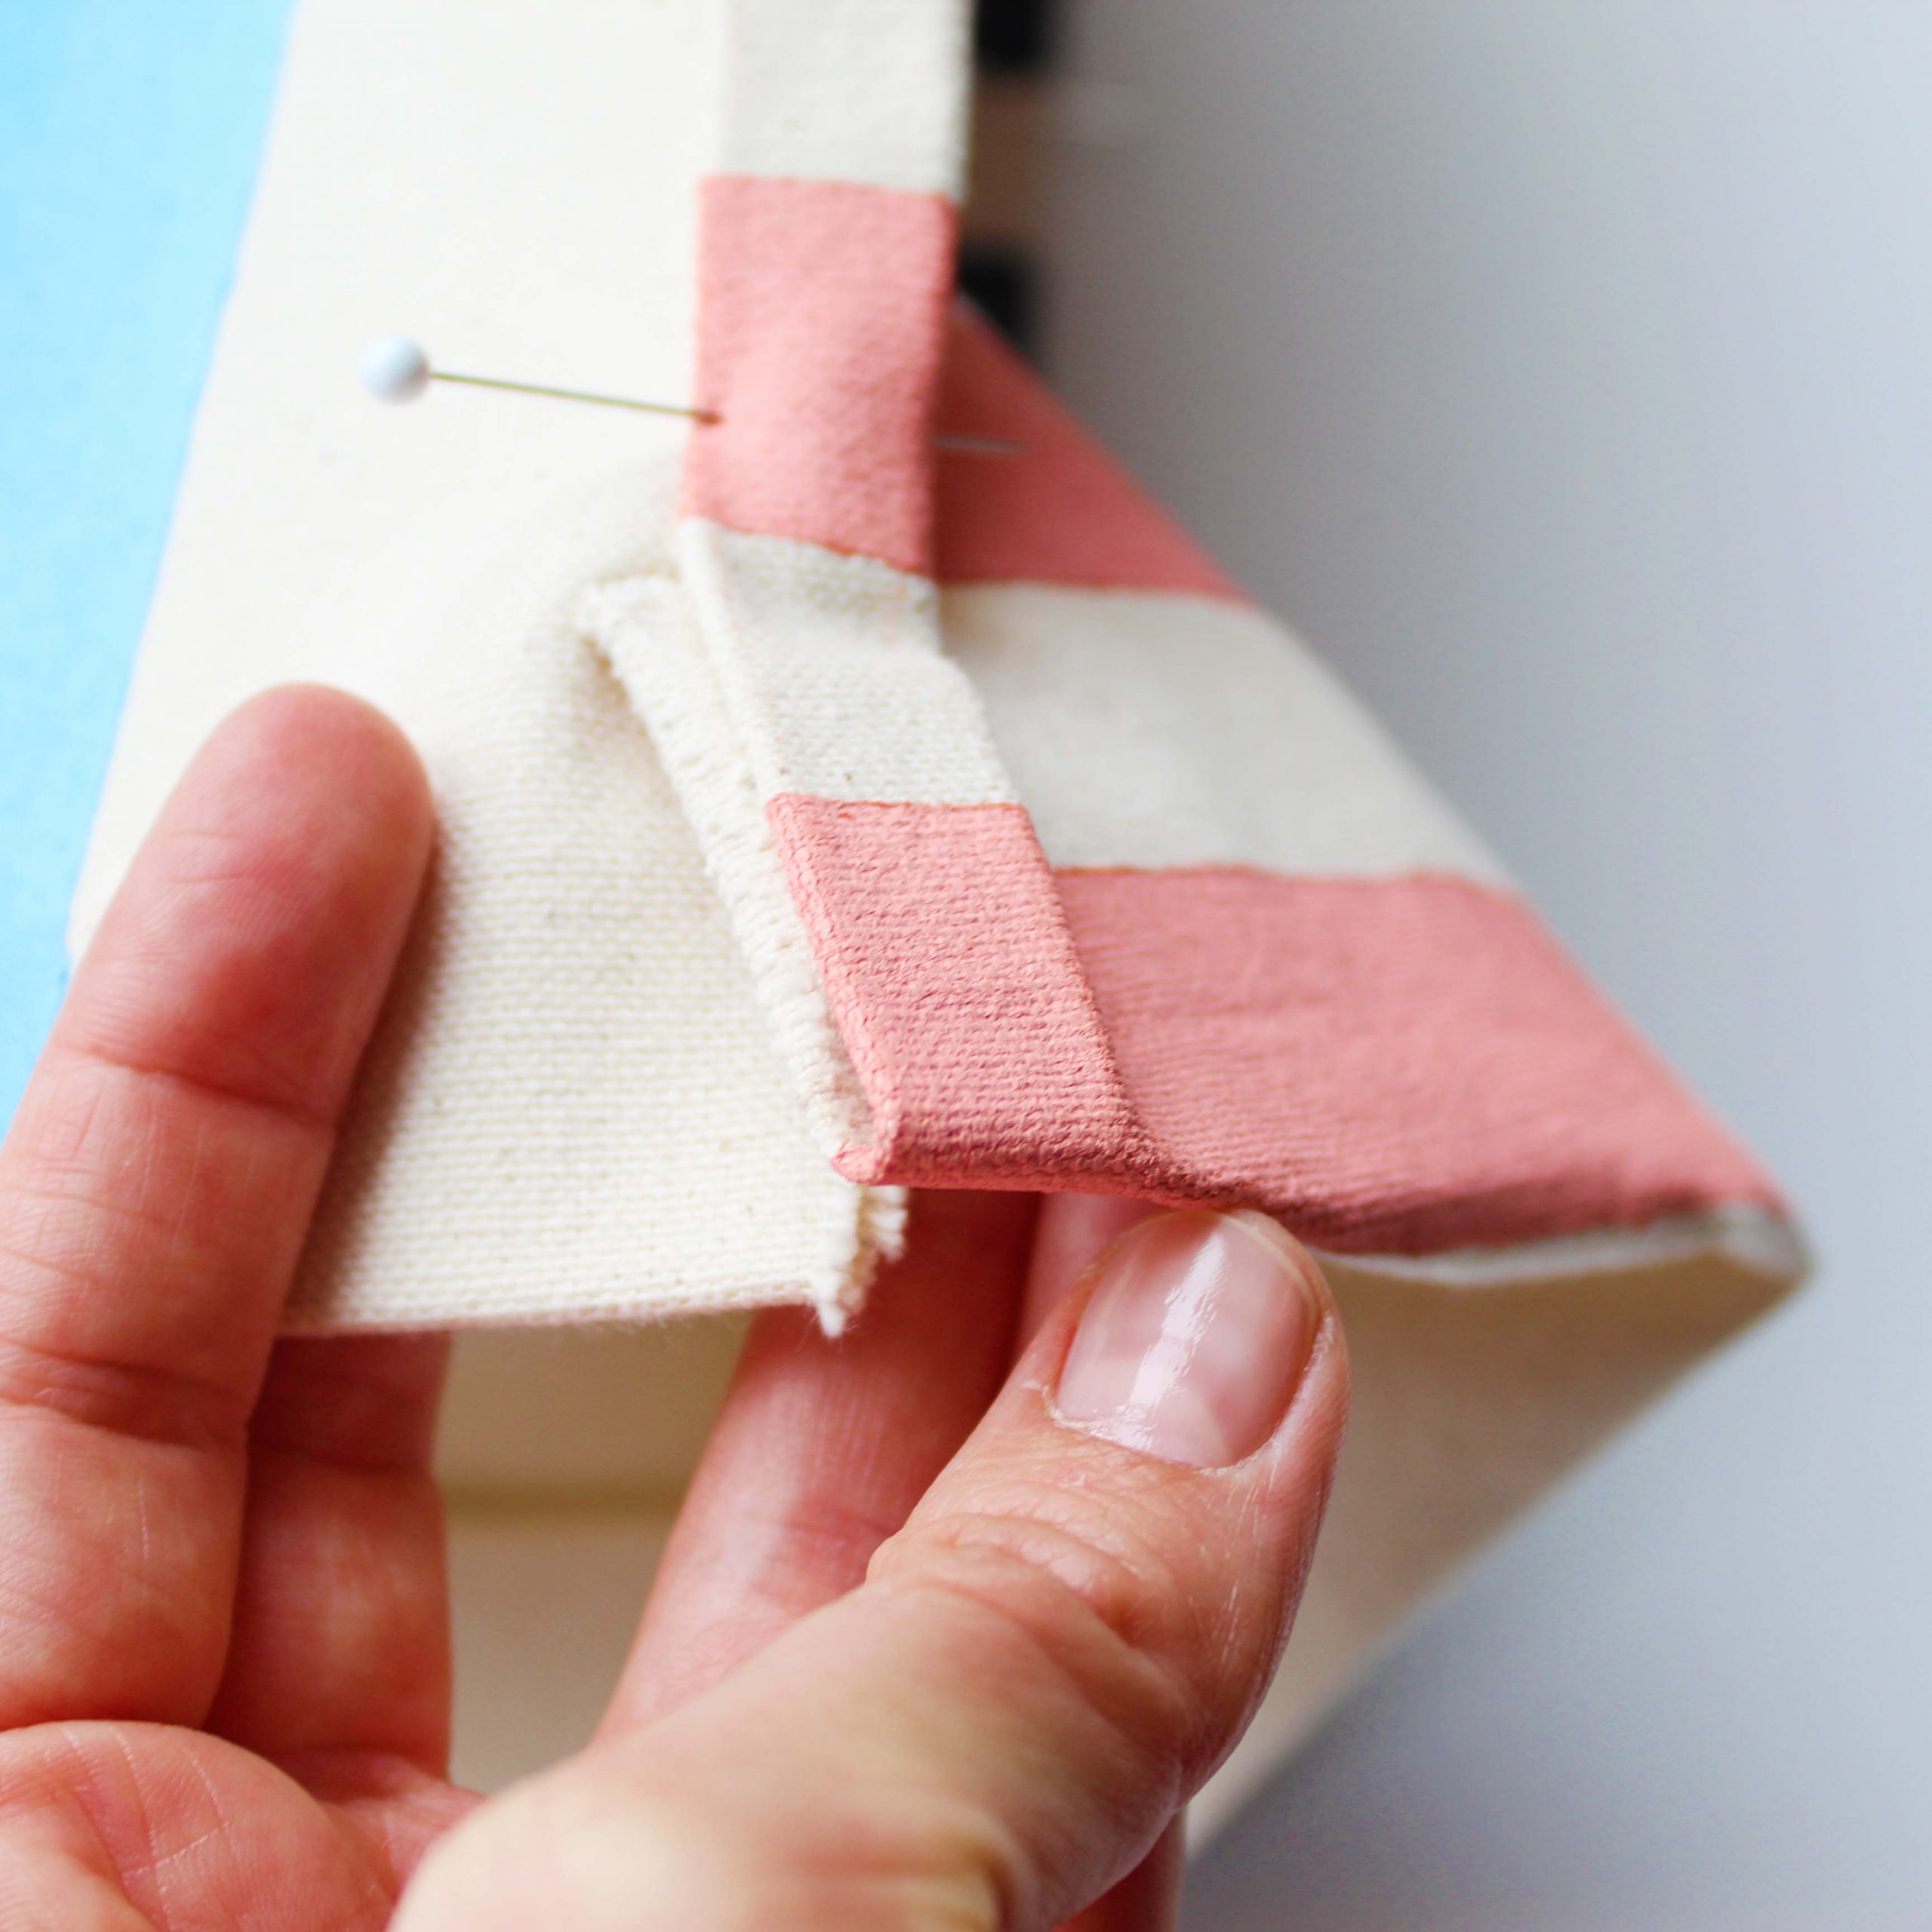
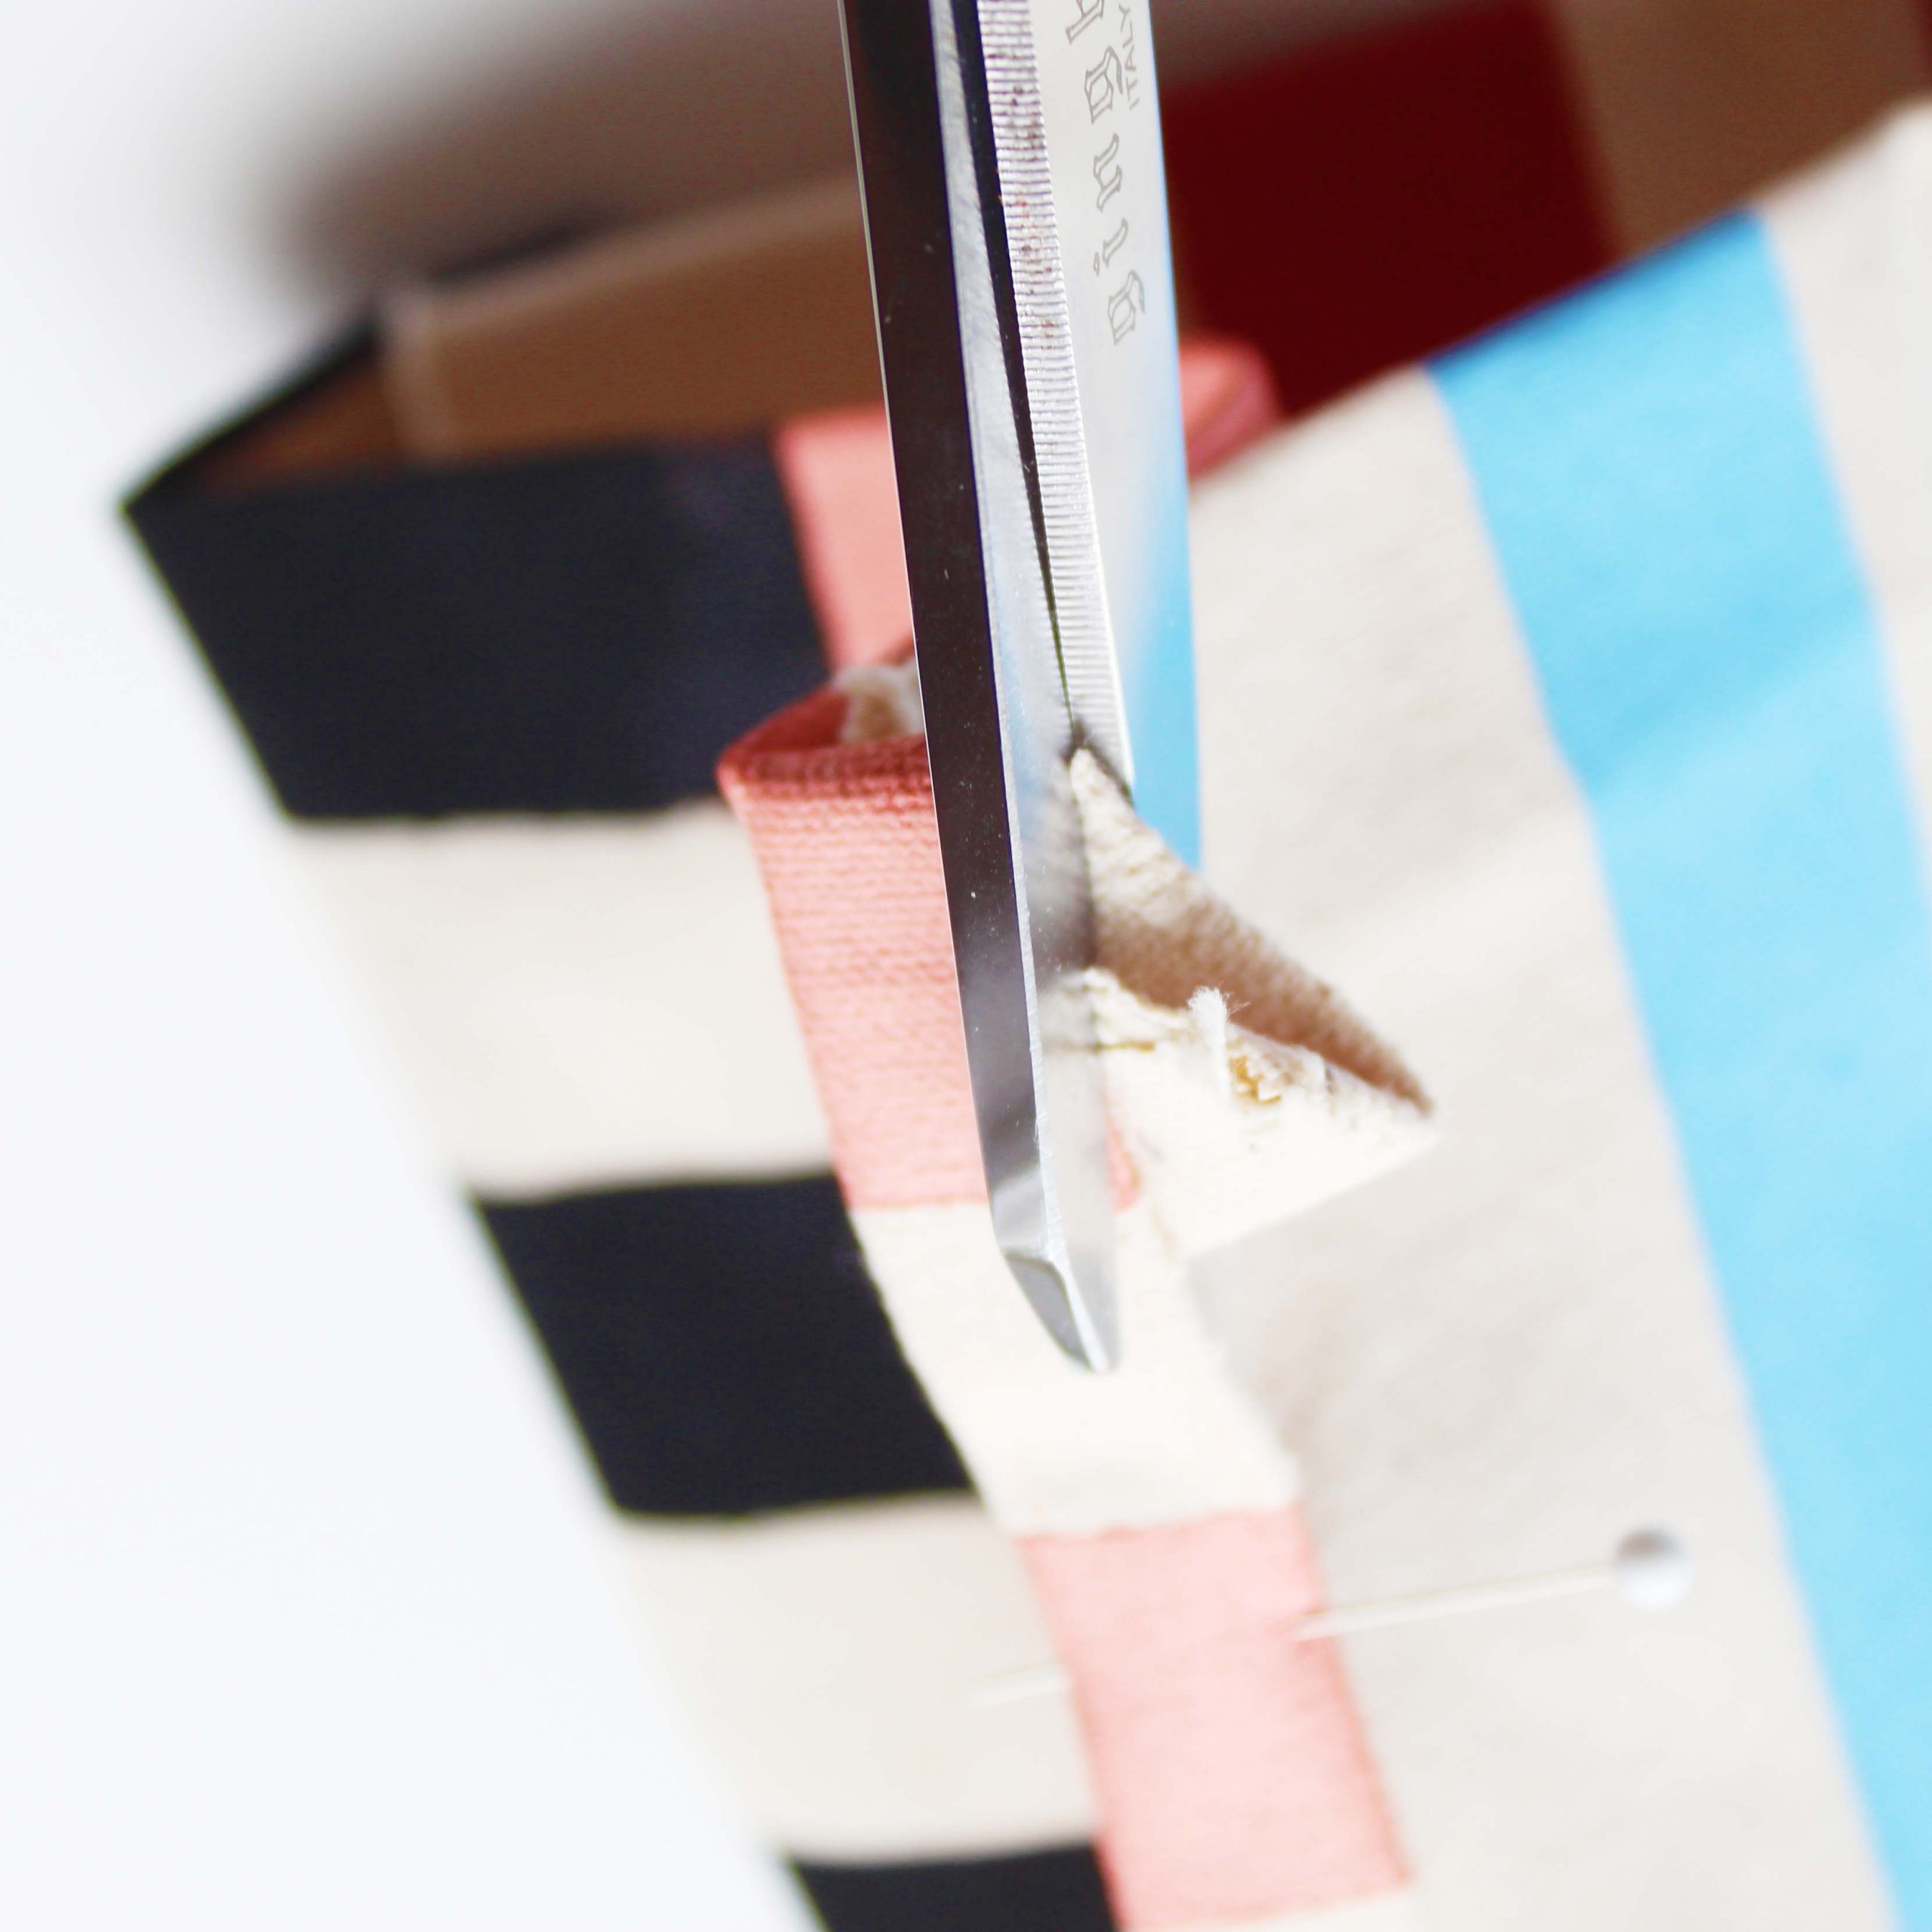
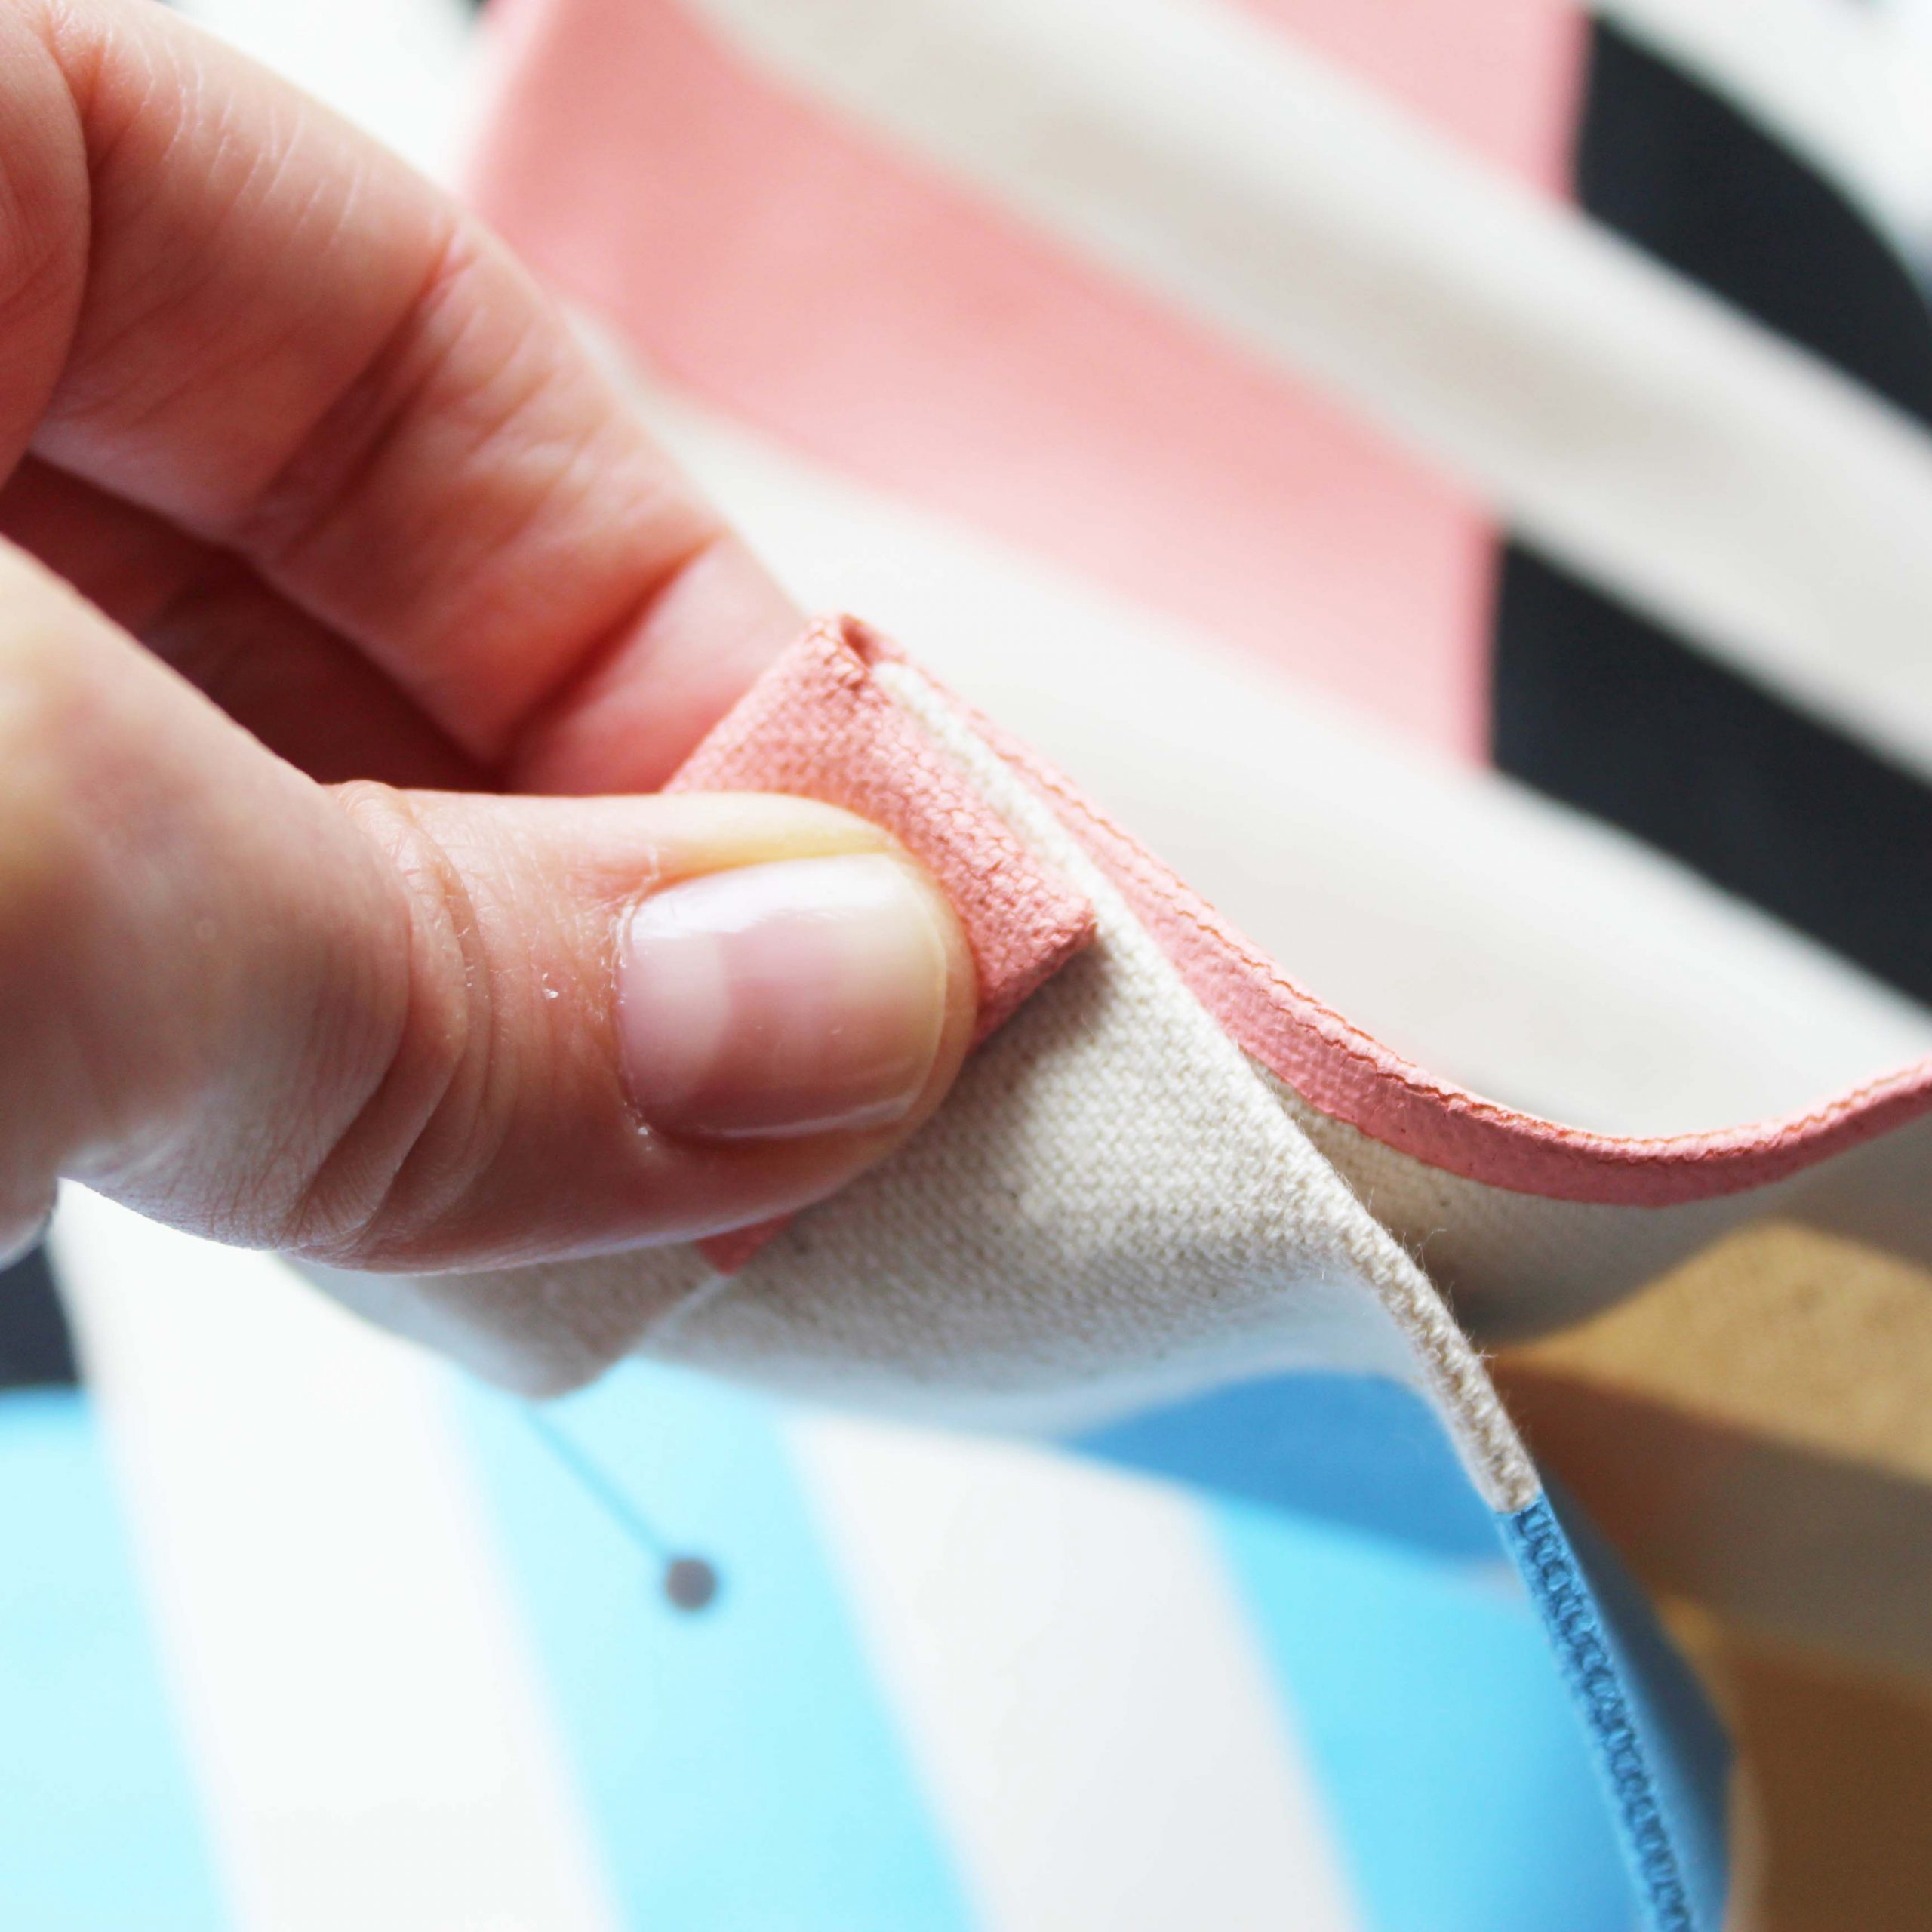
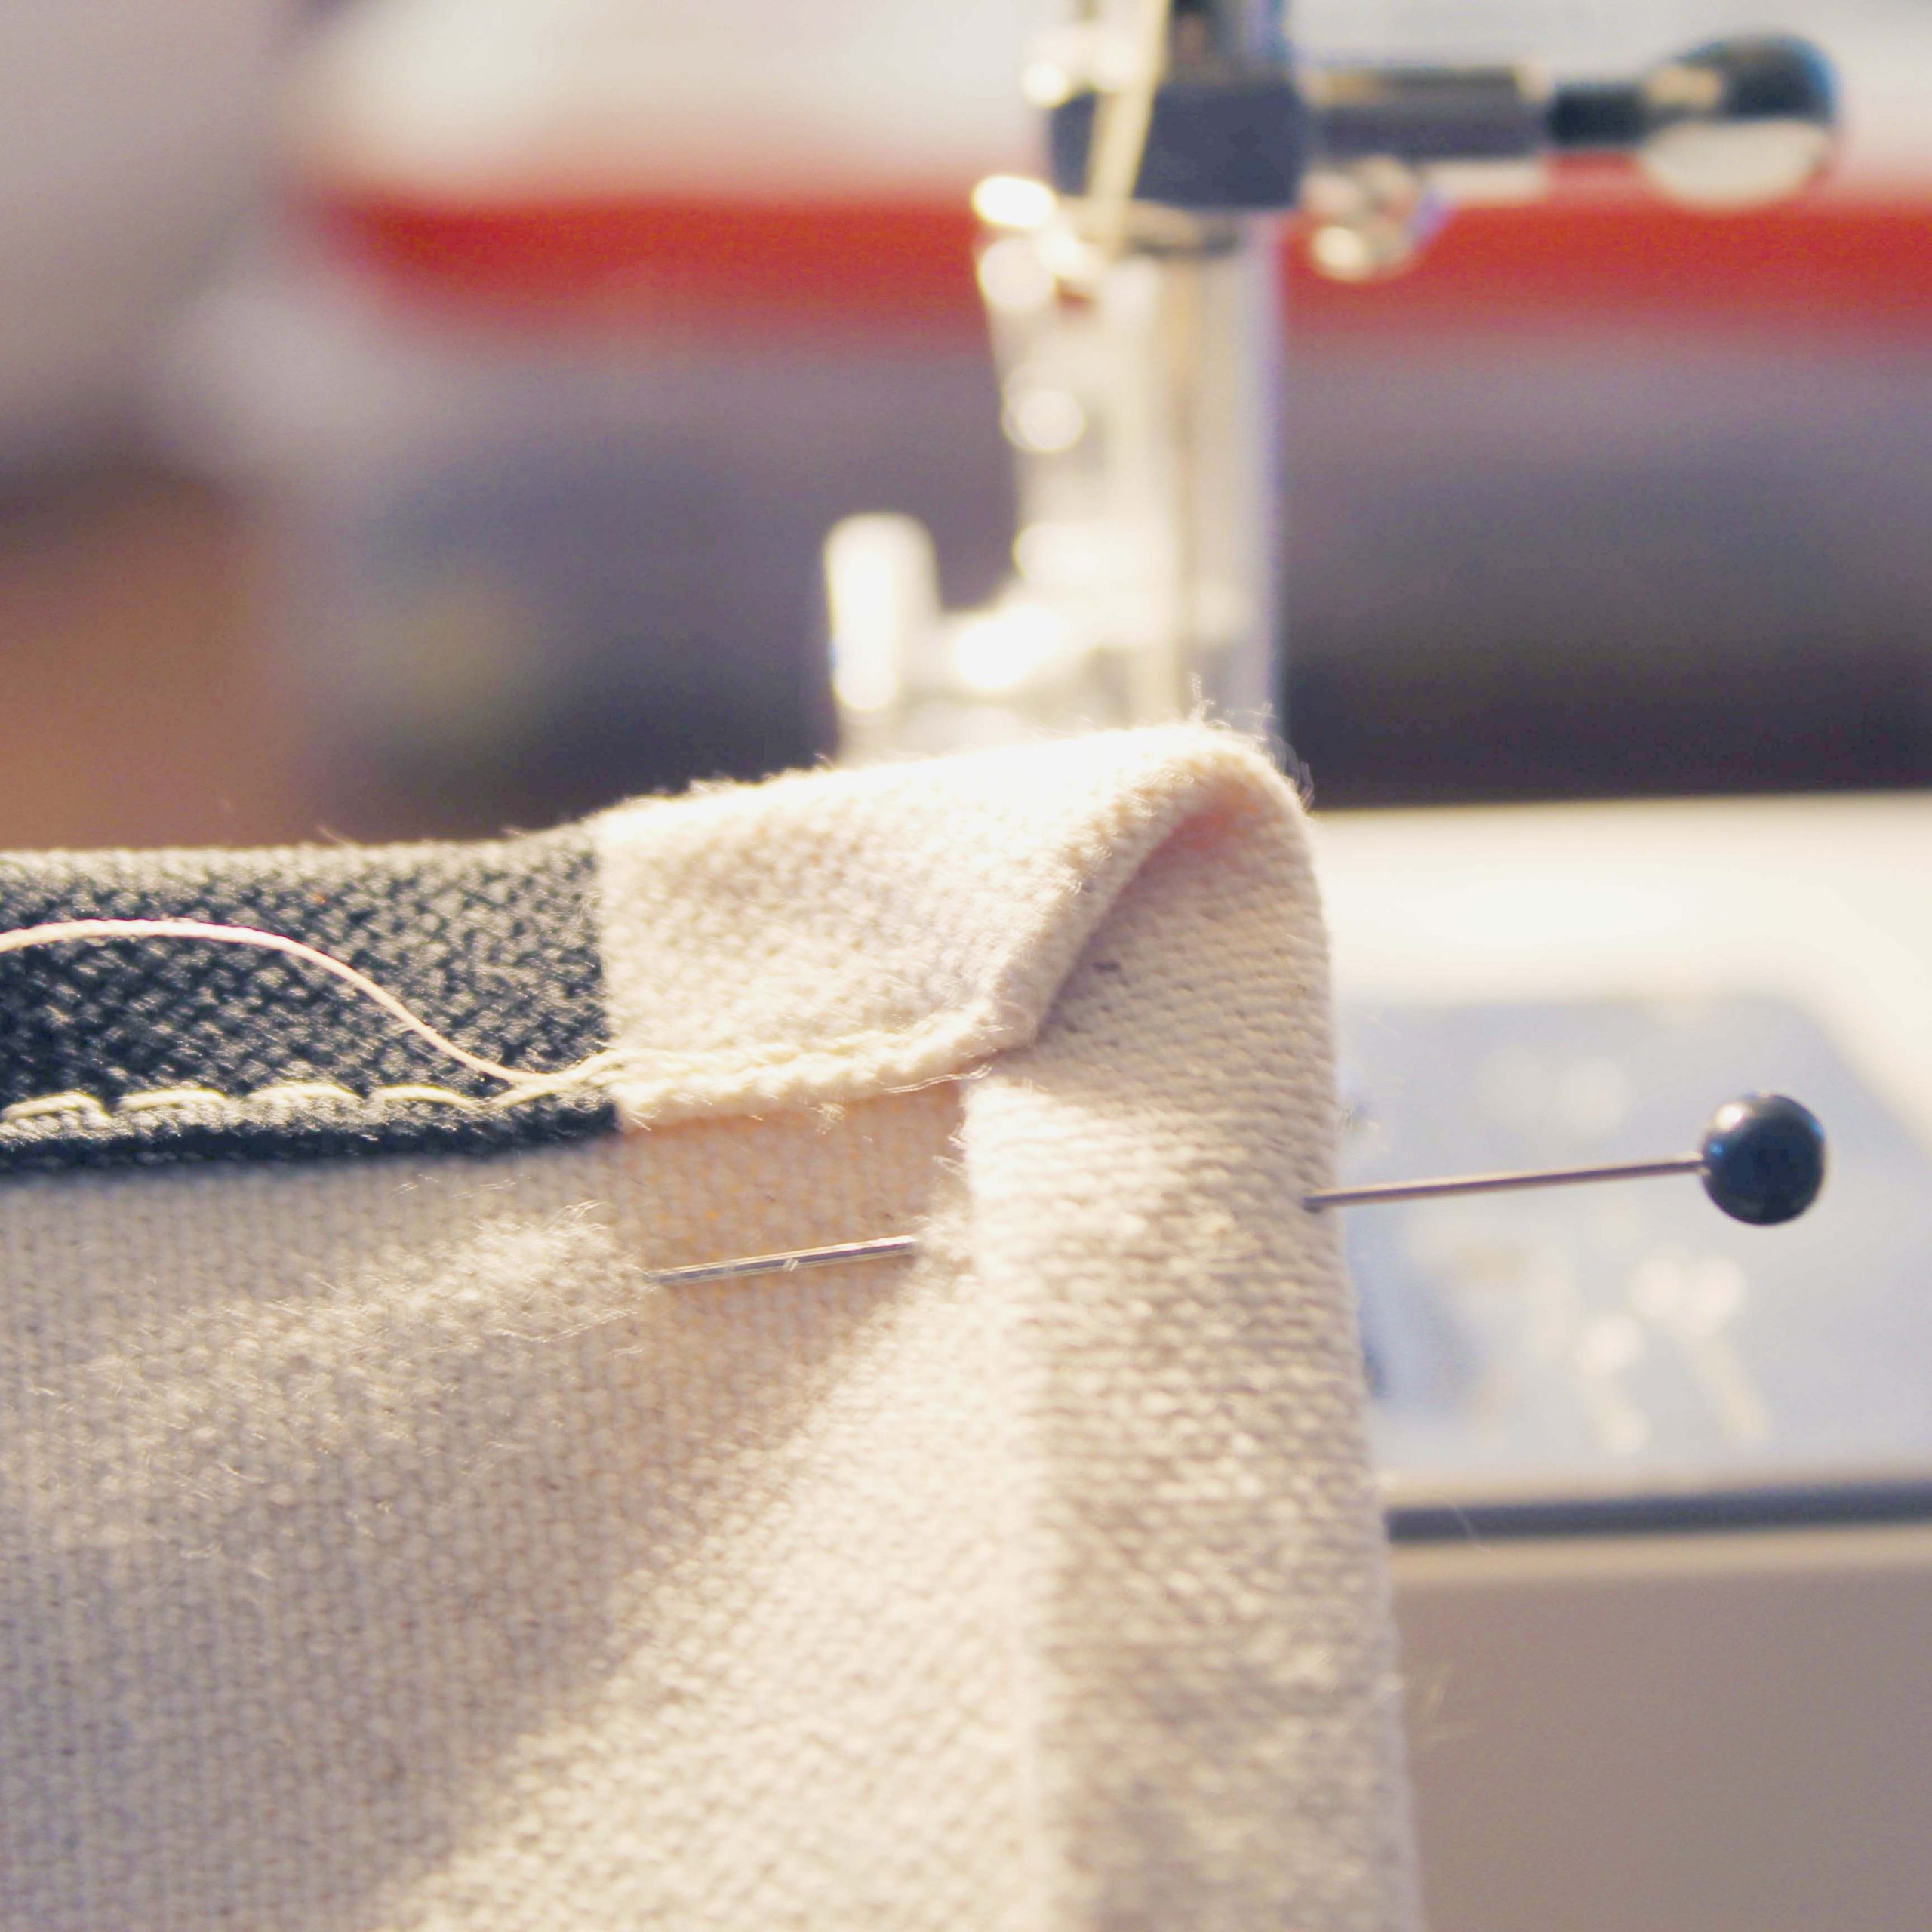
7Fold the top of the side pieces under the same way you completed the front and back panels. The floded side panels should lay flush with the front and back of the tote (see image below). Because the folded fabric will create a bulky seams and make it dificult to tuck all of the fabric into the folded ends, you will want to clip some of the extra fabric back. To do this, make and angled cut in the fabric to remove some of the excess fabric. This will make the end pieces lay flat and easier to sew. Pin in place.
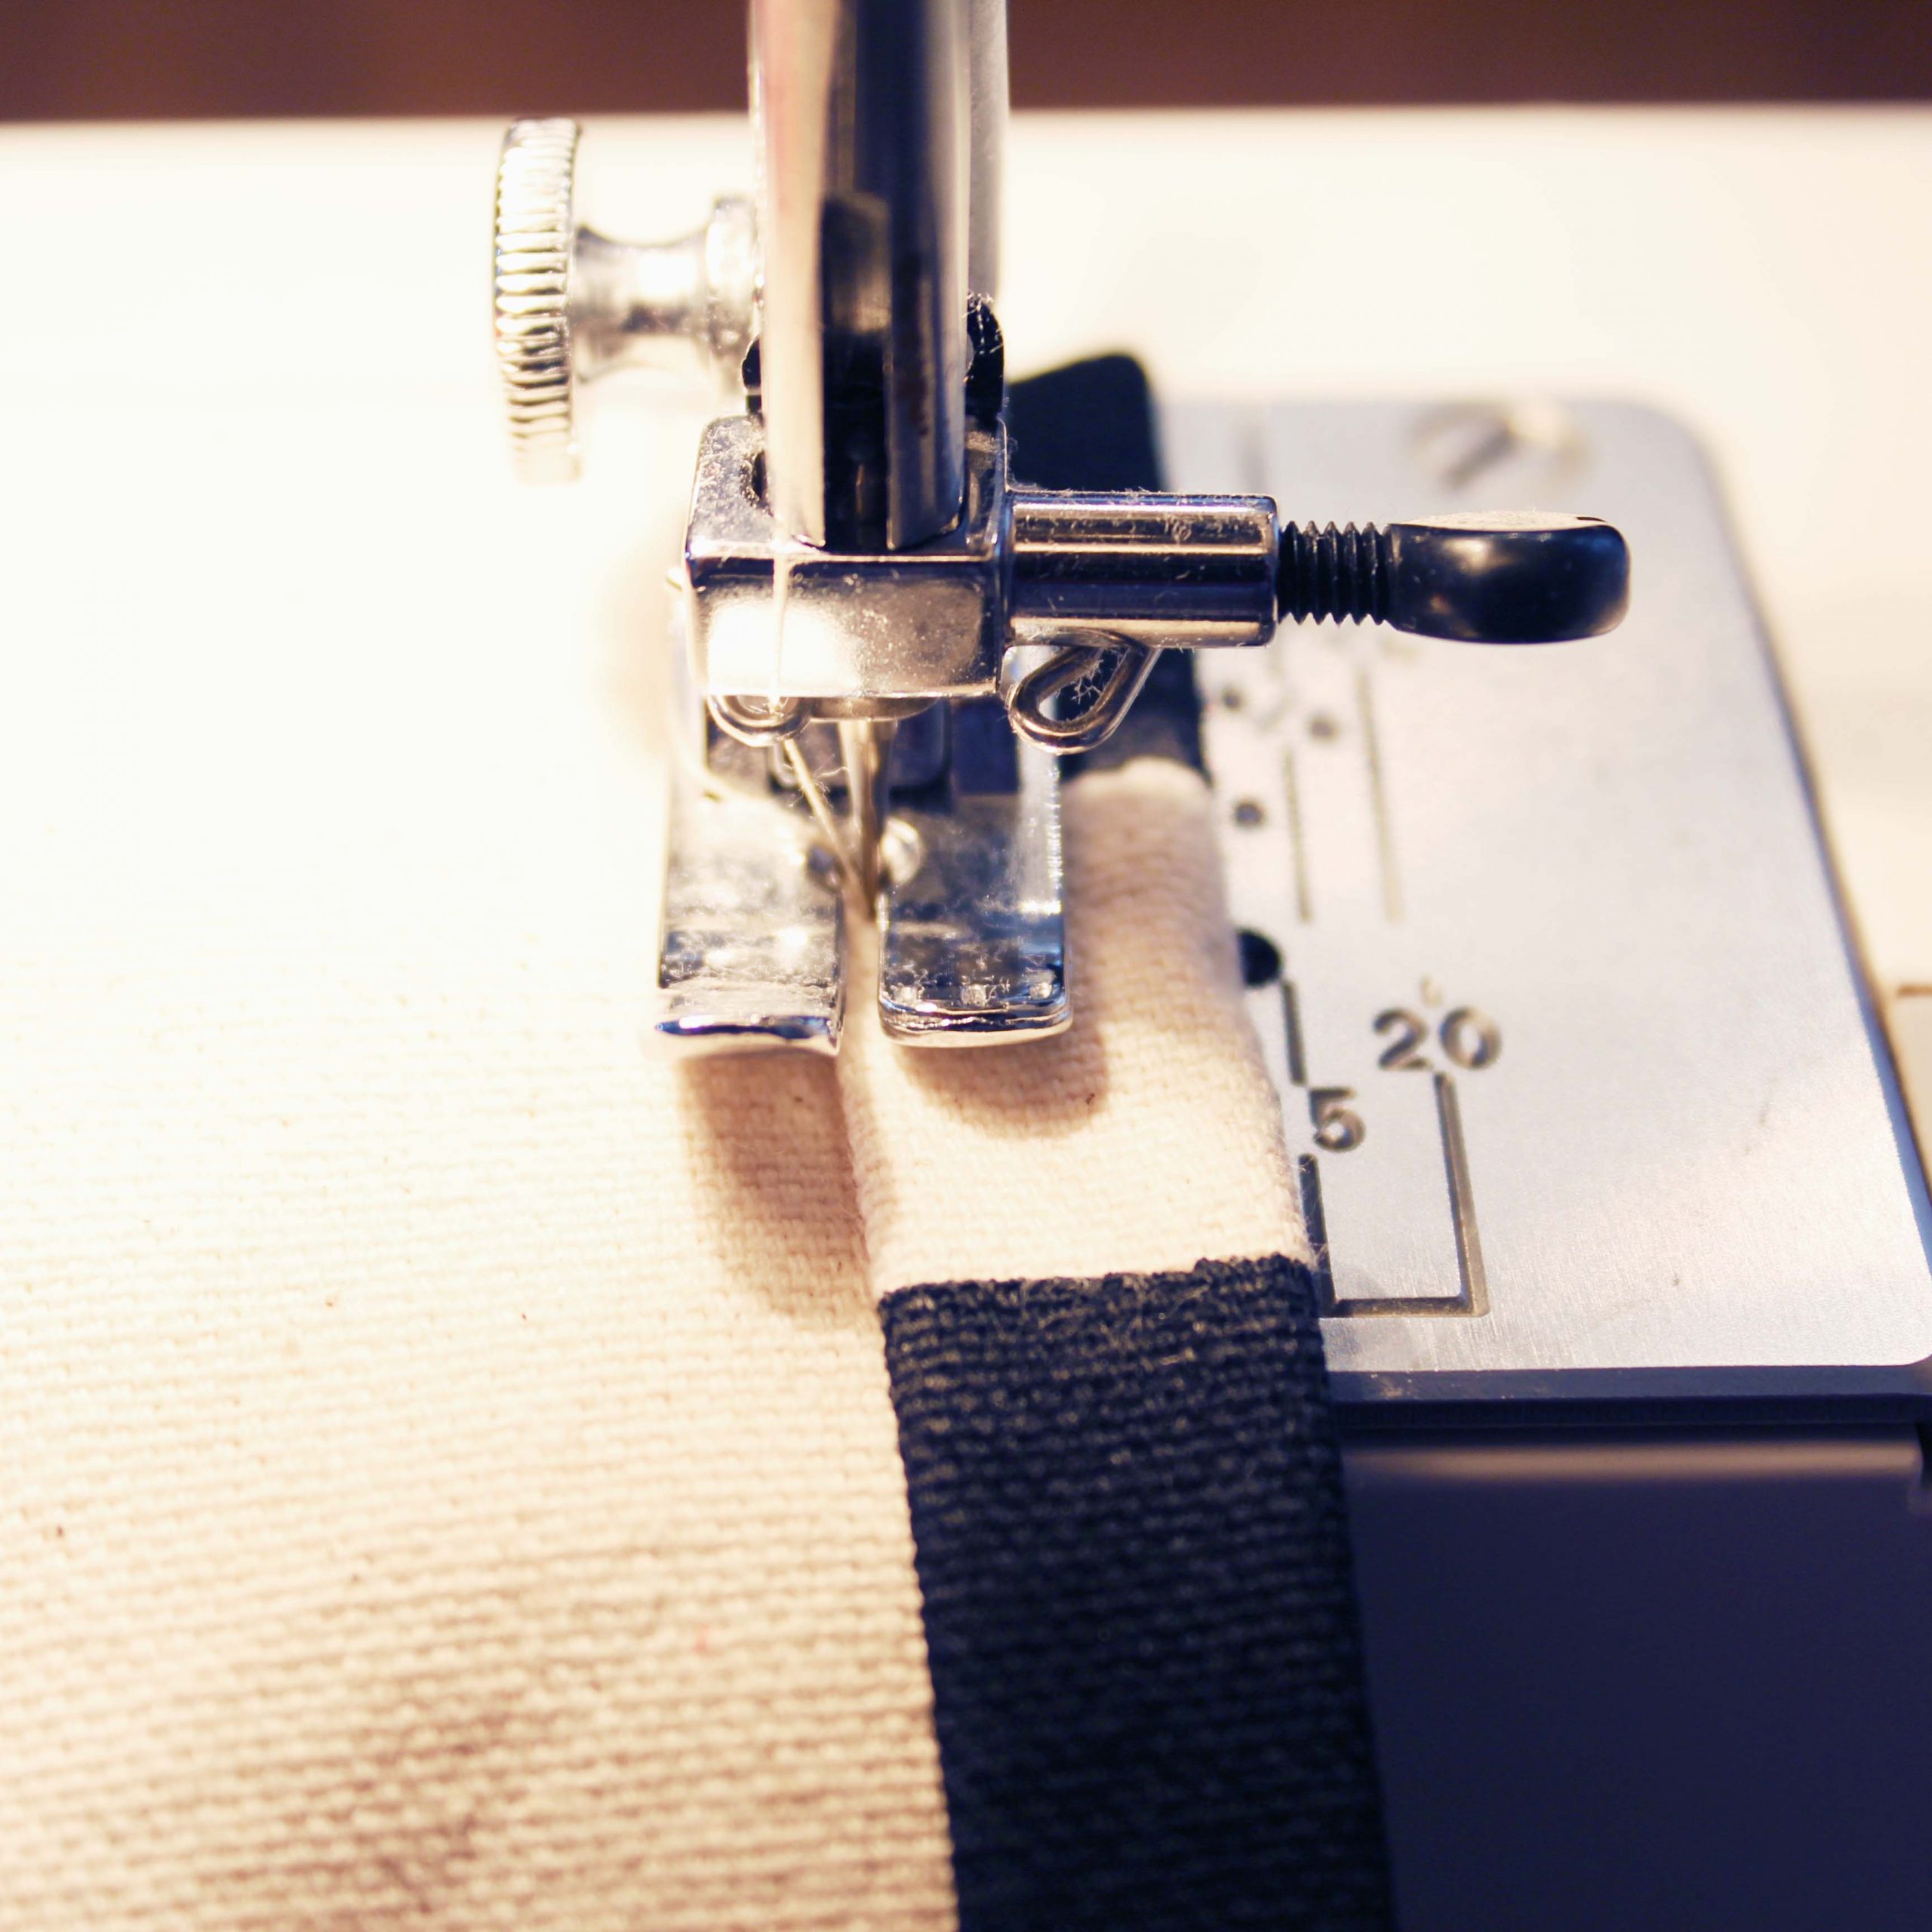
8Once you have all of your sides pinned, sew the tote together using an edge stitch (see image below). I used a thread that matched the fabric color and a regular weight thread and needle. Test a doubled piece of fabric first to get the machine tension right before sewing. I chose a longer stitch length (about 2.5) for this project and made sure to sew slowly. Stitch all six seams independently. You will want to stitch one seam at a time, back stitching on both ends. You do not need to sew over the folded fabric on the corners. Tote base is finished once you have sewn all six sides.
9To create and attach handles begin by preparing leather straps. I created straps by cutting from a leather hide. However, you can purchase precut strapping that will be suitable for this project. Just make sure the leather is not too thin. If leather is on the thin side you can glue two pieces together using leather cement. The measurements I used for my straps is 22" length by 1" wide. You will also need an additional 2" x 1" strip to use as the strap backing.
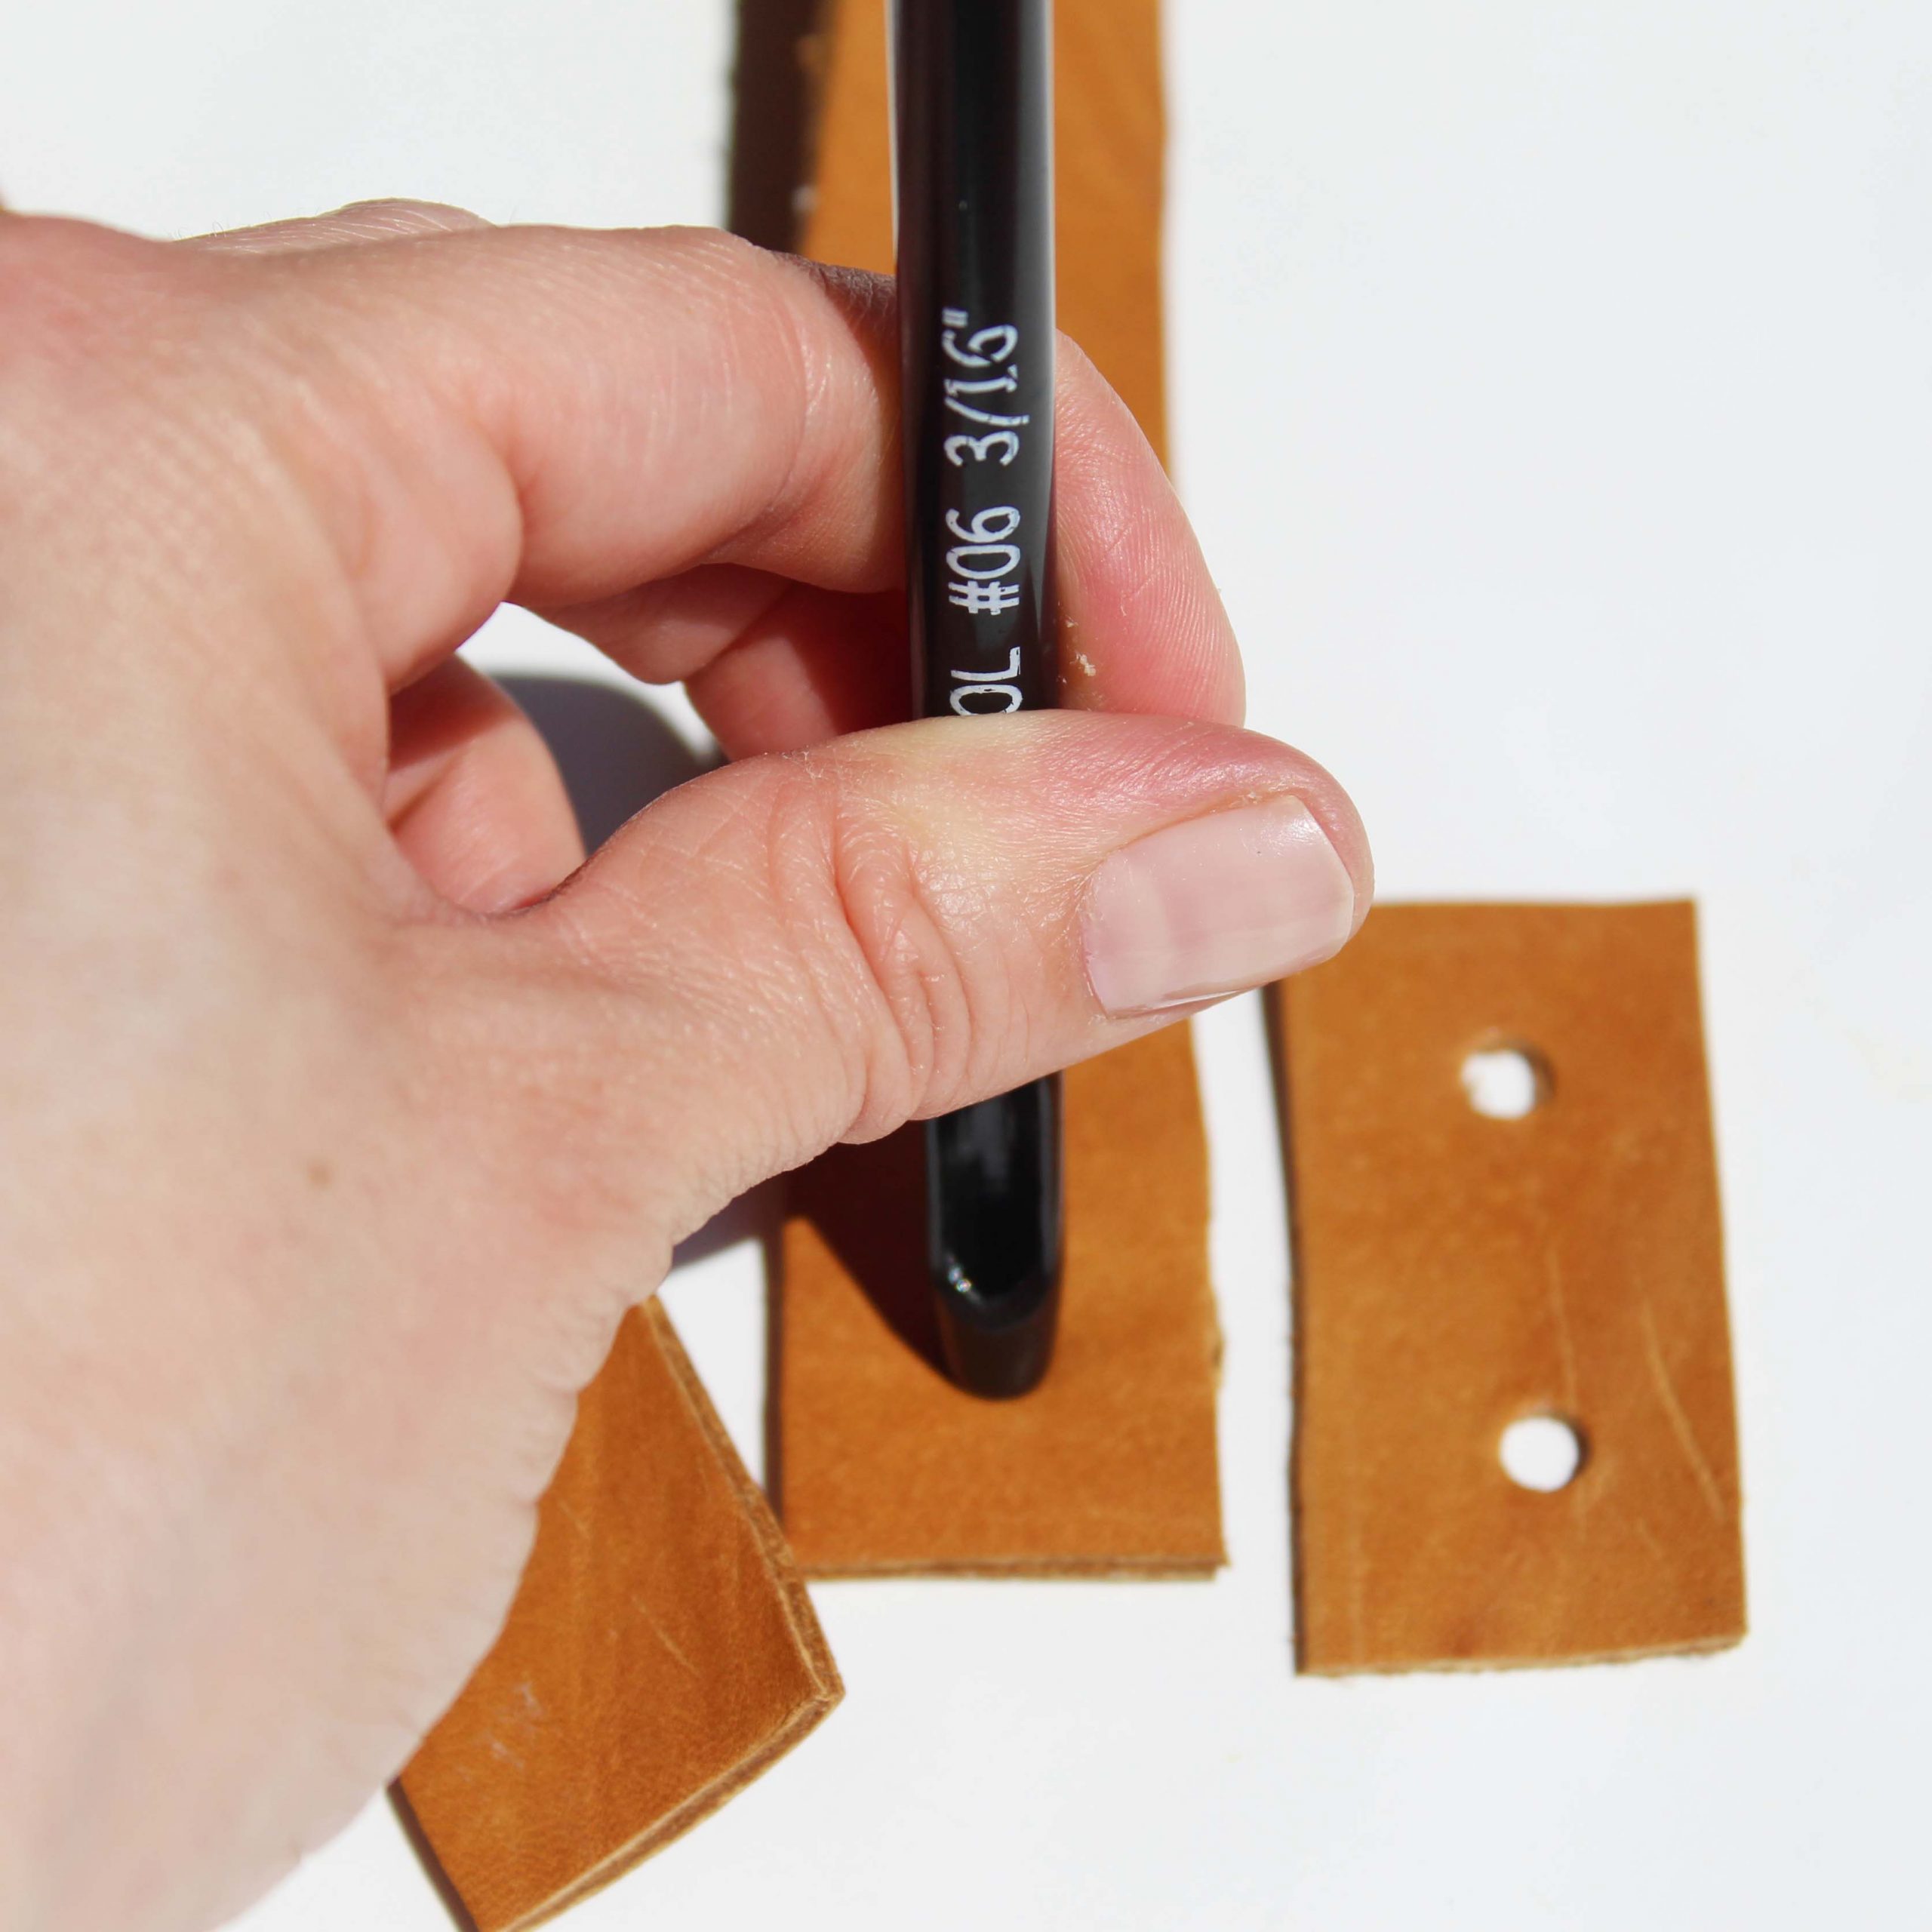
10 To attach the straps, you will need to make small holes in the leather straps, back strips and the canvas tote base. To create holes in the leather, you will want to use the leather hole punch. Begin by marking a dot in the center of the leather strap ends. Your first mark will be 1/2" up from the edge of the strap and again 1 1/2" from the edge. After completing, dots should be 1" apart. Make the the same marks on the 2" back strip. Create holes by lining up punch tool and using a hammer to tap the top of the tool. You will want to use a piece of scrap wood underneath.
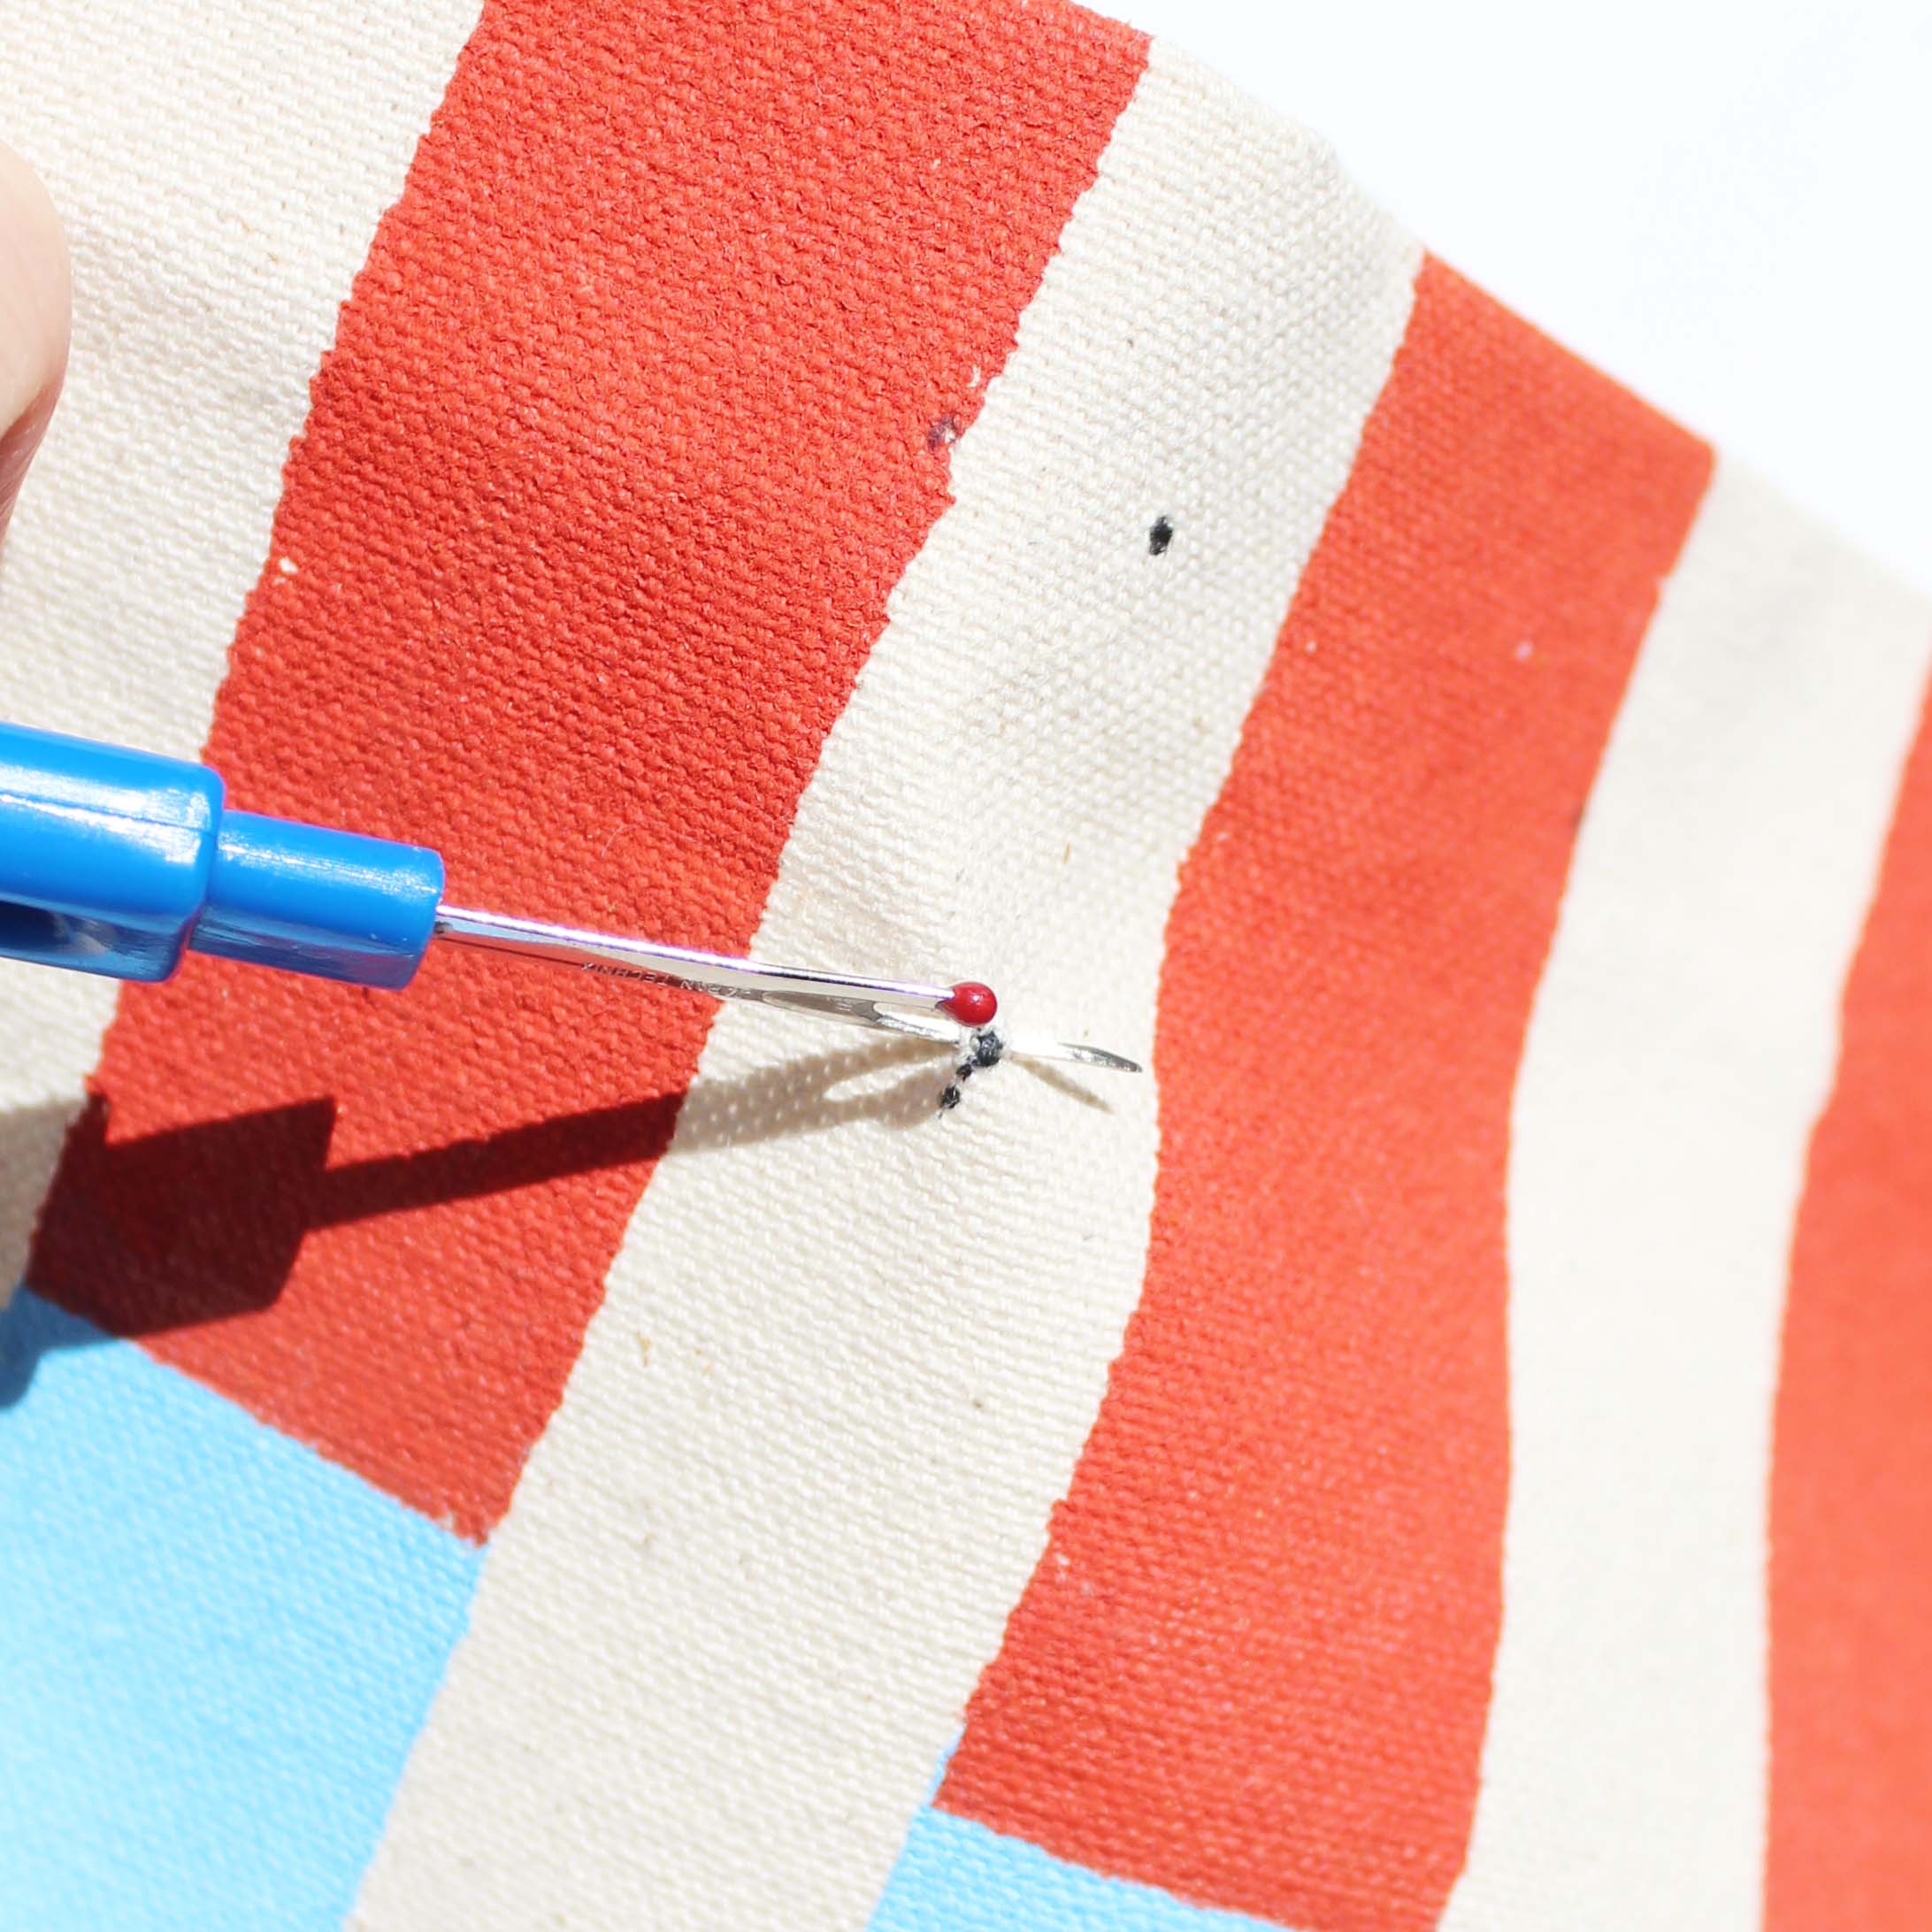
11To create the strap holes in the canvas base, measure down 2 1/4" from opening of tote. Line up strap ends to this measurement and mark dots in the center of the leather holes. To create the holes in the canvas, I used a seam ripper and cut an X over the desired spot. To widen the hole so that it was large enough for the metal screw post. Gently clip away any fray ends so the it is easier to assemble all of the pieces.
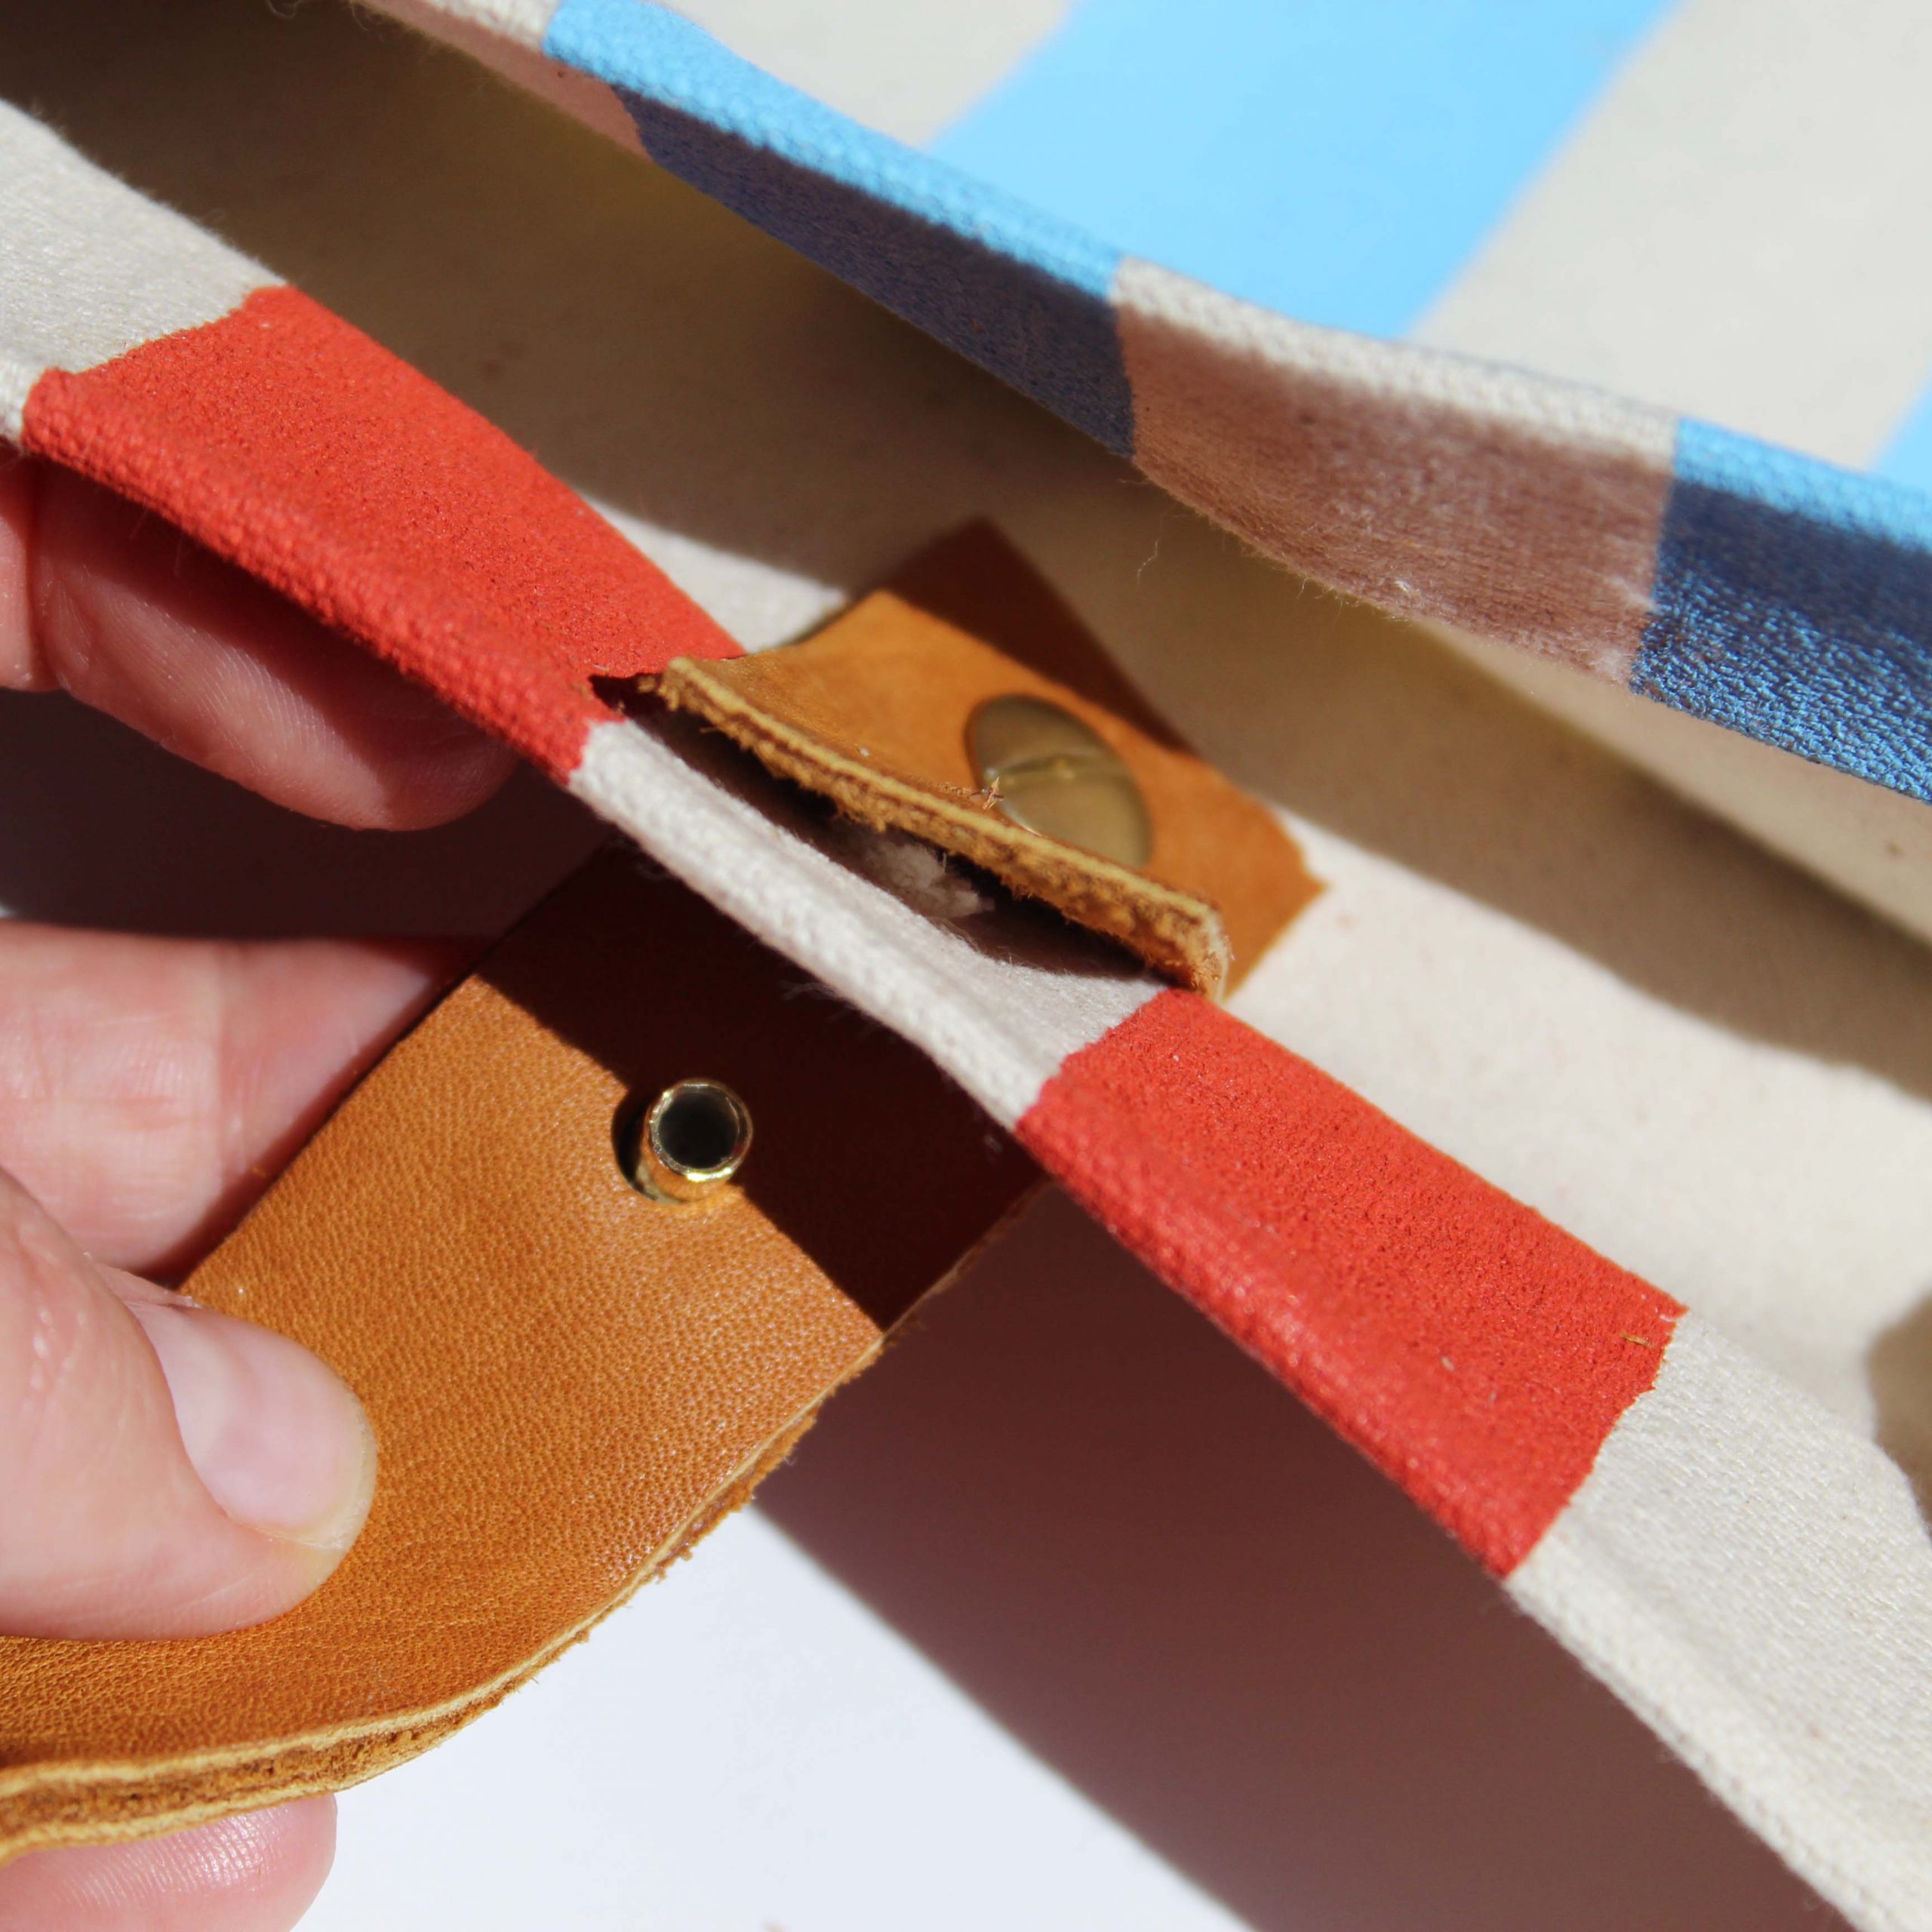
12Once you have created the holes in you leather and canvas, begin attaching straps to tote base with the metal screw posts. Line up holes in leather straps, canvas tote and leather back strip. Canvas tote will be sandwiched between the two pieces of leather. Push one side of the metal screw post end through all of the layers and screw the post into the other side. To keep the metal posts from loosening I placed a dot of glue on the screw head to keep secure. Complete this step only after you are sure all of the pieces line up properly and you will not need to make adjustments. This is the final step to complete your Farmer market tote!
")