The best part of this project is that it thrives on imperfection. The artisanal properties of the primitive stitch mixed with the chunky yarn takes an ordinary accent pillow cover and introduces texture and possibility. If you can’t stomach uneven stitches and fraying yarn, this project will be a challenge for you. Give it a try anyway. Let the stitches fall where they may in a wave of serendipity. In doing so, you may learn to let go.
* This post contains affiliate links to products I use and trust. This means when you purchase using my link below I may receive a commission at no extra cost to you.
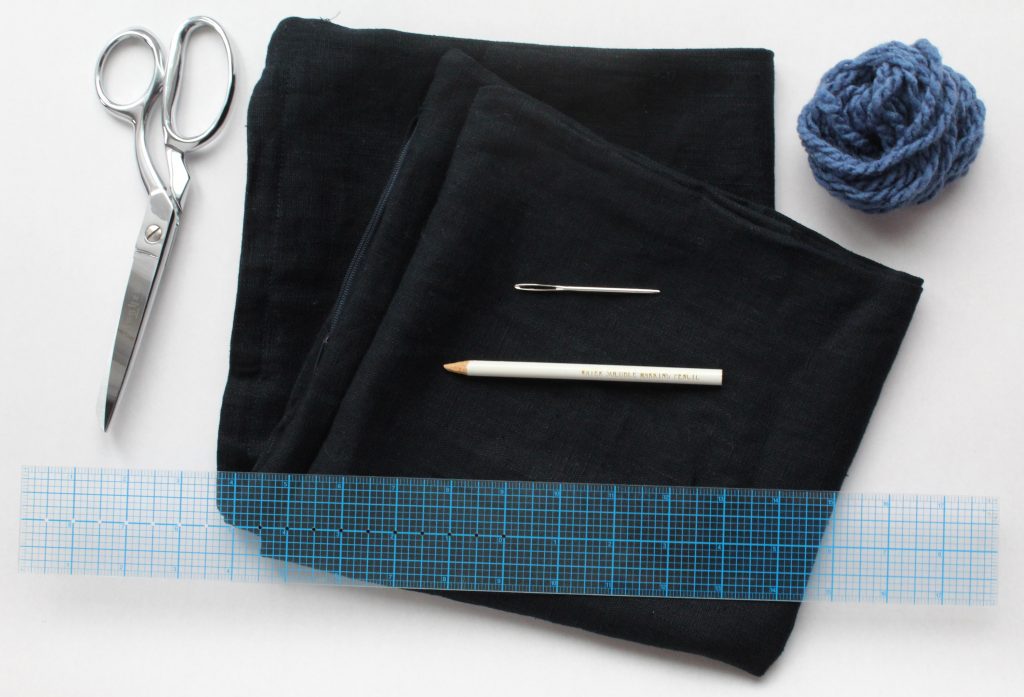
Materials / Tools
For this project I use a throw pillow cover from Ikea that I found on clearance for about 4 dollars. The size was 20 x 20. They also sell down inserts at a very reasonable price. You can embellish any throw pillow you like but I would suggest using a fabric that is basic weave, not a twill or any special weave. You can use one of these but, you will need to make sure the pattern you embroider follows the movement of the weave. Be creative, be brave.
Contrast color yarn. I used a yarn that was not wool to reduce the fraying. The cheaper manmade fibers work better in this case.
Tapestry needle – This is what I used and it worked beautifully.
Scissors
Instructions
1 Turn pillow inside out and begin to draw pattern using quilter’s ruler and light color pencil. Start your pattern in the center, creating an X from corner to corner. Use the initial X as a guide and continue to draw lines 1 3/4” apart, creating a large grid pattern across the reverse face of the pillow. The lines will not fall evenly on the seams. That is fine and will only add to the organic quality of the design.
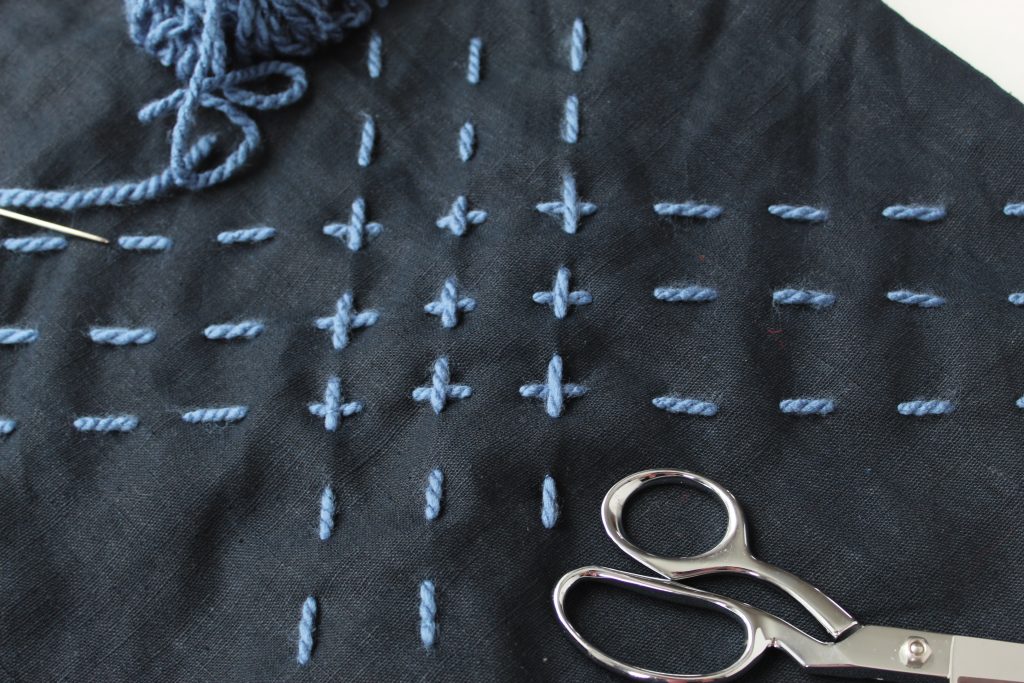
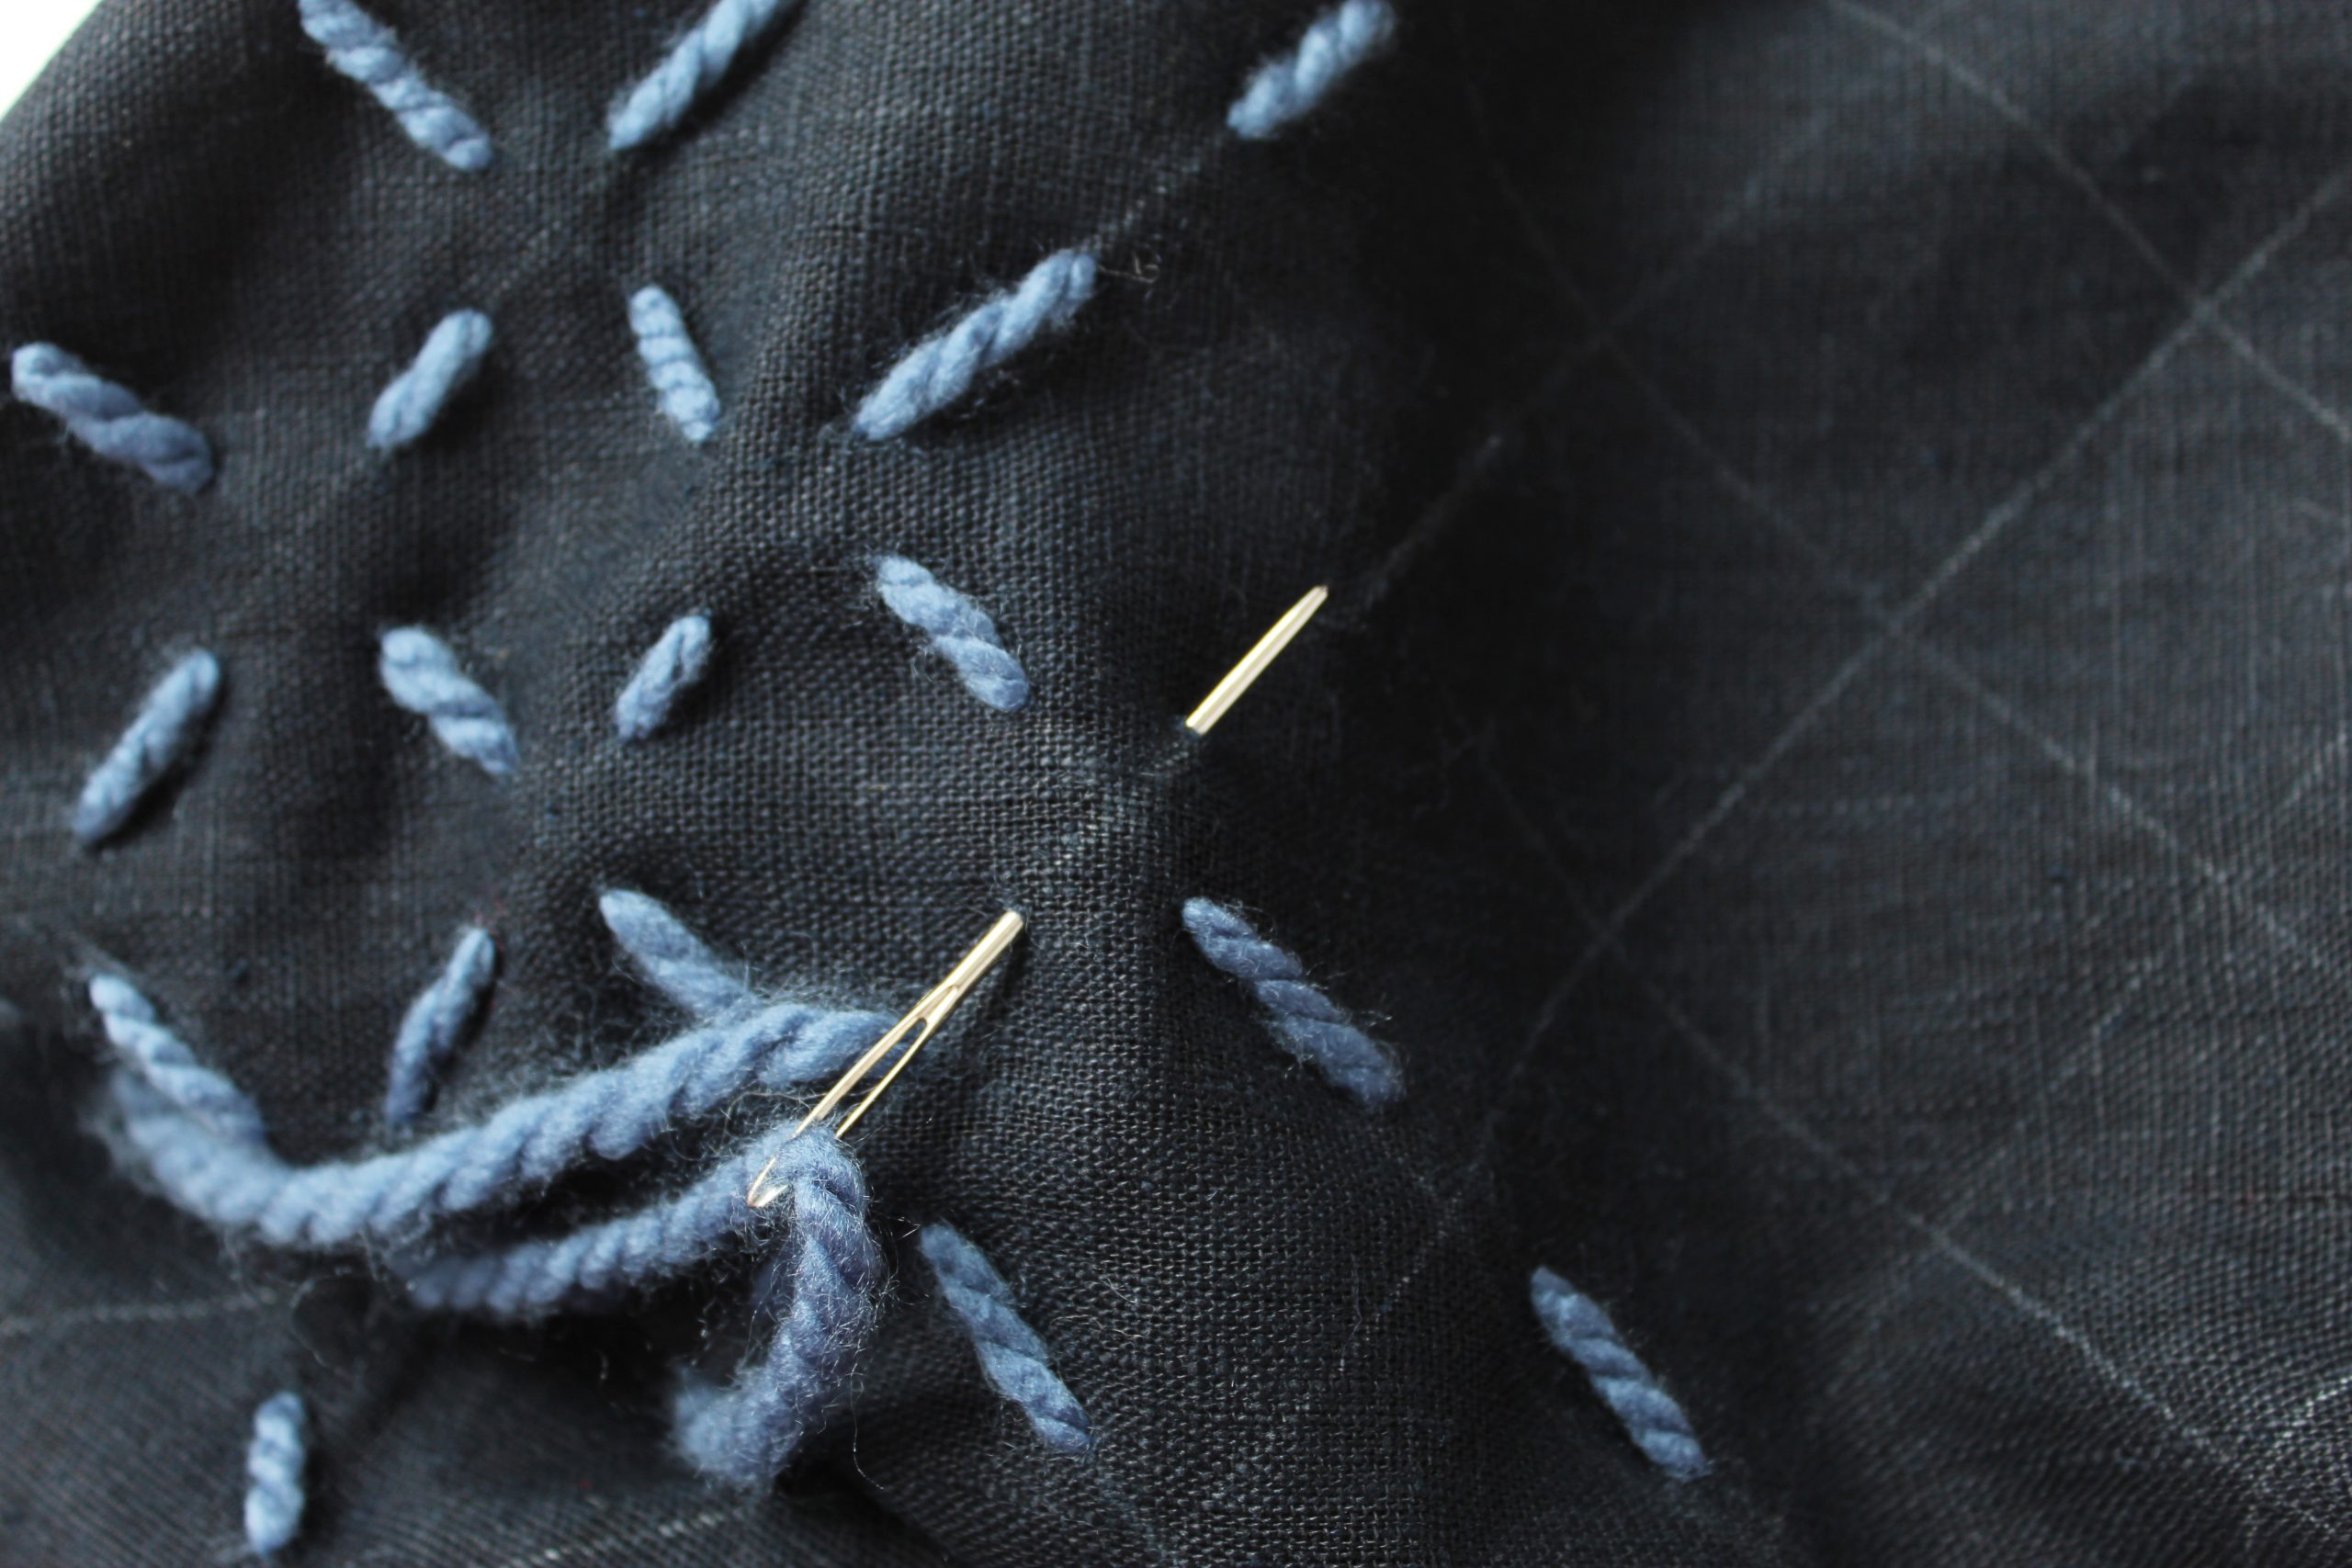
2Once you have completed the grid pattern begin sewing the yarn into the fabric. You will want to start on one corner and work your way across the pillow in one direction with lines running parallel. The X mark will be created on the face of the pillow when you begin stitches in the opposite direction. See image below for stitch spacing. You will want to begin your stitch approximately 1/2” inch from the point where the lines intersect and exit 1/2” on the other side creating X marks approximately 1” from edge to edge
3The pillow I created fills the entire space with X embroidery but you can just as easily end the project at this point. If you wish to fill the entire space, continue to move stitch lines from corner to until complete. Have fun exploring different layers of color and yarn textures. I must admit, this project was a lot of fun. I may revisit this project again as a lumbar pillow!


